Affiliate Disclosure: This page contains affiliate links. If you purchase through one of these links, I may earn a commission at no additional cost to you.
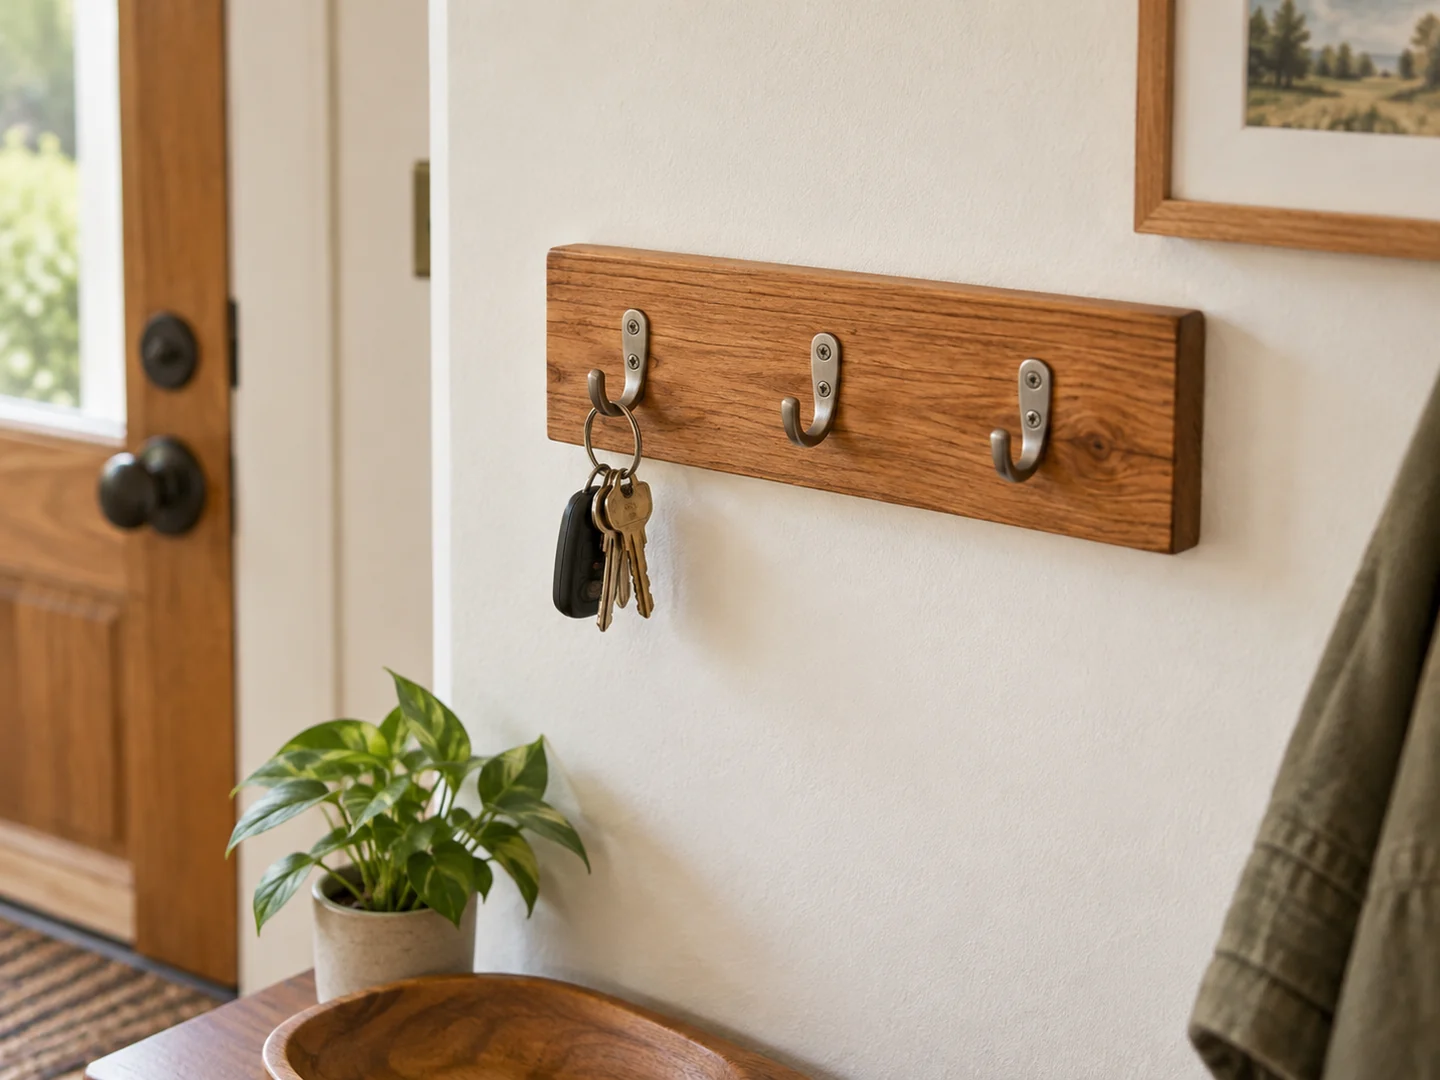
A scrap wood key holder gives a narrow offcut a clear purpose: keeping everyday keys in one reachable place. A simple wooden plaque with small hooks can fit an entryway without becoming a full coat rack. Plan around actual key rings and the wall where it will hang.
This guide covers stock selection, hook spacing, and the general build sequence. It is not a wall-fixing specification or a dimensioned plan. Use a suitable plan and mounting instructions for your particular wall.
Project Overview
| Difficulty | Beginner-friendly woodworking; mounting depends on the wall |
|---|---|
| Estimated build time | Varies by design; finishing and curing add time |
| Typical materials | Sound wood plaque, key hooks, compatible screws and wall fixings |
| Typical tools | Square, ruler, saw, drill, screwdriver, sanding supplies, level |
| Best for | Entryways, small hallways, housewarming gifts |
Why This Is a Good Beginner Project
Preparing one attractive, flat face is a manageable first task. You can practice straight layout lines and careful hardware placement without assembling drawers or doors. Hooks make accuracy visible: a tilted hook is easier to spot than an abstract measuring error.
There are two separate connections to consider. The hooks must attach securely to the wood, and the wood must attach securely to the wall. Understanding both helps prepare you for larger projects. Keep this version for keys rather than encouraging heavier items on undersized hardware.
Materials You May Need
Use a sound board with room for the chosen hooks, their screws, and the planned mounting points. Inspect around knots and edges where screws will enter. A crack in the wrong place is a reason to choose another piece, not a decorative feature to ignore.
Choose key hooks and compatible fasteners. Check screw length against the actual board so tips will not emerge through its back. Wall fixings must suit the wall material; the screws supplied with decorative hooks may not be appropriate wall anchors.
An understated clear finish emphasizes grain, while paint can coordinate with hallway trim. Use identifiable, untreated wood and avoid old coatings of uncertain origin. Make a paper layout before drilling so you can compare hook spacing with the key rings that will actually hang there.
Tools You May Need
A ruler, square, and pencil establish the layout. You may also need a suitable saw, drill, screwdriver, clamps, and sanding block. A level helps during mounting. Appropriate checks for hidden services belong in the installation process.
Follow tool and hardware manufacturers’ instructions and use suitable eye, hearing, and dust protection. Secure the board while drilling. If you cannot identify wall construction or safe fixing locations, get qualified help instead of choosing anchors by appearance.
Looking for More Small Entryway Projects?
Browse the TedsWoodworking affiliate offer if you prefer starting with plans. Check the current contents and requirements before purchasing; this exact key-holder layout is not confirmed as included.
Browse the Woodworking Plans →Basic Build Overview
- Choose a reachable location that clears the door swing and keeps projecting hooks away from busy paths.
- Lay out the actual hooks and key rings on a paper outline. Reserve space for the wall-mounting arrangement.
- Prepare the plaque according to the selected plan. Confirm that it lies flat and has sound material around connections.
- Mark and prepare fixing points using the hardware instructions. Keep hook screw positions clear of wall fixings.
- Apply the chosen finish and allow it to cure before attaching hardware that could mark the surface.
- Mount according to the fixing instructions. Check the assembly cautiously for key-storage use; a casual test does not establish a weight rating.
Tips for a Cleaner Finish
Use the hardware as a visual reference
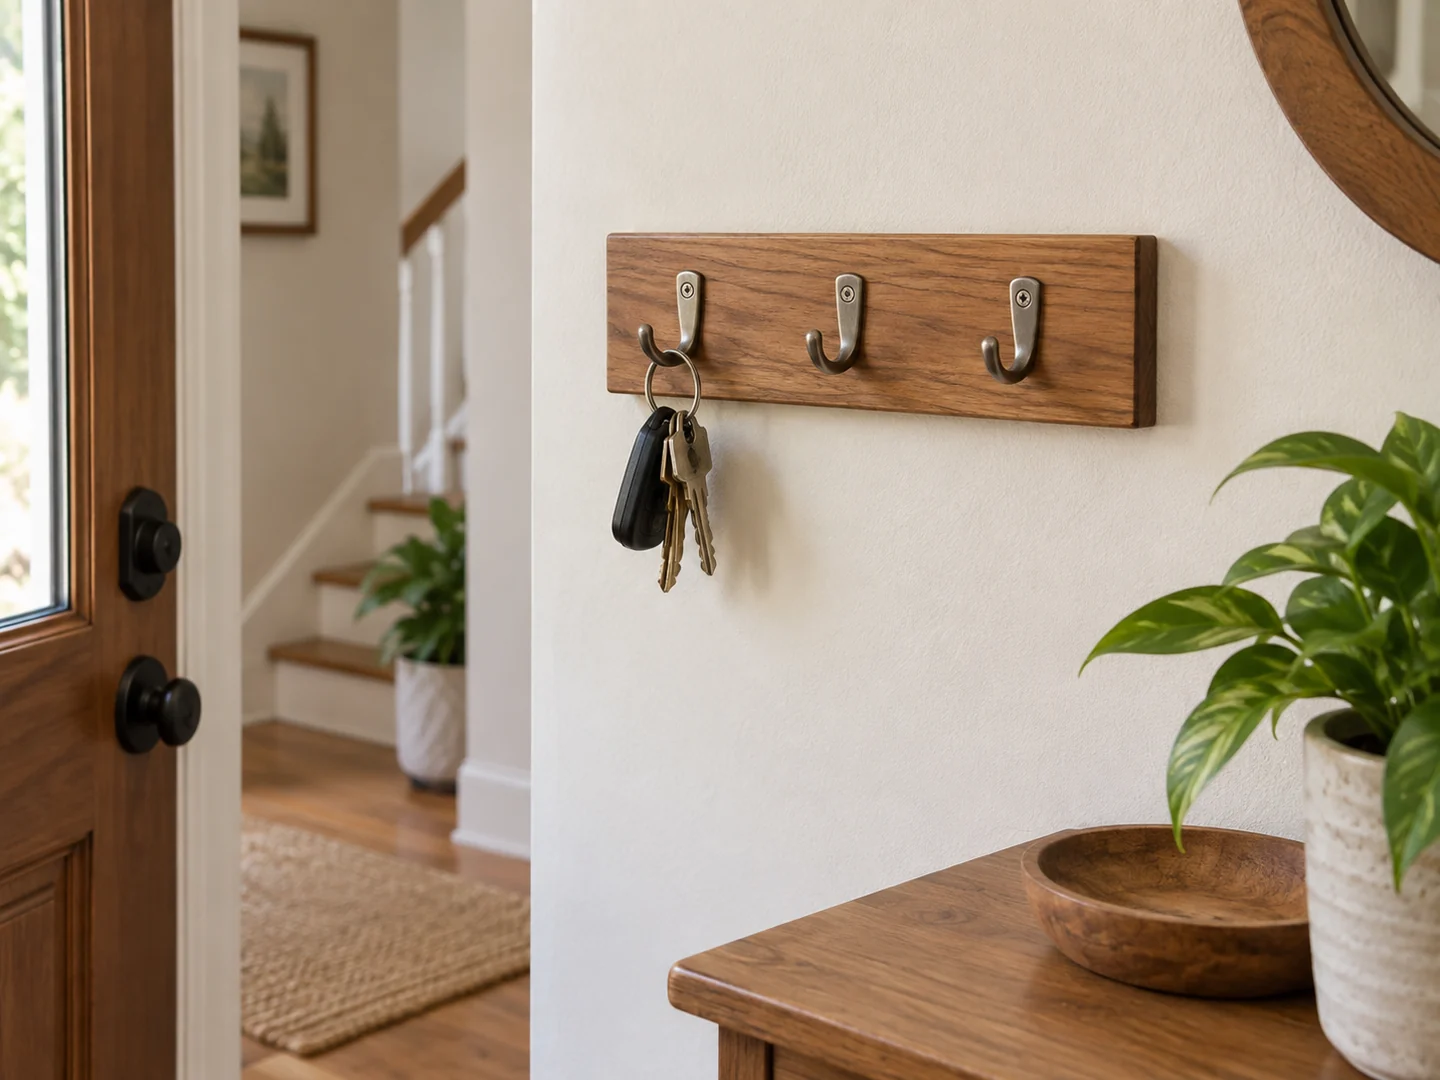
Lay the hooks in place before choosing the final color. A grain line can make evenly measured hooks look crooked, so review both measurement marks and overall appearance. Keep the board level rather than following a slanted grain pattern.
Keep paint out of working parts
Finish the plaque separately where practical. Heavy paint around screw recesses can prevent hardware sitting flat. Do not let thick pads on the back compromise the mounting system.
After assembly, check for burrs or rough edges that catch a key ring. The holder should be straightforward to use without pulling away from the wall. Recheck any connection that loosens during ordinary use.
Ideas for Selling This Project
A family name or restrained painted motif can make this a personal gift. Offer a few considered color and hook combinations. Confirm names, capitalization, and hook count before customization. Keep lettering clear of the hardware and mounting points.
Photograph the holder straight on and from the side, then add a typical key ring for scale. Product listings should state the finished dimensions and exactly which mounting parts are supplied. Avoid calling it a coat rack unless its design and mounting are appropriate for that different use.
Craft fairs, local housewarming-gift sales, and online marketplaces are possible channels. A matching mail organizer can form an entryway set. Account for hardware, personalized work, packaging, and fees when evaluating a price. Use photos of the real item and do not promise that any design will sell.
Related Scrap Wood Projects
- DIY Scrap Wood Mail Organizer
- DIY Scrap Wood Wall Hook Rack
- Easy Scrap Wood Sign
- Easy Scrap Wood Storage Caddy
Explore the full collection: 21 Easy Scrap Wood Projects You Can Make and Sell.
Plan Another Useful Home Accessory
Explore the TedsWoodworking plans offer for more ideas. Compare the current examples with your available tools and experience before deciding.
Explore the Plans Collection →