Affiliate Disclosure: This page contains affiliate links. If you purchase through one of these links, I may earn a commission at no additional cost to you.
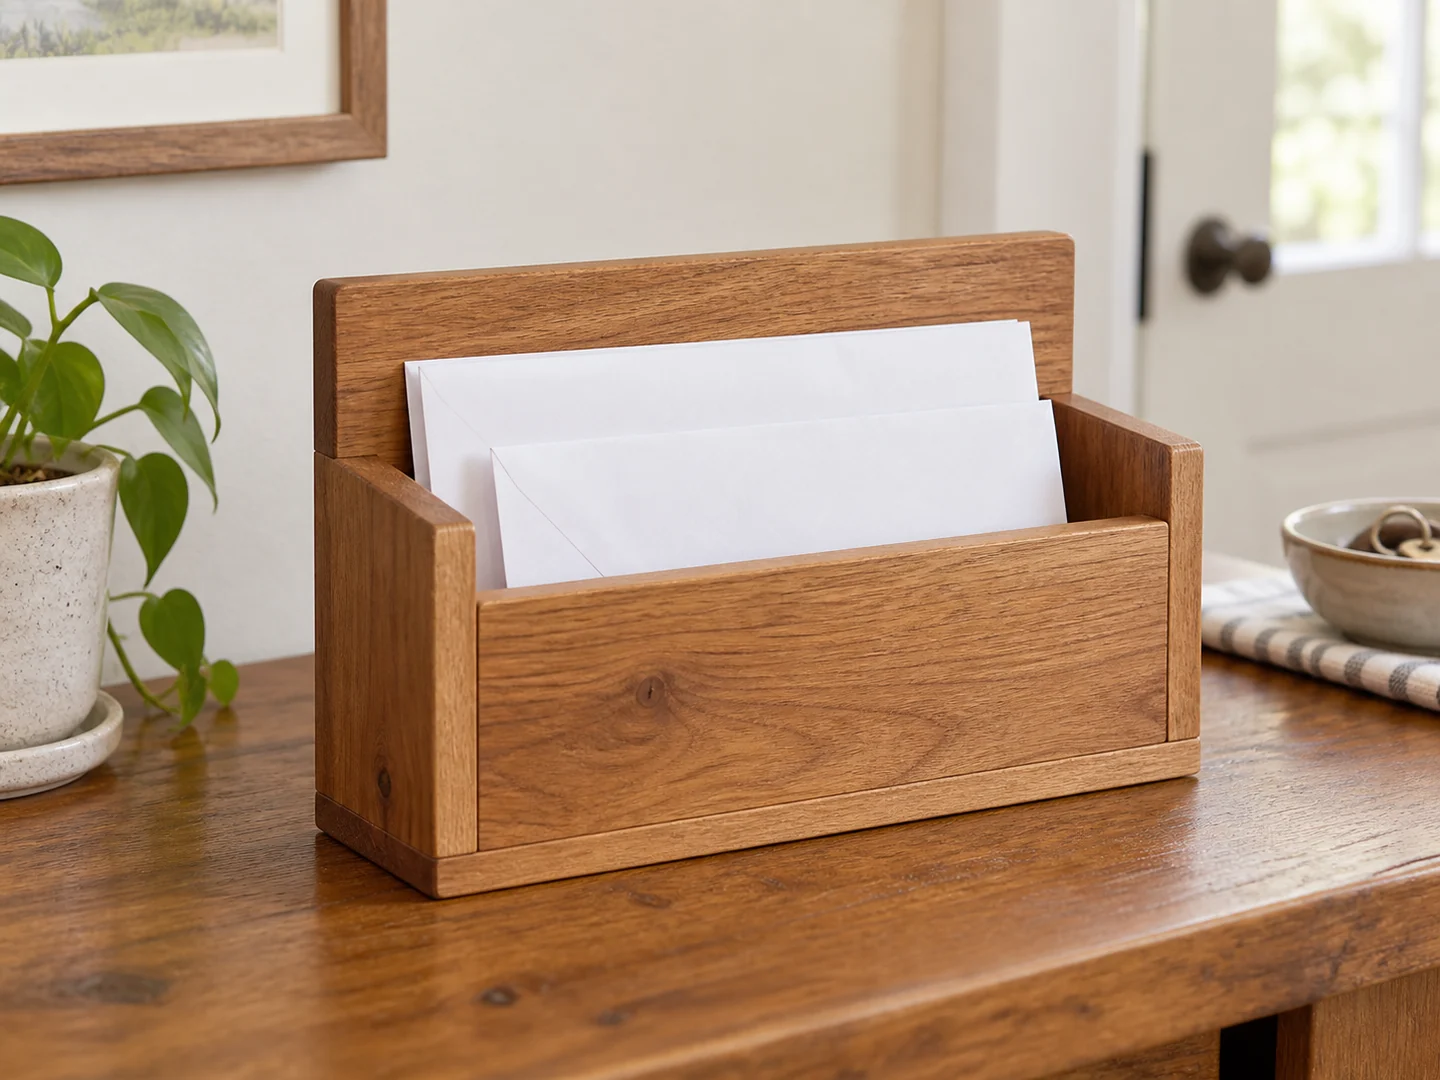
A small wooden mail organizer can give incoming envelopes a temporary home before they become a pile. A simple desktop version has an open pocket, a taller back, and a lower front that lets you see what is inside. Short offcuts are useful when they provide the flat, sound parts the plan needs.
The best size comes from the mail you actually handle and the space available on your console or desk. This guide explains the layout and build sequence; choose a verified plan for final dimensions and joints.
Project Overview
| Difficulty | Beginner-friendly open-pocket assembly |
|---|---|
| Estimated build time | Varies by design; finishing and curing add time |
| Typical materials | Sound base, front, back and end pieces; plan-specified adhesive or fasteners |
| Typical tools | Ruler, square, saw, clamps, sanding block, drill if specified |
| Best for | Entry consoles, desks, incoming-mail stations |
Why This Is a Good Beginner Project
An open pocket introduces box-like construction without a lid or drawer. You can practice keeping the ends square to the base and matching the front and rear panels. The difference between outside size and usable inside space becomes easy to understand when an envelope no longer fits.
The project also encourages you to design for retrieval. A front panel that is too tall can hide small envelopes, while a shallow pocket can let papers slump out. Testing the layout with real mail before cutting is a simple way to make the finished organizer more useful.
Materials You May Need
Use sound, flat stock for the base, front, back, and ends specified by your plan. Thin offcuts can look delicate but still need appropriate joints and support. Do not use cracked end pieces or leave projecting fasteners inside the pocket.
Choose compatible wood glue and any plan-specified fasteners. An optional divider changes the usable opening, so allow for its actual thickness. For a first version, one accessible pocket may be more useful than several cramped compartments.
A smooth, fully cured finish should not snag paper or transfer color. Test it on a matching offcut. Use known wood with no uncertain coatings or contamination. If you add felt pads underneath, choose matching pads so the organizer rests evenly on the desk.
Tools You May Need
A ruler, square, pencil, suitable saw, clamps, and sanding block are typical. A drill and driver may be needed by the chosen joints. A paper or cardboard mockup can help you evaluate the opening before working with wood.
Secure stock during cutting and drilling, follow tool instructions, and use appropriate eye, hearing, and dust protection. Small end panels are not safe to hold close to a moving blade by hand. Keep assembly checks separate from powered-tool operations.
Would a Detailed Organizer Plan Help?
Browse the TedsWoodworking affiliate offer to review available plan options. Check the current contents and required tools before buying; this mail-organizer design is not confirmed as included.
Browse the Woodworking Plans →Basic Build Overview
- Gather representative envelopes and measure the available desktop space. Decide whether the organizer is for incoming mail, outgoing mail, or both.
- Choose a suitable plan and check usable interior space, not just outside dimensions. Include any divider thickness.
- Prepare the base and panels according to the plan, keeping matching parts consistent.
- Dry-fit with sample envelopes. Check that small items remain visible and can be removed without scraping sharp edges.
- Assemble squarely and remove accessible glue residue before finishing. Keep the pocket free of exposed screw tips or rough fibers.
- Finish, cure, and inspect. Check the organizer with a modest amount of mail and give the station a regular sorting routine.
Tips for a Cleaner Finish
Sand the interior before it becomes hard to reach
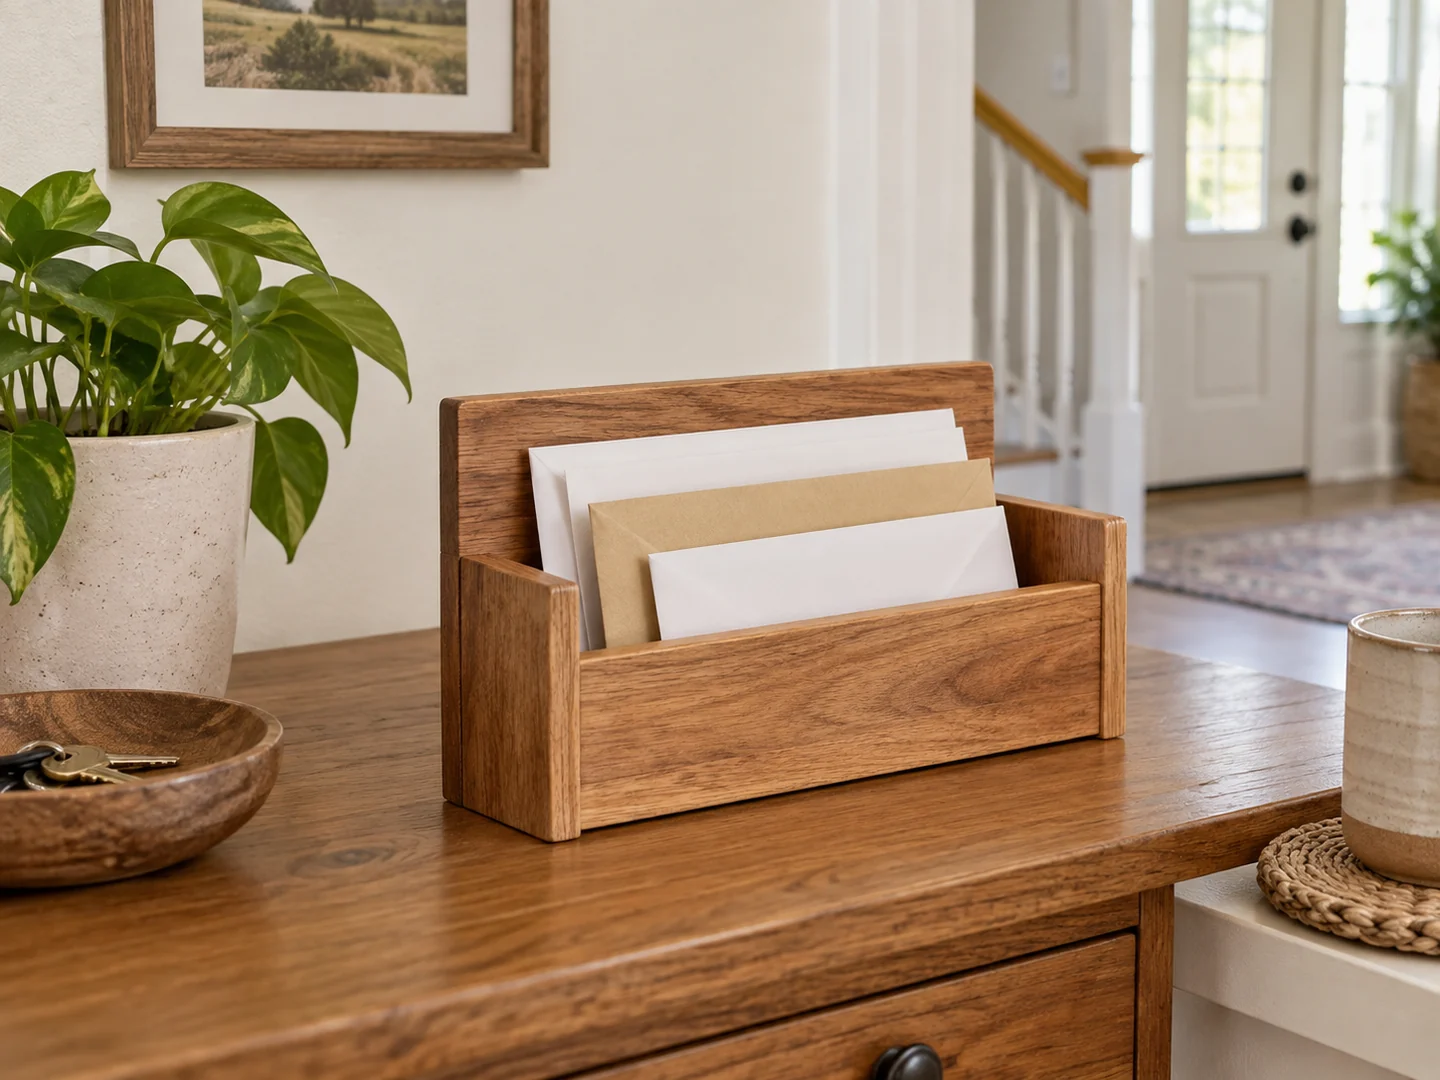
A low front and open top improve access, but narrow interior corners can still be awkward after assembly. Prepare the inside faces while following the adhesive manufacturer’s requirements for clean joining surfaces.
Keep the front edge pleasant to handle
The front edge is where fingers will pass when retrieving mail. Ease sharp corners consistently and inspect for snagging fibers. Avoid a thick finish ridge where envelopes rest.
Try the finished organizer with both a large and a small envelope. If smaller mail disappears below the front edge, reconsider the layout for the next version instead of adding more decorative height. An organizer should make sorting easier, not conceal the task.
Ideas for Selling This Project
Offer a plain desktop pocket, a clearly sized version for larger envelopes, or a coordinated incoming-and-outgoing pair. Small labels or a family name can help distinguish the purpose. Natural grain and muted color options can match a key holder without making every item identical.
Photograph actual products empty and with blank envelopes. Never use real addresses or private correspondence as photo props. State the usable interior opening, overall dimensions, and whether a divider is fixed or removable. A set with a key holder may work as a housewarming gift.
Craft fairs, local office-gift sales, and online marketplaces are possible places to explore interest. Avoid claims that the organizer will solve every paperwork problem. Allow for finishing time, packaging, fees, and any customization when deciding on a price, and use actual build photos rather than AI concepts as sales evidence.
Related Scrap Wood Projects
- DIY Scrap Wood Key Holder for Beginners
- DIY Scrap Wood Desk Organizer
- Easy Scrap Wood Storage Box
- Easy Scrap Wood Phone Stand for Beginners
Explore the full collection: 21 Easy Scrap Wood Projects You Can Make and Sell.
Explore Another Practical Organizer
The TedsWoodworking affiliate offer may help you compare further project plans. Read the seller’s current details and choose a design that fits the way you actually use your space.
Explore the Plans Collection →