Affiliate Disclosure: This page contains affiliate links. If you purchase through one of these links, I may earn a commission at no additional cost to you.
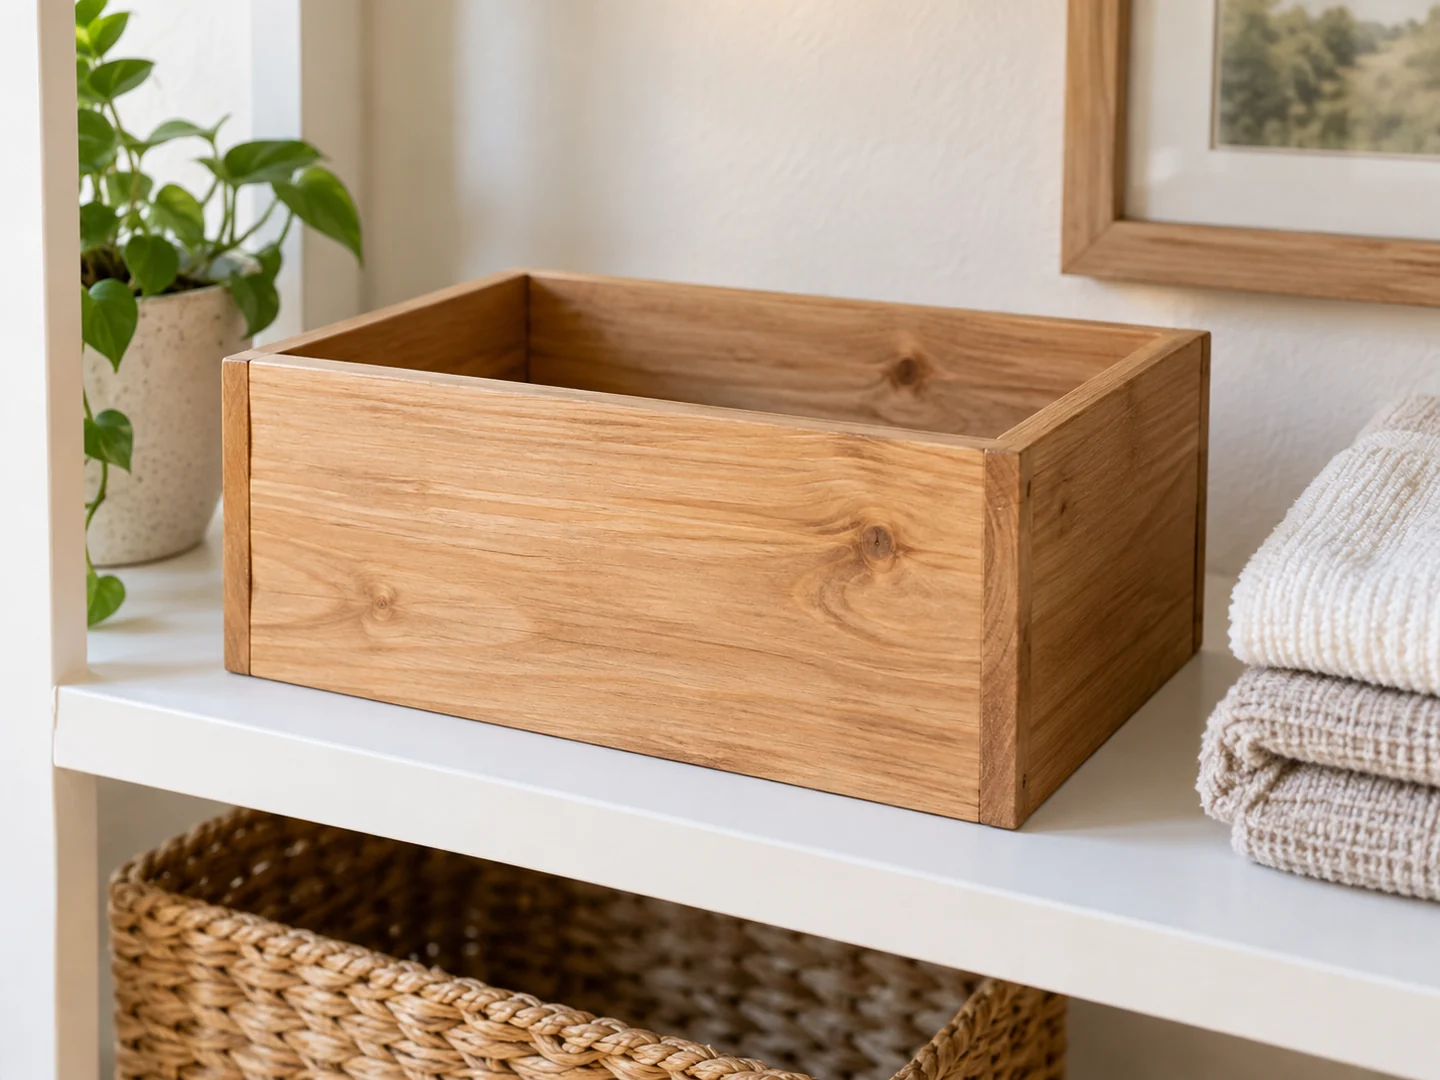
An open wooden storage box can gather stationery, small craft supplies, or folded household items in one place. Short offcuts may suit its sides, and a simple rectangular shape makes it easier to see how the parts fit together.
The useful details are inside: how much room remains after the walls are assembled, how the bottom is supported, and whether hands can reach the contents comfortably. This guide focuses on a small open box. It does not provide a measured plan or convert the design into a toy chest, seat, or heavy carrying container.
Project Overview
| Difficulty | Beginner with a simple open-box plan |
|---|---|
| Estimated build time | Varies by design; finishing and curing add time |
| Typical materials | Sound boards or suitable panels, bottom material, adhesive and fasteners |
| Typical tools | Measuring tools, square, saw, drill, clamps, sanding tools |
| Best for | Keeping lightweight household items together |
Why This Is a Good Beginner Project
A box gives beginners a clear lesson in inside versus outside dimensions. The wall thickness and corner arrangement affect usable space, so a finished box can be unexpectedly cramped if only its outside size is considered. Laying out the real contents first makes this easy to understand.
It is also a manageable way to practice squareness. Matching sides, flat parts, and a well-planned bottom produce a cleaner result than trying to force a distorted assembly into shape. An open design avoids the additional alignment and hardware choices of a lid, letting you focus on the core construction.
Materials You May Need
Use dry, sound pieces that can provide the required flat sides. Reject loose knots at joints, splits, hidden metal, and unknown coatings. If your scraps are narrow or mismatched, choose a design that accommodates them rather than joining random pieces without considering movement and support.
The bottom may be a suitable panel or another material specified by the plan. Its thickness, attachment, and support must suit the intended contents. Do not assume thin material held only by a few nails can support whatever fits in the box. Adhesive and fasteners should match the plan and materials.
An optional lining can protect delicate contents, but it should be removable or cleanable as appropriate. Check adhesive compatibility if using one. For an ordinary storage box, avoid claims about food contact, child safety, or carrying capacity that have not been established for the complete product.
Tools You May Need
A tape measure, square, saw, drill, clamps, and sanding tools are typical. The joint style may call for other equipment, so choose a simple plan within your skills. A flat assembly surface and enough clamps to follow the plan are more useful than adding decorative details prematurely.
Use appropriate eye, hearing, and dust protection and follow manufacturers’ instructions. Secure workpieces, particularly narrow sides and small bottom panels. Plan the assembly sequence so you can reach the inner surfaces with sanding tools before the box is closed on all four sides.
Want the Bottom and Joints Worked Out?
A detailed box plan can clarify the parts that a photo does not show. Browse TedsWoodworking for project options and check the available details before buying; this illustrated box is not a verified included design.
Browse the Woodworking Plans →Basic Build Overview
- Group the intended contents. Arrange them as they would sit in the box, including room to reach around them. If the box goes inside furniture, check the shelf opening and the space needed to remove it.
- Choose an open-box plan and calculate from its layout. Distinguish internal space, wall thickness, and outside dimensions. Confirm how the bottom is supported and how the corners meet.
- Prepare matching parts and mark orientation. Keep visible grain choices consistent and identify the inside faces. Sand difficult-to-reach surfaces while preserving clean joint faces.
- Dry-fit the sides and bottom. Check diagonal measurements as the plan directs, inspect joint contact, and confirm the intended contents fit. Make corrections before applying adhesive.
- Assemble in the chosen sequence. Use the specified fasteners and clamping method without distorting the box. Follow adhesive cure instructions and inspect for sharp points inside or underneath.
- Finish and check the completed box. Place it on a flat surface, feel the rim for roughness, and confirm it fits its intended shelf. Do not treat it as a carrying box unless the design includes an appropriate bottom and lifting arrangement.
Tips for a Cleaner Finish
Make the rim pleasant to handle
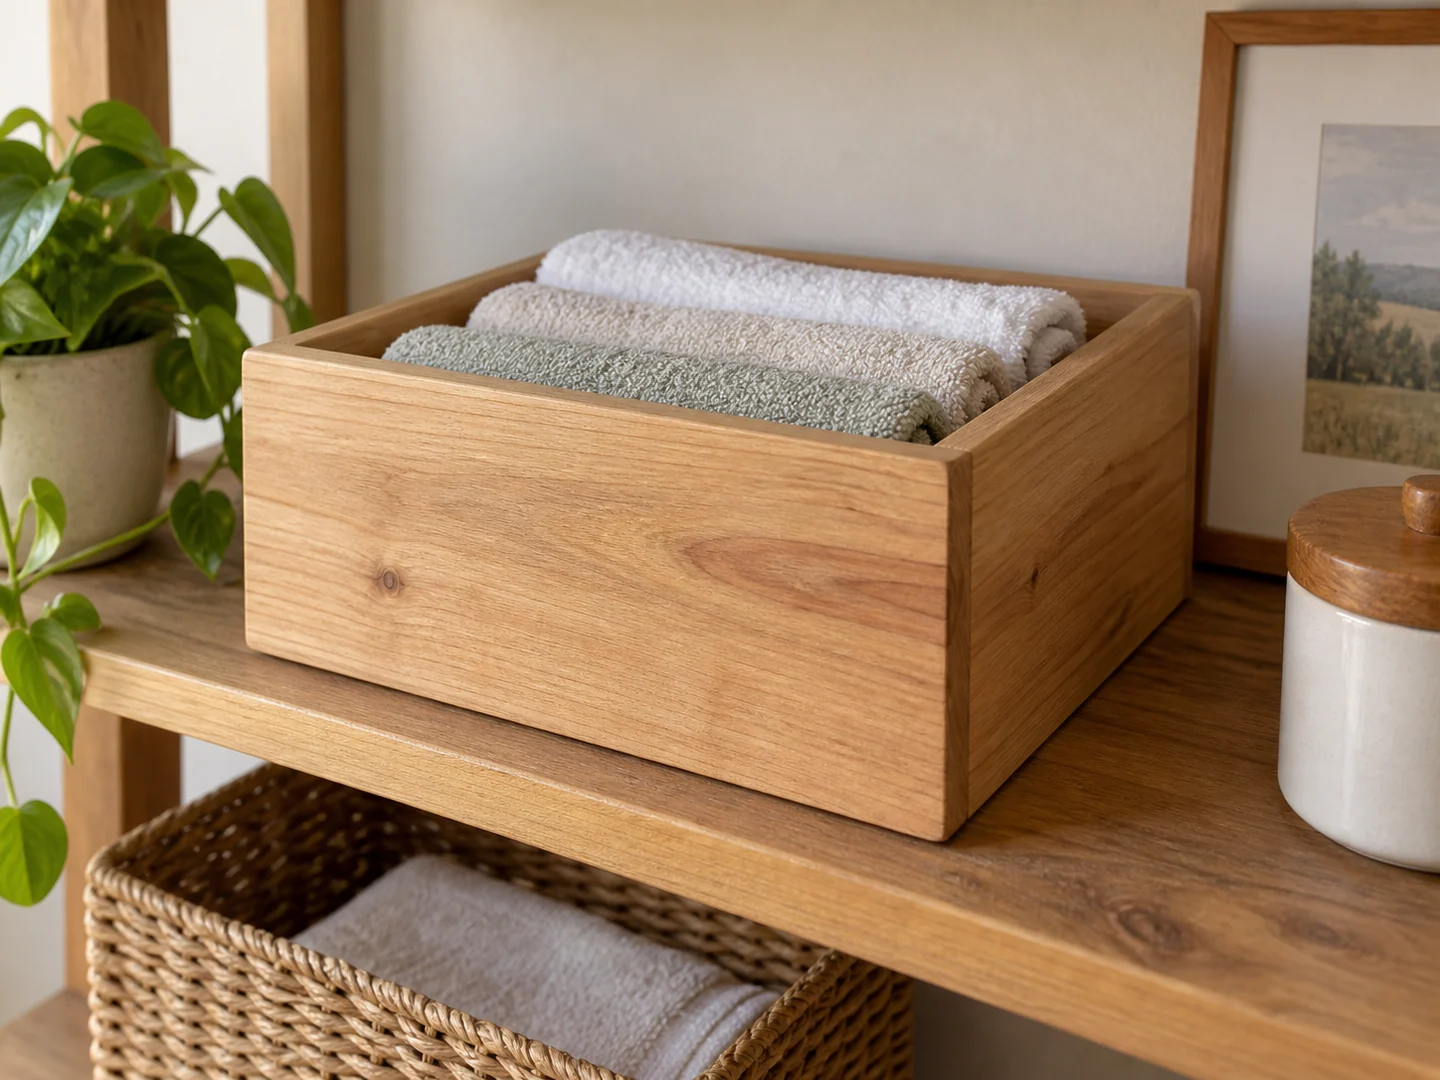
The upper edge will be touched repeatedly, so remove splinters and ease it consistently as the design allows. Pay particular attention to end grain at the corners. Avoid sanding one wall noticeably lower while trying to fix an uneven assembly.
Clean up the interior early
Remove glue squeeze-out using a method appropriate to the adhesive and finish before it becomes a hard ridge. Interior corners are awkward to sand after assembly. Test a stain on a sample with a glued joint so you can recognize residue before coating the box.
Choose a practical surface
A smooth, properly cured finish is easier to maintain than a rough decorative surface for everyday storage. Follow the coating’s care instructions. If adding a liner, ensure it does not conceal loose hardware or prevent the box from drying after cleaning.
Ideas for Selling This Project
Offer designs for specific contents, such as stationery or craft supplies, instead of calling one size suitable for everything. Natural grain, muted paint, or contrasting corner details provide variation. A personalized name or label can help identify contents without adding complex hardware.
Coordinated sets can work on a shelf, but state each box’s actual internal and external dimensions. Do not claim that a set stacks securely unless it has been designed and evaluated for stacking. A gift presentation might include a removable paper band or card, with any contents clearly identified as included or styling props.
Photograph the interior, bottom, corners, and a useful scale reference. Craft fairs and local sales let buyers inspect finish quality; online marketplaces require careful descriptions and packaging that protects the corners. Account for materials, finish, labor, customization, packaging, and fees. Keep sales expectations separate from the quality and cost of the actual item.
Related Scrap Wood Projects
- Easy Scrap Wood Storage Caddy
- DIY Scrap Wood Desk Organizer
- DIY Scrap Wood Mail Organizer
- Easy Small Wooden Bench for Beginners
Explore the full collection: 21 Easy Scrap Wood Projects You Can Make and Sell.
Choose Another Useful Storage Build
Explore TedsWoodworking if you would like more storage project plans. Check each design’s joinery, materials, and intended use before deciding whether the collection fits your needs.
Explore the Plans Collection →