Affiliate Disclosure: This page contains affiliate links. If you purchase through one of these links, I may earn a commission at no additional cost to you.
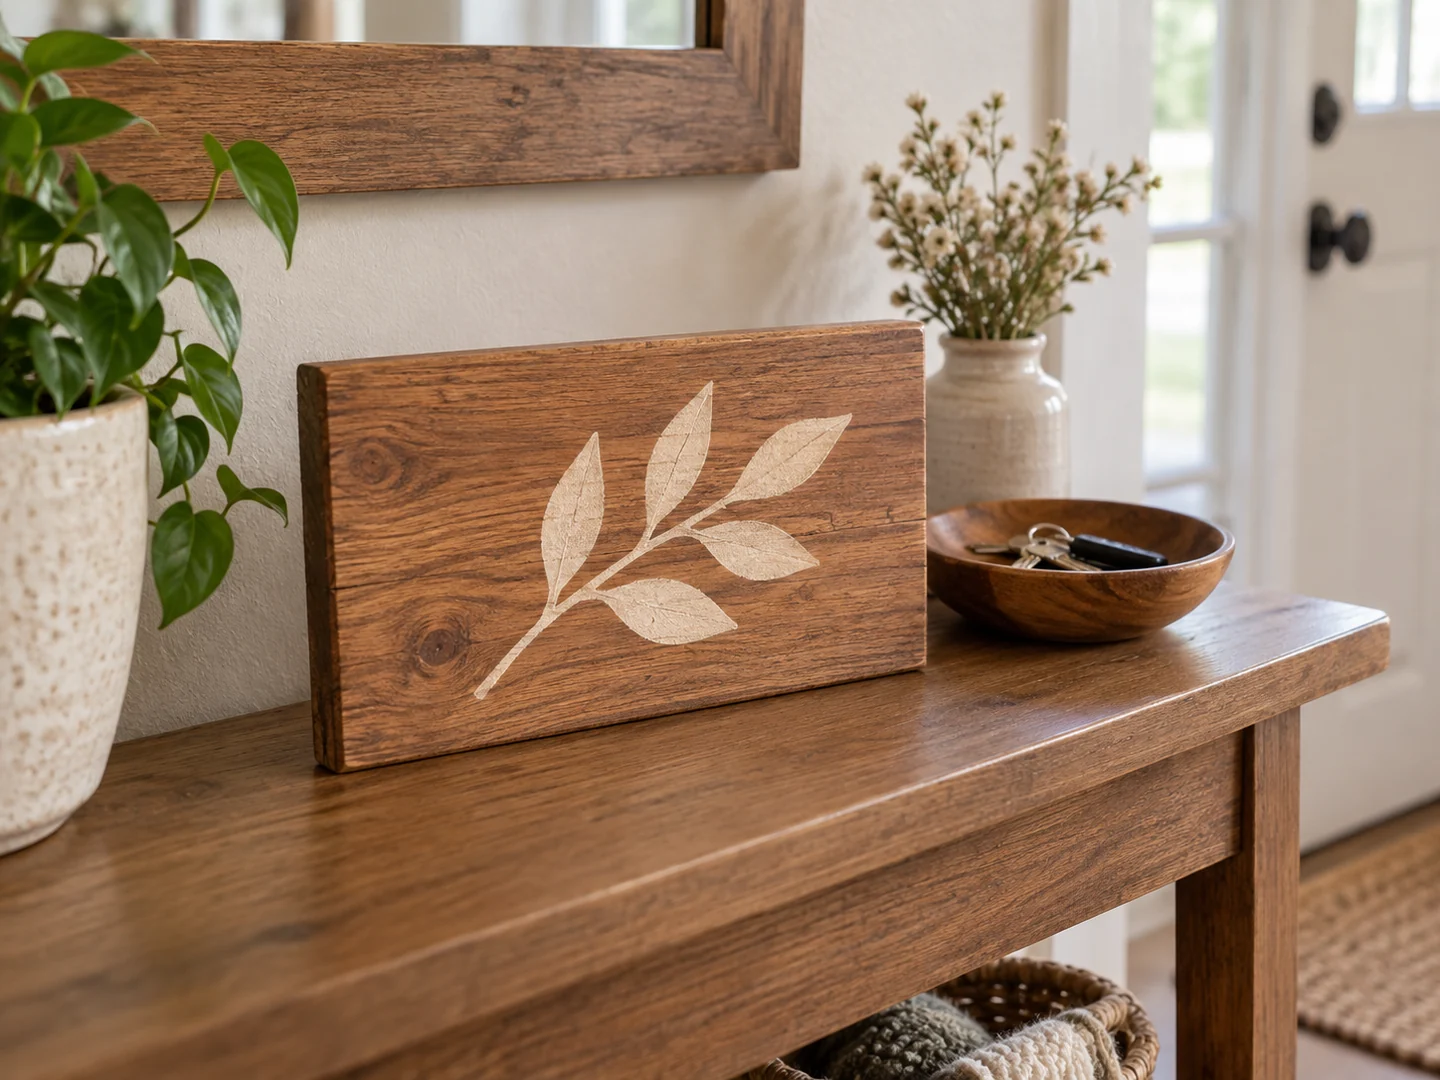
A scrap wood sign turns a small board into a personal detail for a shelf, entryway, or gift. A single sound offcut may be enough for a simple design, and the main challenge is often making the words and finish look deliberate rather than adding complicated joinery.
Here you will learn how to choose a surface, plan readable lettering, and prepare the sign for its intended location. Start with a modest indoor design and wording you have the right to use. This is a general process, not a fixed-size lettering template.
Project Overview
| Difficulty | Beginner; lettering method affects the process |
|---|---|
| Estimated build time | Varies by design; finishing and curing add time |
| Typical materials | Sound board or suitable panel, paint or finish, display hardware |
| Typical tools | Measuring tools, sanding block, brushes or stencil tools; saw if needed |
| Best for | Practicing surface preparation and personalized decor |
Why This Is a Good Beginner Project
A sign lets beginners concentrate on surface preparation, spacing, and finishing without managing a complex assembly. You can test a paint color or lettering technique on a matching offcut before committing to the main board. That makes the project useful even if your available tools are limited.
It also teaches restraint. A shorter phrase, a clear margin, and one focal point often make a stronger result than filling every bit of wood. Natural grain can be part of the design, but it should not make the words difficult to read. A practical first goal is one clean, legible sign rather than a large batch of different styles.
Materials You May Need
Choose a dry, sound board with a surface that suits the lettering method. Heavy texture can interfere with a stencil edge, while prominent knots may compete with the words. Avoid unknown old painted wood and scraps with decay, hidden metal, or loose material. Rustic appearance is not a reason to leave splinters where someone will handle the sign.
The design may need a compatible primer, paint, stain, or clear finish, along with a stencil or transfer material. Check the product instructions for compatibility and curing. Do not assume every clear coat works over every paint or ink. Keep enough matching scrap to test the whole sequence.
For wall display, choose suitable hanging hardware and a mounting method for the sign’s actual weight and wall. A shelf sign needs a stable support or a plan designed to stand upright; a thin board balanced on its edge is not automatically a freestanding display.
Tools You May Need
A sanding block, measuring tools, pencil, and appropriate brushes or stencil tools may cover much of the work. If the board needs cutting, use a saw you can operate safely and a secure way to support the stock. A lettering machine is optional, not a prerequisite for a simple sign.
Follow tool and finish manufacturers’ instructions, use appropriate eye and dust protection for cutting or sanding, and provide the ventilation required by coatings. Clean the work surface before painting so dust does not become embedded in the lettering. Keep a separate practice area for experimenting with paint quantity and brush pressure.
Considering a Framed or Built-Up Sign?
A more elaborate sign may need a construction plan for its frame or backing. You can browse TedsWoodworking for project options, but confirm the contents before purchasing; this sign design is not a verified included plan.
Browse the Woodworking Plans →Basic Build Overview
- Choose the message and setting. Decide whether the sign will hang or stand and whether it belongs indoors or outdoors. Check names, spelling, punctuation, and permission to use any supplied design before starting.
- Mock up the layout on paper. Compare the words with the board’s proportions and leave visible breathing room around them. Look at the mockup from the distance at which the finished sign will be read.
- Prepare the wood surface. Remove roughness and dust, and check the edges and back as well as the face. If the design uses a base coat, follow its preparation and drying instructions before adding lettering.
- Test the lettering process on scrap. Try the actual paint, stencil or transfer, and finish combination. Check for bleeding, poor contrast, and smearing rather than assuming a technique will behave the same on every wood surface.
- Apply the final layout carefully. Use light alignment marks that can be removed without damaging the surface. Work in the sequence suited to the chosen method, and follow product instructions for stencil removal and drying.
- Complete the display details. Add only compatible finishing products, allow proper cure, and attach the specified support or hanging hardware. Inspect the sign from normal viewing distance before considering it finished.
Tips for a Cleaner Finish
Control contrast before decoration
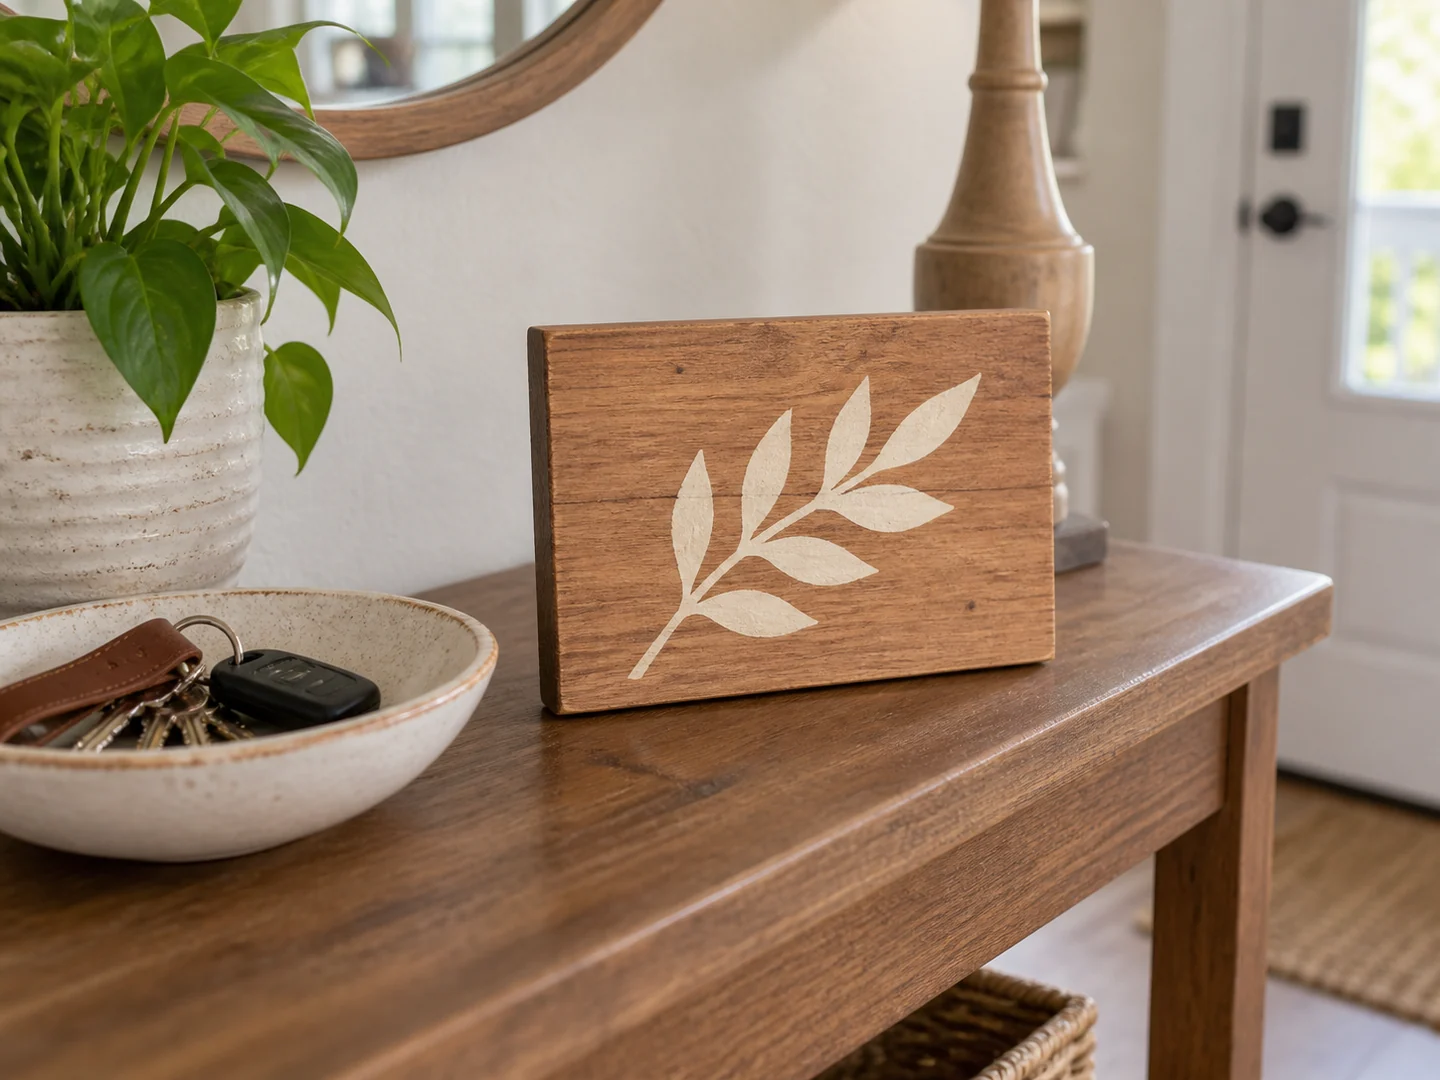
Hold the sample in the room where the sign will be seen. Dark lettering on a busy dark grain may disappear even if it looked clear under a bright work light. If the message is the purpose of the sign, adjust the base color or choose a quieter part of the board.
Keep lettering edges clean
Test your stencil technique instead of applying a heavy coat immediately. Rough grain, too much paint, or moving a stencil early can soften the edges. Correct small problems with the appropriate method after the layer is ready; rubbing wet paint around often enlarges the problem.
Make distressing intentional
If you want a worn appearance, keep it consistent with the design and preserve readability. Sanding through random letters can look accidental. Finish the back and edges to an appropriate standard, because buyers and gift recipients will handle the whole object.
Ideas for Selling This Project
Personalized names, housewarming messages, seasonal wording, and simple room labels offer different directions. Color choices can be shown on real finish samples so customers understand natural wood variation. Coordinate a small sign with a frame or key holder for an optional gift set, while clearly stating which items are included.
For custom orders, agree on exact wording, capitalization, and layout before making the product. Use original designs or properly licensed lettering and graphics. Avoid presenting another brand’s logo or a popular character as something you can freely reproduce.
Photograph the finished sign straight on for legibility, then add a room view that shows its actual scale. Explain the intended display method and whether hardware is supplied. Craft fairs and local sales can showcase personalization samples; online marketplaces need clear customization fields and realistic production terms. Work out material, design, revision, labor, packaging, and fee costs yourself. A popular phrase does not guarantee a sale.
Related Scrap Wood Projects
- DIY Scrap Wood Picture Frame
- DIY Scrap Wood Key Holder for Beginners
- DIY Scrap Wood Wall Hook Rack
- Easy Scrap Wood Floating Shelf
Explore the full collection: 21 Easy Scrap Wood Projects You Can Make and Sell.
Find a Project to Pair with Your Sign
Explore TedsWoodworking if you want plans for another small decor project. Compare the available details with your tools and intended use before choosing a collection.
Explore the Plans Collection →