Affiliate Disclosure: This page contains affiliate links. If you purchase through one of these links, I may earn a commission at no additional cost to you.
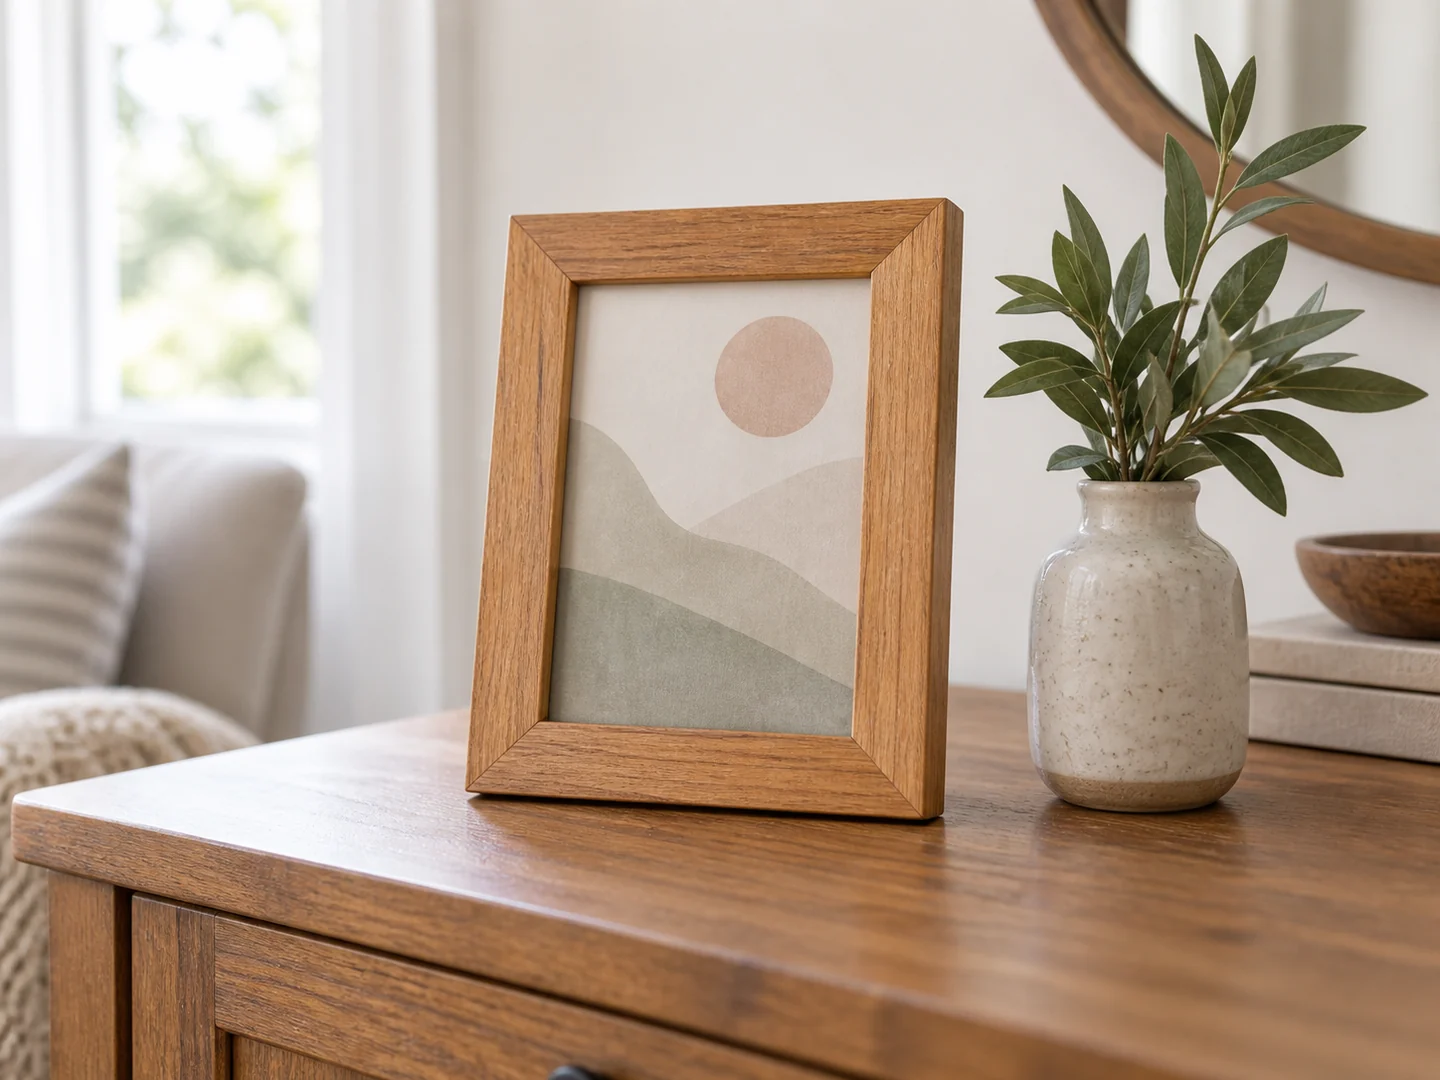
A wooden picture frame puts small lengths of attractive scrap wood where their grain can be appreciated. It is a useful project for a favorite print, a family photo, or a gift, but its fit depends on more than measuring the outside edge of the artwork.
This guide explains the difference between the visible opening and the space needed behind it, along with corner choices, backing, and finishing. Select a dimensioned frame plan that matches your display method before cutting. The example image is a styling concept, not a measured template.
Project Overview
| Difficulty | Beginner; joint and glazing choices affect complexity |
|---|---|
| Estimated build time | Varies by design; finishing and curing add time |
| Typical materials | Straight wood strips, backing, retainers, suitable display hardware |
| Typical tools | Square, measuring tools, saw, clamps, sanding tools |
| Best for | Learning accurate layout for photos and small prints |
Why This Is a Good Beginner Project
Frames make small layout errors easy to see, which is useful when you are learning to measure consistently. Opposite sides need to match, corners need to meet, and the opening needs to look even around the artwork. These are transferable skills for many rectangular projects.
A simple butt-jointed frame can be an approachable alternative to miters if it suits your chosen plan and style. Miters can produce a continuous-looking border, but they demand accurate angles and dependable clamping. Choose the joint you can execute well rather than assuming the most familiar picture-frame outline is the easiest one.
Materials You May Need
Start with straight, dry strips that are wide and thick enough for the selected design. Twist or bow makes neat corners and flat backing harder to achieve. Arrange the pieces around the artwork before cutting so color changes look intentional. Small defects may be attractive away from joints, but loose knots and splits are poor choices at a corner.
You may need a backing panel, retaining clips or other plan-specified retainers, and either hanging hardware or an easel-style support. If the design includes glazing, use a suitable ready-sized insert or have it prepared appropriately; cutting glass is not part of this overview. Glazing, artwork, any mat, and backing all take up depth.
For valuable or irreplaceable art, use appropriate conservation framing materials and advice rather than treating an ordinary scrap-wood frame as archival protection. A decorative DIY frame should not be advertised as archival unless the complete construction supports that claim.
Tools You May Need
A dependable square, measuring tools, saw suited to the selected joints, clamps, and a sanding block form the basic kit. A frame plan with a recessed back may need additional tools and skills; a different plan may be a better first choice if that work is unfamiliar.
Use the tool manufacturer’s instructions and appropriate eye, hearing, and dust protection. Small strips must be supported and secured with a method appropriate to the tool. Do not trade hand clearance for using the last tiny offcut. Having extra material for a test joint can prevent mistakes on the final pieces.
Want a More Detailed Frame Plan?
Browse TedsWoodworking if you would like to compare plans before choosing joints and backing details. Check what the collection includes; the frame shown in this article has not been verified as one of its projects.
Browse the Woodworking Plans →Basic Build Overview
- Choose the artwork and display orientation. Decide whether the frame will hang or stand, and whether it will include a mat or glazing. Measure the actual components rather than relying only on a print’s nominal size.
- Select a compatible frame plan. Distinguish the visible opening from the recess or rear space that holds the contents. Confirm the allowance for the full stack and the way the backing will be retained.
- Lay out the four sides as a set. Mark inside edges, outside edges, and orientation. Keep matching sides together and check the intended opening before making the final cuts.
- Dry-fit all corners around a flat reference. Check both the opening and the overall shape. Correct the joints rather than relying on heavy clamping to force poorly fitting corners closed.
- Assemble and finish the empty frame. Follow the plan’s joint reinforcement and adhesive instructions. Keep glue out of the area that will receive the backing, and allow the finish to cure before enclosing artwork.
- Fit the contents and display hardware. Secure the backing using the selected retainers, inspect for protruding points, and use hanging hardware appropriate for the completed frame and wall. Check a tabletop support for stability in the intended orientation.
Tips for a Cleaner Finish
Keep the border visually even
Sanding one corner aggressively can make the surrounding border look thinner. Work consistently along the frame and preserve crisp joints. If a miter remains visibly open after fitting, repair the joint before finishing rather than covering the gap with a dark stain.
Test color across grain directions
End grain and long grain may take stain differently, particularly with a butt-jointed design. Try the full finish process on offcuts. A clear or lightly tinted finish may suit mixed scrap wood better than attempting a perfectly uniform dark color.
Finish before adding the picture
Clean out sanding dust and finish residue from the back. Handle glazing according to its supplier’s guidance, and keep fingerprints off the visible surfaces. Do not use the artwork itself as a masking shield while painting the frame.
Ideas for Selling This Project
A frame collection can vary through border width, natural versus painted finishes, and portrait or landscape orientation. Changes to width and recess depth still need a compatible construction plan. Offer personalization on a surface that leaves joints and hardware intact, and obtain approval for names or dates before making the final item.
Gift pairs or small gallery sets can be presented with coordinated colors. State the actual artwork size accepted, the visible opening, and whether mats, glazing, backing, and hanging hardware are included. Buyers should not have to infer those details from a styled photograph.
Photograph the front, back, corner quality, and display support. Use your own artwork or content you have permission to reproduce in listings. Craft fairs and local gift sales let buyers compare finishes in person; online marketplaces need accurate size descriptions and careful packaging. Account for inserts, protective packing, labor, and fees when setting your own price, without assuming a certain margin or sales volume.
Related Scrap Wood Projects
- Easy Scrap Wood Sign
- Easy Scrap Wood Floating Shelf
- Easy Scrap Wood Bookends
- Easy Scrap Wood Jewelry Stand
Explore the full collection: 21 Easy Scrap Wood Projects You Can Make and Sell.
Build on Your Layout Skills
Explore the TedsWoodworking collection for another project that suits your tools. Review the plan details before buying, especially the joinery and display hardware a frame requires.
Explore the Plans Collection →