Affiliate Disclosure: This page contains affiliate links. If you purchase through one of these links, I may earn a commission at no additional cost to you.
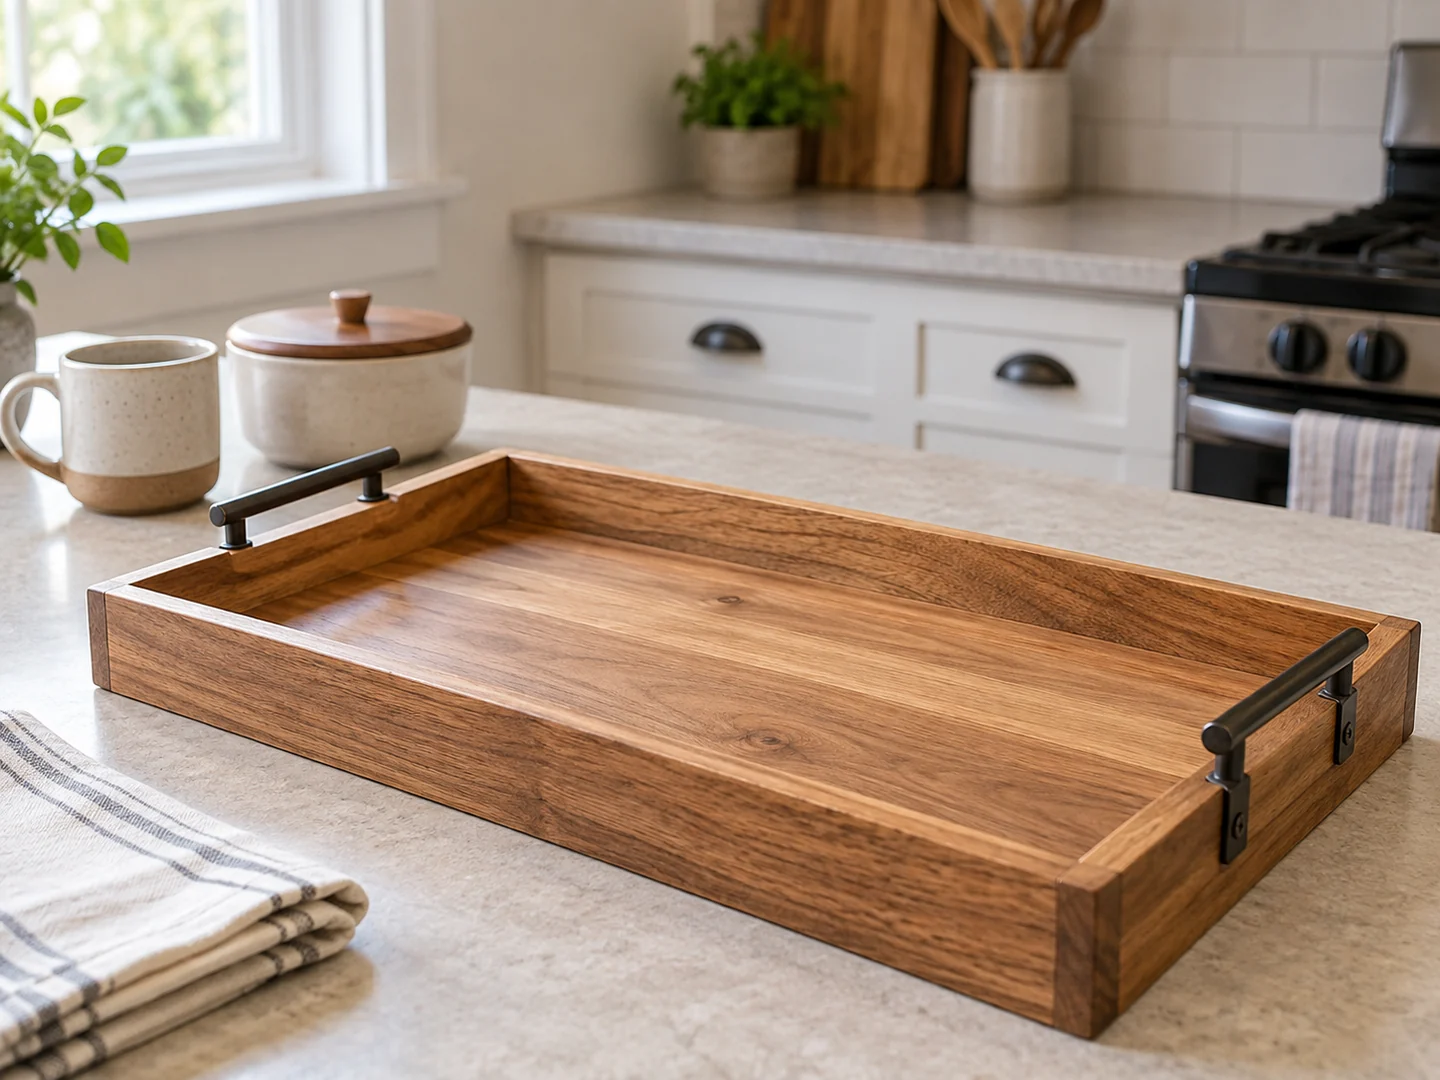
A wooden serving tray brings several small woodworking skills together in one useful object. A flat base holds tableware, low sides help define the space, and handles make the tray easier to move. Sound offcuts can work well when they meet the requirements of the chosen plan.
Start with a tray for dishes and other contained items. This overview is not a food-contact specification, cutting board plan, or tested load design. Use a verified plan for dimensions and joints, and assess the complete tray before carrying anything valuable, heavy, or hot.
Project Overview
| Difficulty | Beginner-friendly with a straightforward tray plan |
|---|---|
| Estimated build time | Varies by design; finishing and curing add time |
| Typical materials | Sound base and rail stock, plan-specified joints, suitable handles and finish |
| Typical tools | Square, ruler, saw, clamps, drill or driver as required, sanding supplies |
| Best for | Carrying tableware, coffee-table organization, housewarming gifts |
Why This Is a Good Beginner Project
A tray is a useful introduction to a shallow rectangular assembly. You can see the corner alignment, check whether the base is flat, and learn how small inaccuracies affect the overall shape. Unlike a deep box, the inside surfaces remain easy to reach while finishing.
It also helps separate decorative choices from functional ones. A handle can look attractive but be uncomfortable to grip, and a thin rail may not support its fixings. Choosing the hardware early keeps you from designing a tray that looks finished before its carrying arrangement is resolved.
Materials You May Need
Choose sound stock for the base and sides that matches the selected plan. A single panel and a base assembled from multiple boards need different construction details. Wood movement and base support matter; do not invent a joint layout from a photo.
Select handles appropriate for the intended use and follow their fixing instructions. Match screw or bolt length to the actual material and make sure the attachment does not leave sharp points inside or underneath. Hardware and joints work together; neither compensates for a weak base.
Pick a finish for the tray’s stated use and follow its full curing directions. For direct food contact, verify the suitability of the entire material and finish system for that use; do not infer it from a product’s natural appearance. A tray used with dishes should still be protected from spills and wiped according to its finish instructions.
Tools You May Need
Measuring tools, a square, appropriate saw, clamps, and sanding supplies are typical. A drill or driver may be needed for the joints and handles. Lay out the actual handles rather than relying on an assumed hole spacing.
Follow the tool manufacturer’s instructions and use appropriate eye, hearing, and dust protection. Secure narrow rails during work. Check both sides before drilling or fastening, and follow finish ventilation and disposal requirements.
Want a Tray Plan with the Joinery Worked Out?
You can explore the TedsWoodworking affiliate offer for plan options. Review the current contents, tool requirements, and intended uses before buying; this specific tray is not verified as included.
Browse the Woodworking Plans →Basic Build Overview
- Choose the intended contents and a suitable plan. Consider how the tray will be held and where it will be stored.
- Select sound base and rail stock. Confirm that it meets the plan instead of stretching undersized scraps.
- Mark and prepare the parts with a safe cutting setup. Keep matching rails consistent.
- Dry-fit the rectangle and check base flatness, corners, and handle clearance. Resolve gaps before permanent assembly.
- Assemble according to the plan, prepare handle fixings, and apply the selected finish in the appropriate sequence.
- After curing, inspect the base, joints, and handles. Begin with cautious use for light, contained items; do not claim a load rating from a casual trial.
Tips for a Cleaner Finish
Give the inside corners attention
Glue residue is easy to miss where a side meets the base. Clean it up as appropriate for the adhesive before it disrupts staining. Do not aggressively sand a corner until its shape becomes uneven.
Check the grip and underside
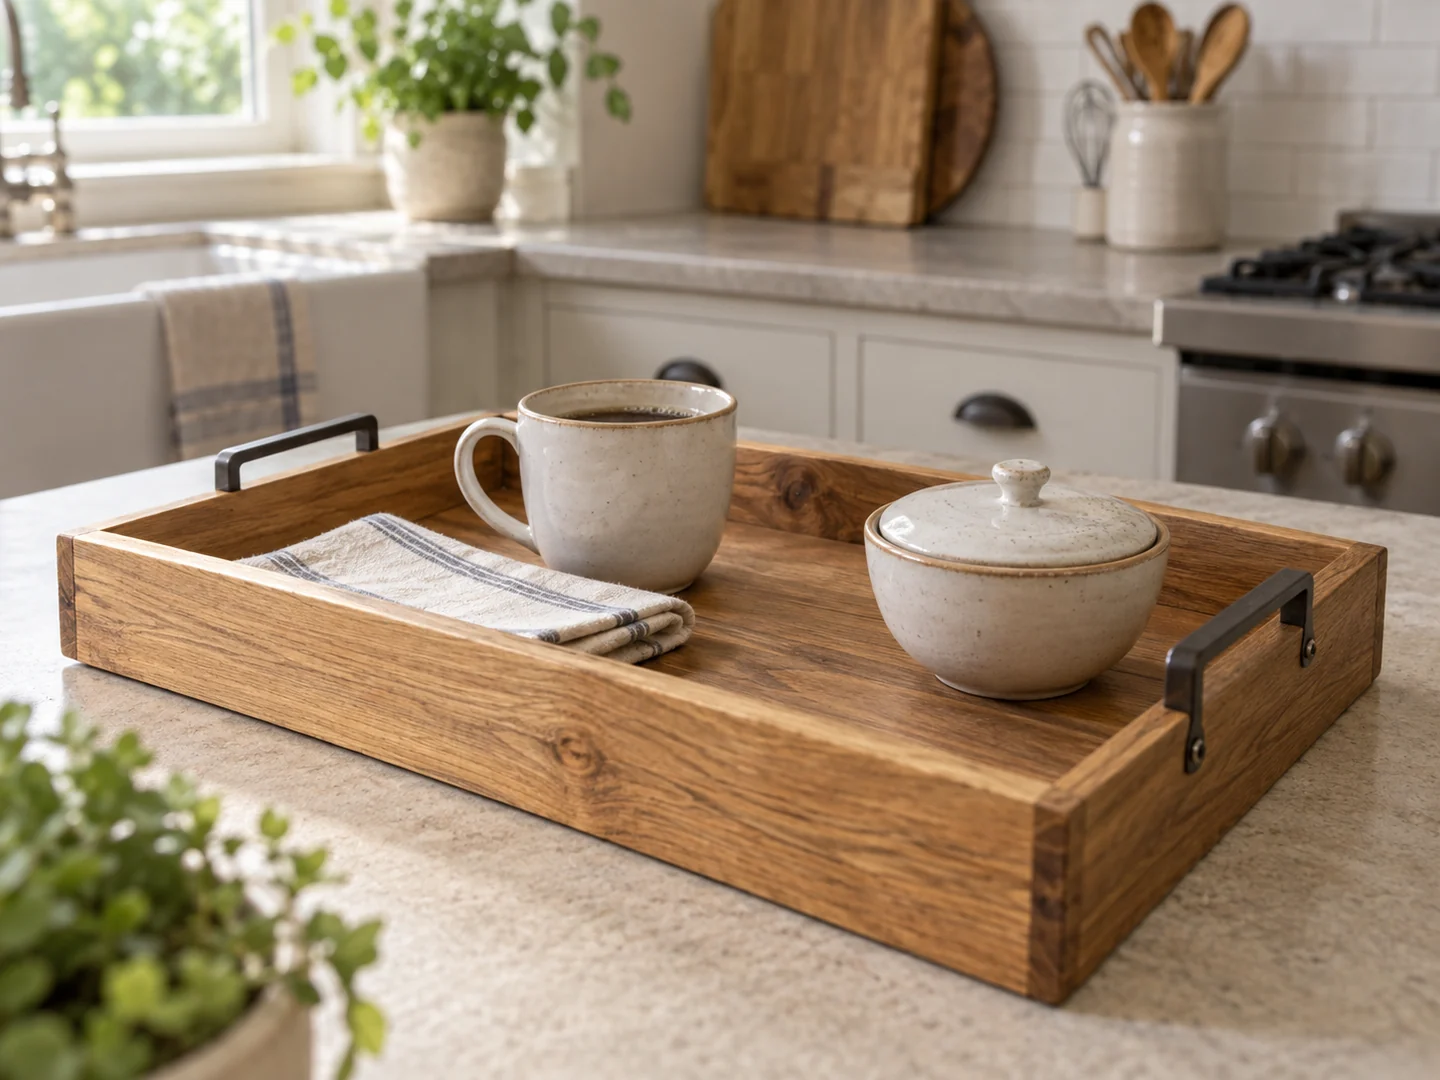
Run a careful visual and touch inspection around the handles and lower edges. Fixings should not scratch the table beneath the tray. Ensure fingers have enough room to grip without scraping a rough rail.
Test the finish on representative stock, especially if the base and sides are different woods. A coordinated tone is often more achievable than an exact color match. Provide care directions based on the actual finish and avoid dishwasher or waterproof claims without evidence.
Ideas for Selling This Project
A natural tray, a darker version, and a personalized housewarming design can serve different tastes. Keep custom lettering away from working joints and make clear whether the tray is decorative or intended for carrying tableware. A coaster set can be a coordinated add-on.
Use photographs of the actual finished tray: one overhead, one showing handle attachment, and one with dishes for scale. State overall and usable interior dimensions, included items, and care instructions. Do not let a styled photograph imply that cups or other props are part of the purchase.
Craft fairs and local gift shops allow buyers to assess the grip and finish, while online marketplaces need strong detail photos and protective packaging. Count hardware, packaging, shipping, fees, and labor before deciding whether a price makes sense. No design or sales channel guarantees a sale.
Related Scrap Wood Projects
- Easy Scrap Wood Coasters for Beginners
- DIY Scrap Wood Napkin Holder
- Easy Scrap Wood Storage Caddy
- Easy Scrap Wood Storage Box
Explore the full collection: 21 Easy Scrap Wood Projects You Can Make and Sell.
Build on Your Tray-Making Skills
If this project makes you curious about more assemblies, browse the TedsWoodworking affiliate offer. Check the current plan descriptions and choose a next project with suitable materials and instructions.
Explore the Plans Collection →