Affiliate Disclosure: This page contains affiliate links. If you purchase through one of these links, I may earn a commission at no additional cost to you.
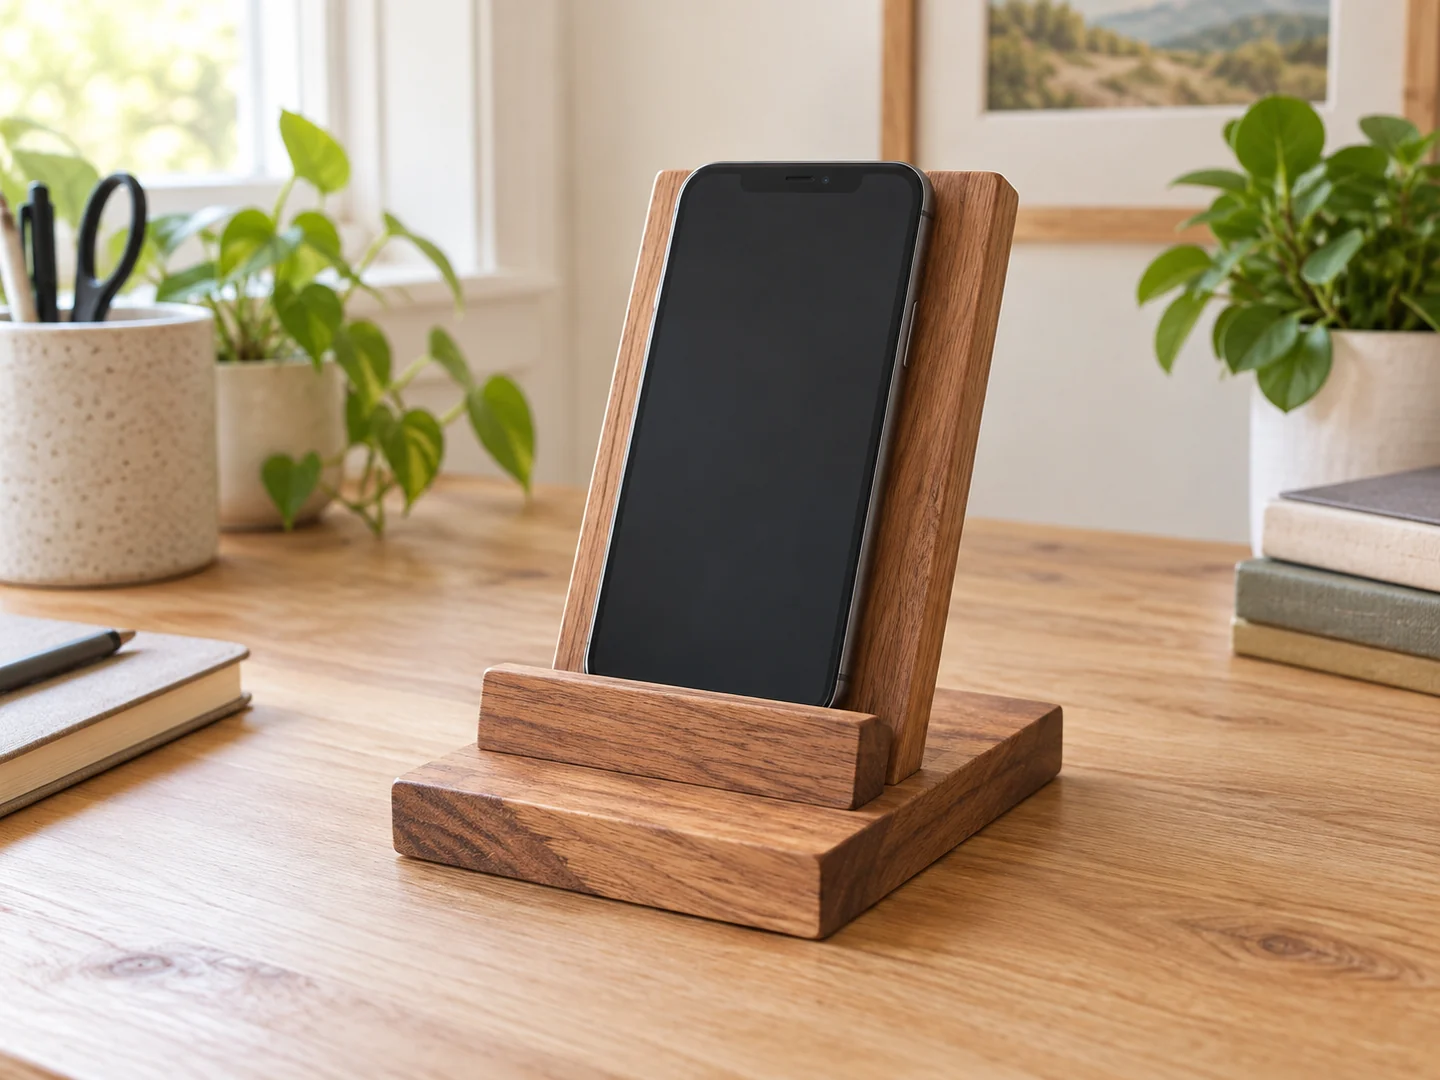
A wooden phone stand gives your device a visible home on a desk without needing a complicated charging station. A broad base, supported back, and small retaining lip make a useful starting concept for clean offcuts. The important question is whether the stand fits your actual phone, including its case.
This overview covers fit, stability, materials, and the general assembly sequence. Use a verified dimensioned plan for the final build. The images illustrate a design idea; they do not establish a tested viewing angle, load rating, or universal device compatibility.
Project Overview
| Difficulty | Beginner-friendly with a simple supported-back design |
|---|---|
| Estimated build time | Varies by design; finishing and curing add time |
| Typical materials | Sound flat offcuts, suitable glue or plan-specified fasteners, optional protective pads |
| Typical tools | Measuring tools, saw, clamps, sanding supplies; drill if required |
| Best for | Desks, bedside tables, personalized gifts |
Why This Is a Good Beginner Project
This project introduces the relationship between shape and function. A stand can look tidy yet feel awkward if the lip covers the screen or the base tips when you touch the phone. Checking those details teaches you to evaluate a project from the user’s position instead of only looking at it from the front.
It also works with pieces too small for furniture. A simple assembled stand lets you practice aligning a few flat parts without cutting a narrow slot into a tiny block. Choose the version that suits your available tools and skill, rather than assuming a one-piece design is always easier.
Materials You May Need
Choose flat, sound stock for the base and back, with a separate lip or other support as specified in your chosen plan. Reject cracked material around joints. Avoid mystery pallet wood, old painted trim, or scraps with unknown coatings, especially where the phone will touch the surface.
The plan may call for wood glue, screws, or both. Use the recommended joint arrangement rather than treating adhesive as a substitute for adequate support. Optional cork or other soft pads should be securely attached and compatible with your phone case and wood finish. Do not add electrical components as part of this simple version.
Before selecting a finish, consider daily handling. A fully cured, smooth surface should not transfer color or feel tacky. Test the finish on a matching offcut and follow the product’s application and curing directions.
Tools You May Need
A square, ruler, and pencil help you mark the base and keep the lip aligned. A suitable saw and secure holding method are needed for cutting; a drill is only necessary if your selected assembly calls for drilled holes or fasteners. Sanding blocks offer control where the phone contacts the wood.
Follow each tool manufacturer’s instructions and use appropriate eye, hearing, and dust protection. Small pieces need a safe holding setup. Do not improvise a cut that brings fingers close to a blade, and disconnect power before changing blades or adjusting a tool as its manual directs.
Want a Plan Before Choosing the Angle?
A dimensioned plan can help you assess the stand before cutting. The affiliate link below leads to the TedsWoodworking offer; check its current contents and tool requirements. Inclusion of this particular stand is not verified.
Browse the Woodworking Plans →Basic Build Overview
- Define the use. Decide whether the phone will sit upright, sideways, or both. Check the case, camera bump, and position of controls.
- Compare the plan with the device. Assess the lip height, back support, and footprint. A cardboard mockup can help explore viewing position, but it does not prove strength or stability.
- Prepare the parts. Inspect the offcuts and follow the chosen plan for marking and cutting. Keep contact surfaces flat.
- Dry-fit on a level surface. Check alignment without permanently assembling the pieces. Make sure the front lip does not block the intended screen area.
- Assemble and finish. Follow the plan for the joints and the finish label for curing. Remove excess glue from visible areas before it interferes with the finish.
- Check function carefully. Start with an empty stand, then check the intended device gently on a stable table. Do not rely on the stand if it rocks, slides, or tips.
Tips for a Cleaner Finish
Make contact areas comfortable
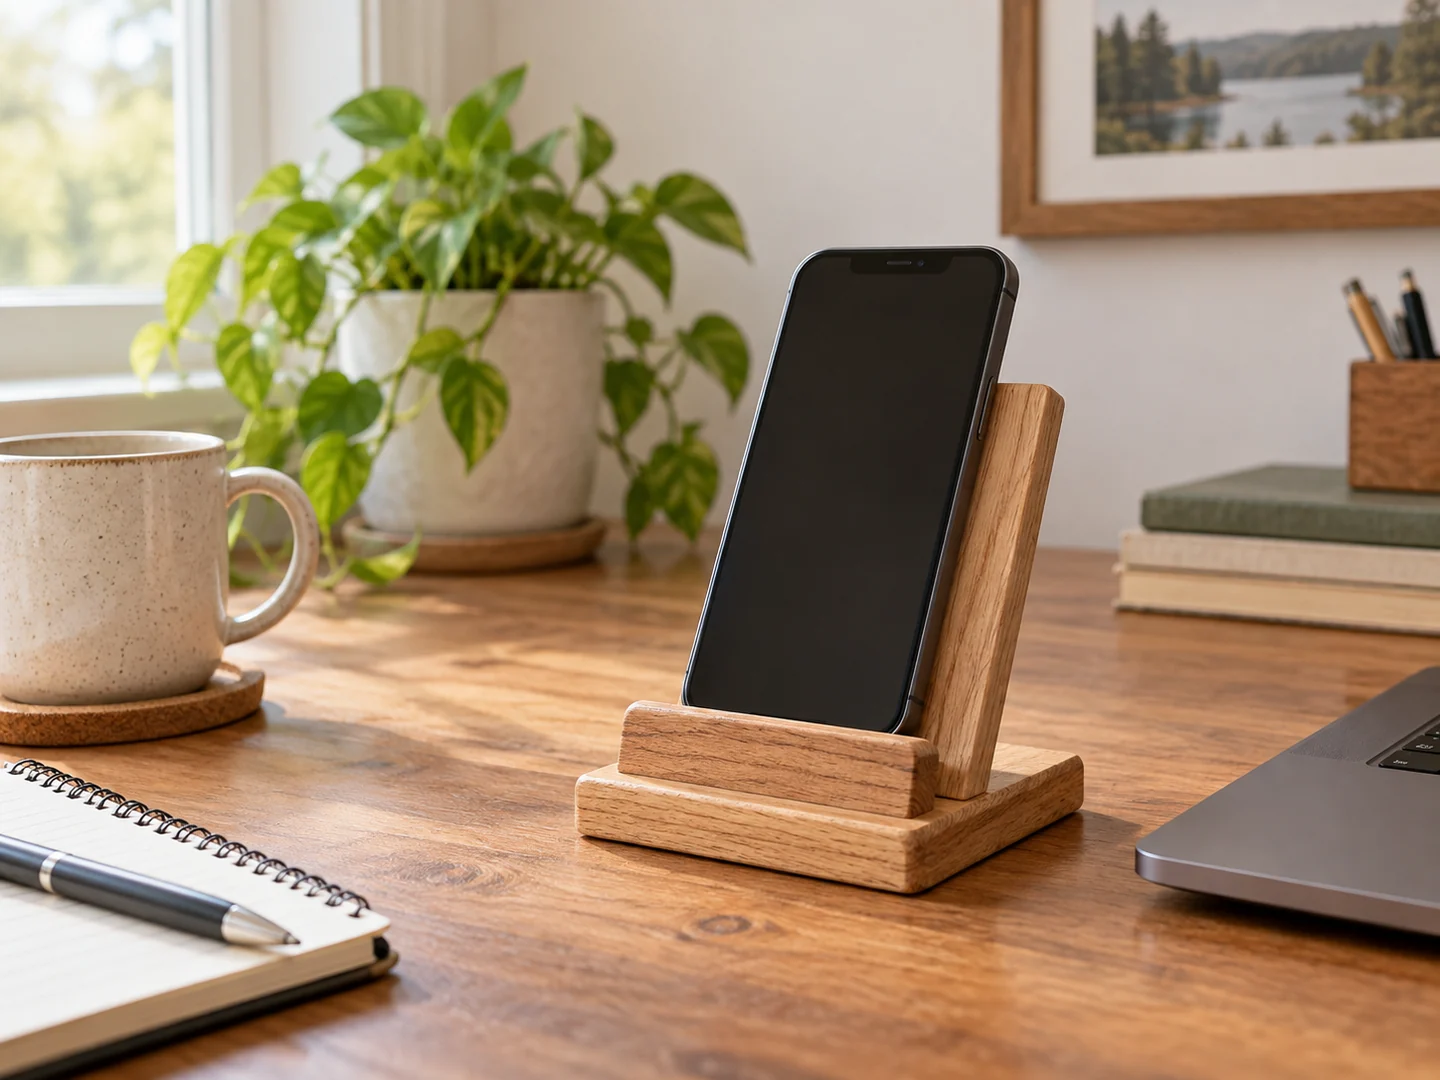
Ease edges that touch the case and inspect the inner corner behind the lip. A ridge of dried glue can scratch or prevent the phone from seating properly. Avoid rounding the supporting edge so much that it stops retaining the phone.
Leave a workable cable path
If you want charging access, select a plan designed around your connector and cable. The cable should not be sharply bent or trapped under the phone. Do not claim wireless charging compatibility without testing the actual arrangement and checking device instructions.
View the stand from the side as well as the front. Uneven lip alignment becomes obvious in profile. Keep the finish thin and even according to its instructions, and allow full curing before letting the phone rest against it.
Ideas for Selling This Project
Offer variations based on a clear use case: a compact desk stand, a wider landscape-viewing version, or a personalized gift. Natural grain, darker finishes, and a small name on the base can create distinct styles without adding unnecessary features. Confirm that personalization will not intrude into a supporting surface.
For craft fairs and local sales, let buyers compare the stand with their own device under supervision. For an online marketplace, show side, front, and rear views, and list the actual opening and overall dimensions of the item made. Include whether the pictured phone, cable, or accessories are excluded.
A matching desk organizer can make a coordinated gift set, but do not describe the stand as fitting every phone. Use photographs of your actual build in product listings. Before setting a price, account for finishing, pads, packaging, fees, and your time; market interest and profitability are uncertain.
Related Scrap Wood Projects
- DIY Scrap Wood Desk Organizer
- DIY Scrap Wood Mail Organizer
- Easy Scrap Wood Coasters for Beginners
- Easy Scrap Wood Bookends
Explore the full collection: 21 Easy Scrap Wood Projects You Can Make and Sell.
Choose Your Next Desk Project
If you enjoy making useful desk accessories, explore additional project plans through the TedsWoodworking affiliate offer. Read the seller’s current description and choose a design appropriate for your tools.
Explore the Plans Collection →