Affiliate Disclosure: This page contains affiliate links. If you purchase through one of these links, I may earn a commission at no additional cost to you.
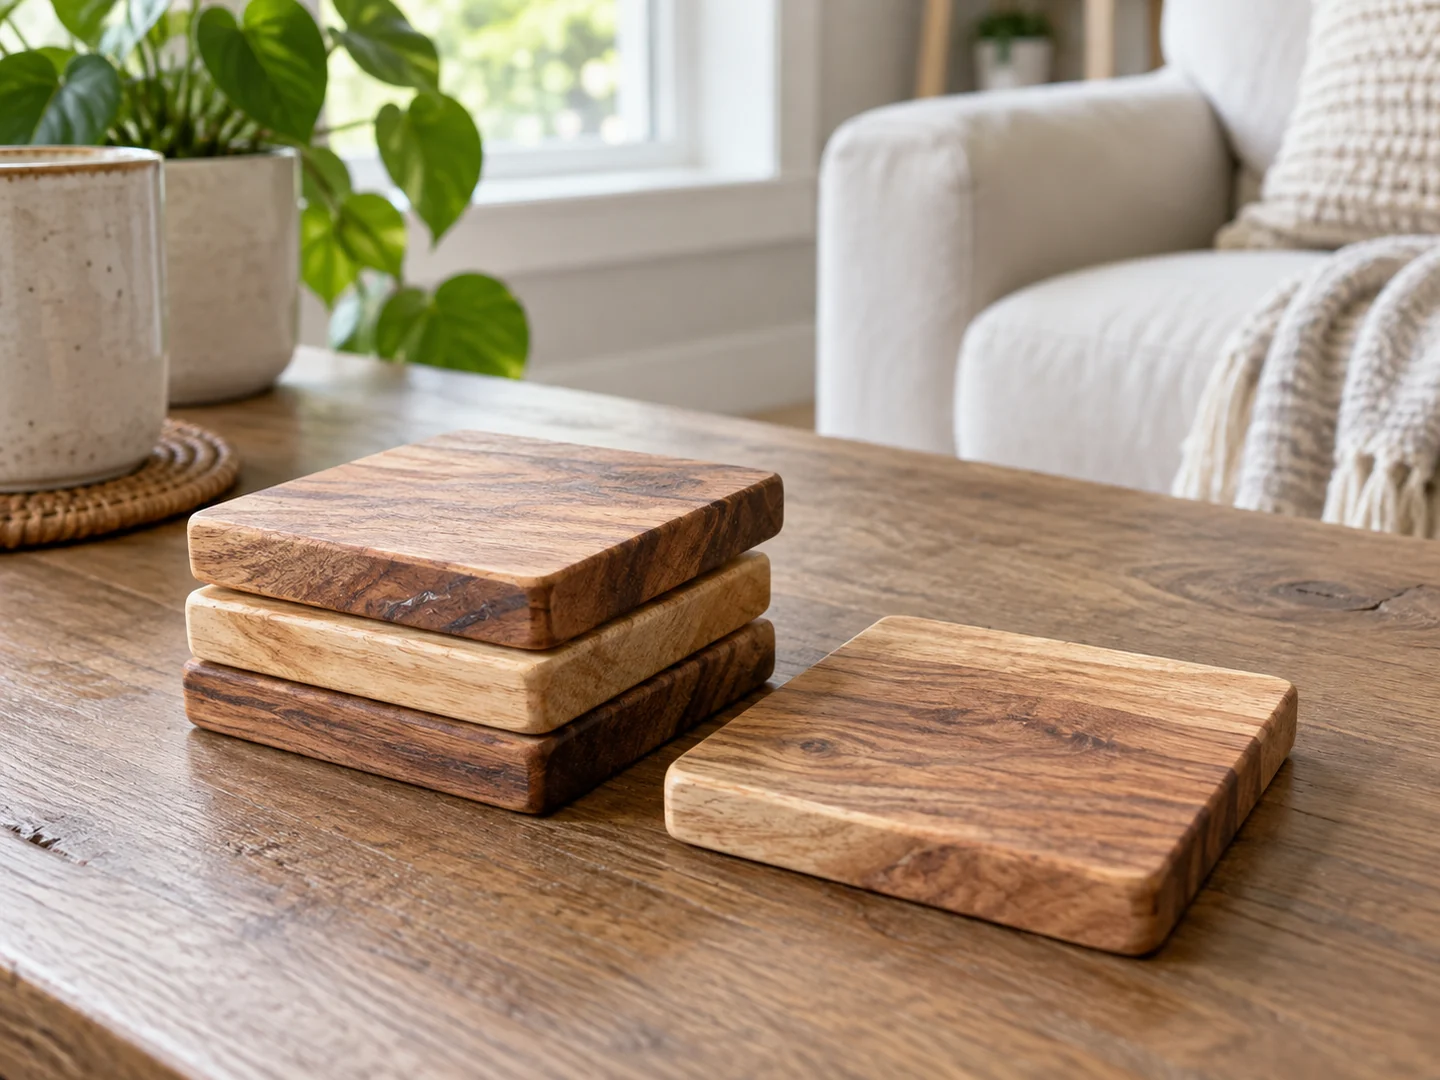
A set of wooden coasters turns small, sound offcuts into something useful at the coffee table. Start with a simple flat design: the learning comes from consistent edges, a stable base, and a finish that suits occasional splashes. You do not need a decorative inlay to make the grain look good.
This guide helps you choose suitable scraps, understand the build sequence, and plan a coordinated set for gifts or possible sale. It is a project overview, not a dimensioned cutting plan. Choose a verified plan and check it against your own cups before cutting.
Project Overview
| Difficulty | Beginner-friendly for a plain, single-piece design |
|---|---|
| Estimated build time | Varies by design; allow additional drying and full curing time |
| Typical materials | Sound wood offcuts, suitable finish, optional cork backing |
| Typical tools | Measuring tools, an appropriate saw, clamps, sanding supplies |
| Best for | Coffee tables, housewarming gifts, small coordinated sets |
Why This Is a Good Beginner Project
Coasters reward consistency more than complicated joinery. A plain coaster can come from one piece of wood, so you can concentrate on measuring, refining the edges, and finishing without also solving a box assembly. The small surface makes it easy to compare sanding marks under angled light.
Making a set also teaches a useful distinction: matching does not mean identical grain. Pieces can share a shape, thickness, and edge treatment while keeping their individual color. Arrange the scraps together before committing to cuts. If one piece looks unrelated, save it for a different set.
Choose flatness before decoration
A coaster should sit steadily and give the cup a level landing. Cupped scraps, deep grooves, or a proud decorative insert can make that harder. For a first attempt, let the wood itself provide the pattern and keep the upper surface uninterrupted.
Materials You May Need
- Clean, identifiable wood offcuts: choose sound pieces with enough usable area for the selected plan. Avoid loose knots, splits, and unknown treatments.
- A suitable wood finish: check the product label for the intended use, moisture exposure, application, and curing requirements. A finish being dry to the touch does not mean it is ready for use.
- Optional cork backing: use an adhesive compatible with both the backing and the finished wood. Keep the backing even so it does not introduce wobble.
- Finishing supplies: include the applicator and cleanup materials specified by the manufacturer.
Do not assume reclaimed lumber is safe because it looks rustic. Painted scraps and wood from an unknown source may have coatings or contamination you cannot identify. Choose known, untreated stock instead of trying to remove an uncertain surface.
Tools You May Need
A ruler or tape, pencil, and square help establish a repeatable outline. Use a saw appropriate for the stock and chosen design, with clamps or a suitable holding method. Sanding blocks and abrasive papers give good control on the small faces and edges; a power sander is optional.
Small parts can be difficult to hold safely. Follow the tool manufacturer’s instructions, use appropriate eye, hearing, and dust protection, and keep hands clear of cutting areas. If a cut requires holding a tiny piece close to a blade, stop and choose a safer method with qualified guidance.
Planning Your Next Small Wood Project?
If you prefer working from a plan, you can browse the TedsWoodworking offer through the affiliate link below. Review the seller’s current contents and requirements before buying; this article does not confirm that this exact coaster design is included.
Browse the Woodworking Plans →Basic Build Overview
- Check the intended cup. Compare the plan with the base of the mug or glass, leaving a comfortable landing area. Decide on the shape and whether backing will be used.
- Select and mark the stock. Inspect each piece, identify the best face, and mark a consistent outline. Keep obvious defects outside the usable area.
- Cut using an appropriate setup. Follow the selected plan and tool instructions. Consistent pieces are more useful than rushing to finish the set.
- Refine the surfaces. Remove visible tool marks and lightly ease sharp edges. Check that each coaster rests flat before moving to finish.
- Apply and cure the finish. Follow the finish maker’s directions, including compatible preparation, ventilation, and cure time. Add optional backing only when compatible with the cured surface.
- Evaluate the finished set. Check for wobble, rough undersides, sticky surfaces, and inconsistent edges. Use a sample for a cautious everyday-use check before offering matching pieces to anyone else.
Tips for a Cleaner Finish
Keep the edge treatment consistent
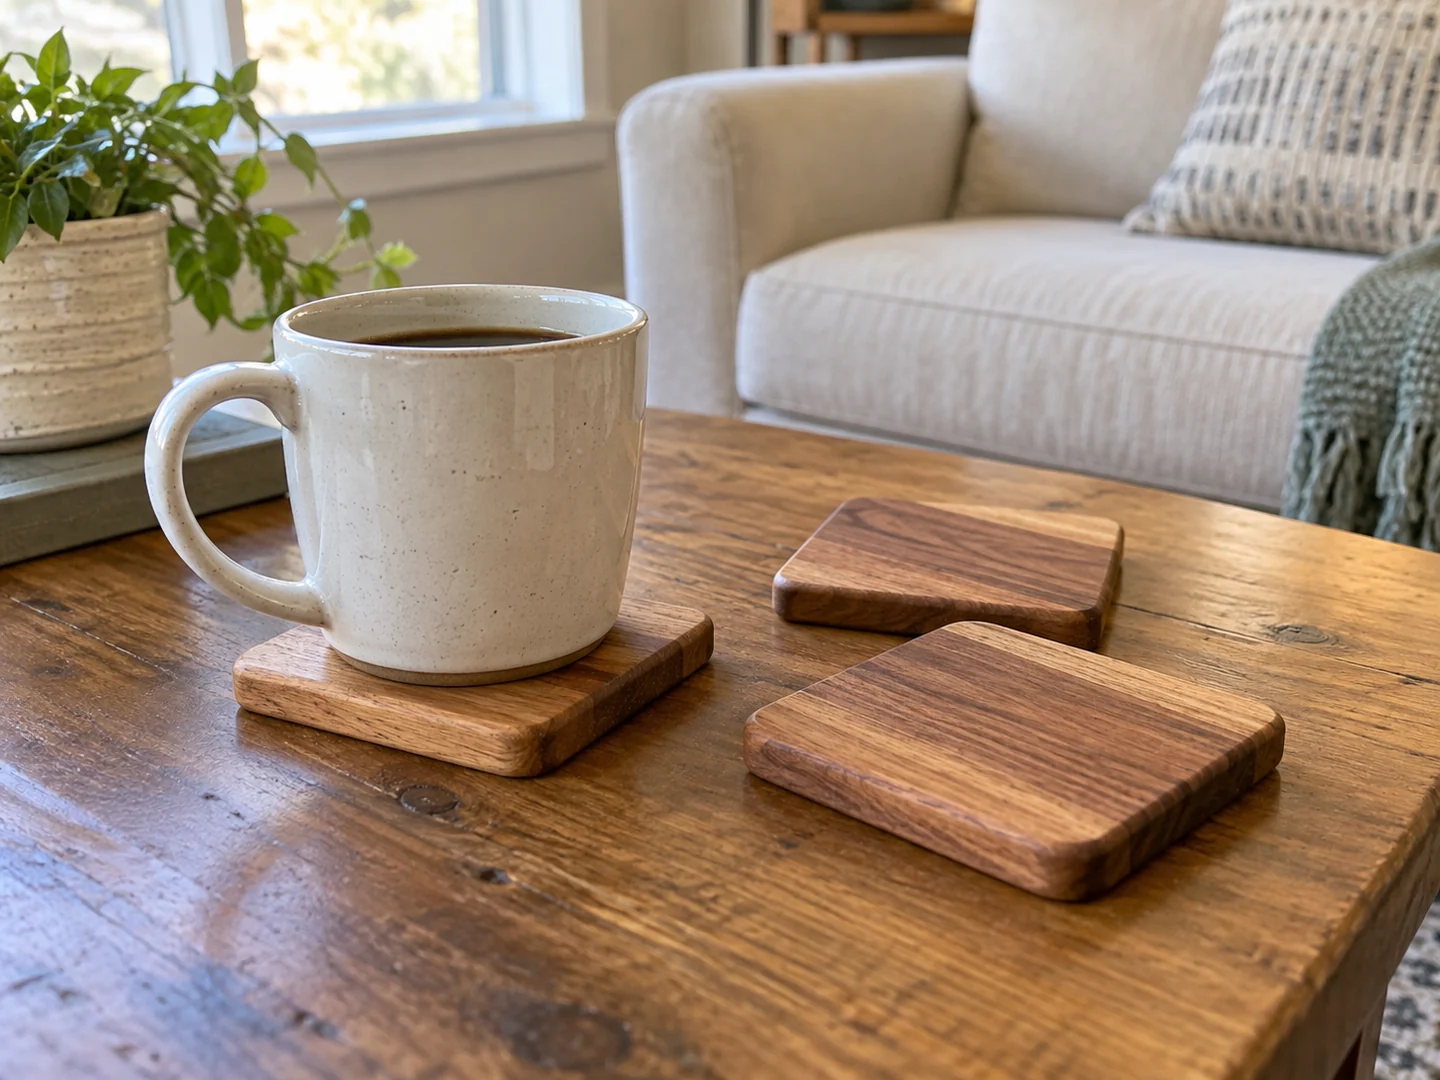
It is easy to round one corner more than the others when working by eye. Use the same reference shape and compare pieces together. The goal is a comfortable edge, not a heavily rounded top that leaves too little flat space for a glass.
Inspect end grain and the underside
End grain may absorb finish differently from the broad faces. Test the entire finishing schedule on a matching offcut rather than judging the color from an unfinished board. The underside deserves attention too: rough fibers or trapped grit can mark the furniture beneath it.
Do not describe a finished coaster as waterproof or heatproof without evidence. Provide care instructions consistent with the actual finish. Wiping up spills, avoiding soaking, and allowing the coaster to dry are more realistic expectations than treating it like dishwasher-safe tableware.
Ideas for Selling This Project
Build a recognizable set around one choice: a quiet natural finish, a darker stain, or a small personalized detail away from the cup’s landing area. A matching holder can be a later addition once the coasters themselves are consistent. Name or initial customization may suit housewarming gifts, but confirm spelling and placement before making the final piece.
Photograph the complete set, one coaster beside a familiar cup, and a close view of the underside. Show the actual item being offered and state what is included. AI-generated concept images can inspire a design, but they should not stand in for photographs of a product you are selling.
Craft fairs let shoppers handle the finish, while an online marketplace requires clear dimensions, care details, and packaging information. Local gift shops or direct local sales are other possibilities to explore. Demand and costs vary; track materials, finishing time, packaging, fees, and shipping before deciding whether a price is workable. A small batch is a way to learn, not a guarantee of sales.
Related Scrap Wood Projects
- Easy Scrap Wood Serving Tray — explore a larger tabletop companion.
- DIY Scrap Wood Napkin Holder — practice a simple upright assembly.
- DIY Scrap Wood Candle Holder — plan a decorative holder for flameless LED candles.
- Easy Scrap Wood Storage Box — move from flat pieces to a container.
See the full collection: 21 Easy Scrap Wood Projects You Can Make and Sell.
Ready to Explore More Woodworking Plans?
Use your coaster project to learn what you enjoy: shaping, matching grain, or finishing. If a larger collection of plans would help you choose a next project, review the TedsWoodworking offer and check the details for yourself.
Explore the Plans Collection →