Affiliate Disclosure: This page contains affiliate links. If you purchase through one of these links, I may earn a commission at no additional cost to you.
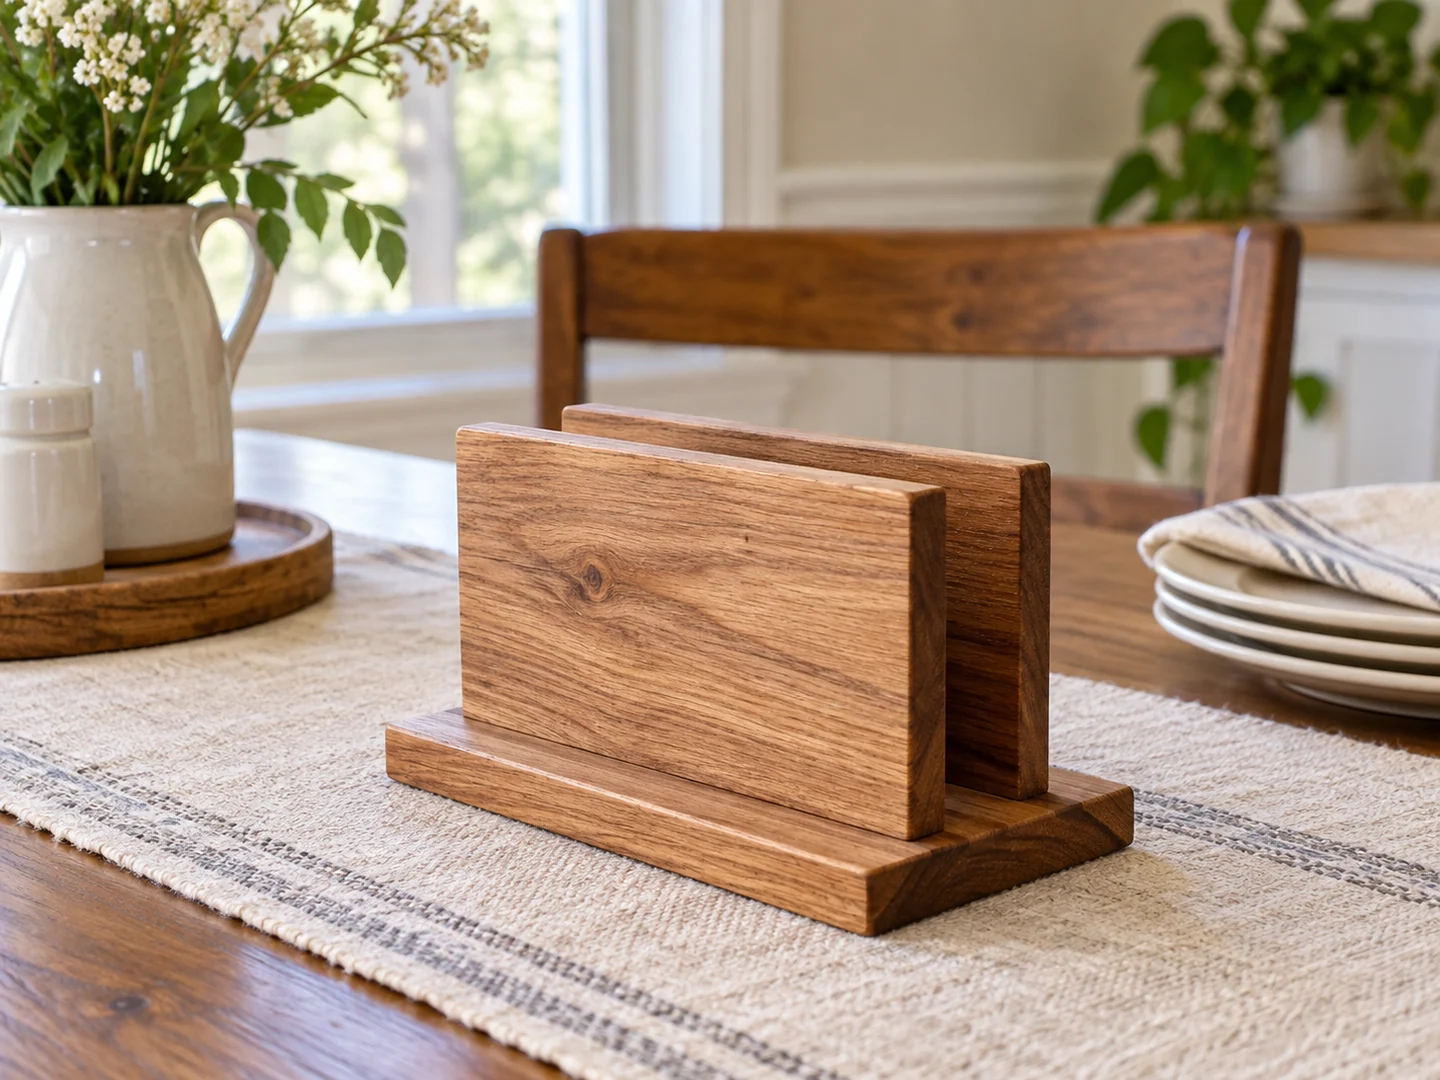
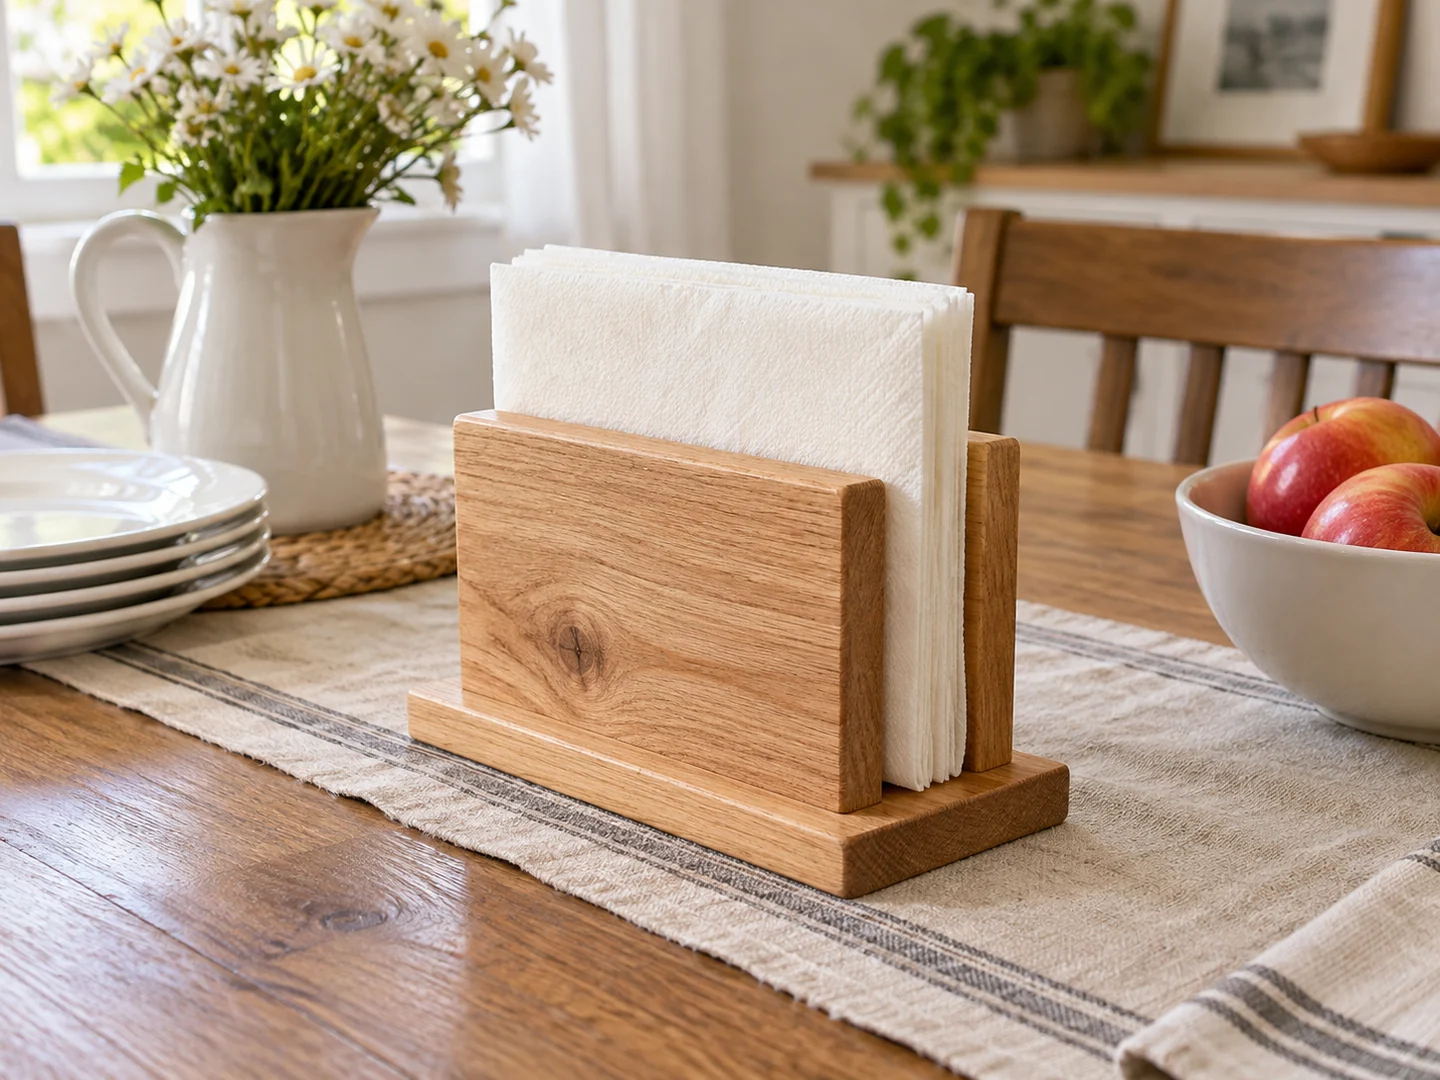
A wooden napkin holder gives a few flat offcuts a useful place on the table. A simple version has a base and two upright panels that keep folded napkins together while leaving the top open. Start with the napkins you use instead of choosing the opening by eye.
This guide explains fit, assembly order, and finishing choices. It is a build overview rather than a dimensioned plan. The final panel sizes, spacing, and joints should come from a suitable verified design.
Project Overview
| Difficulty | Beginner-friendly parallel-panel assembly |
|---|---|
| Estimated build time | Varies by design; finishing and curing add time |
| Typical materials | Flat base and upright panels, plan-specified joints, suitable indoor finish |
| Typical tools | Ruler, square, appropriate saw, clamps, sanding block |
| Best for | Everyday dining tables, coffee stations, coordinated table gifts |
Why This Is a Good Beginner Project
The project introduces parallel alignment without needing a complicated box. If the panels lean toward each other, the opening becomes tighter at the top; if they lean outward, the holder can look unfinished. Dry-fitting with a square makes those relationships easy to understand.
It is also a useful lesson in leaving enough room. A holder should keep a stack tidy without squeezing it so tightly that several napkins come out together. Testing with a full and a nearly empty stack helps you think about daily use instead of only the first styled photo.
Materials You May Need
Choose flat, sound stock for the base and panels. Match the plan’s material requirements rather than selecting the thinnest pieces available. Reject splintered or cracked edges where people will reach for a napkin.
Use the plan-specified adhesive and fasteners. Check that screws, if used, cannot project into the opening or beneath the base. A simple holder may not need extra hardware, but that choice depends on the joint design.
Pick a fully curing finish suitable for indoor handling and occasional wiping. Keep food on appropriate dishes; this project does not establish direct food-contact suitability. Optional pads should be even and securely attached. Choose known untreated stock instead of wood with uncertain coatings or contamination.
Tools You May Need
A ruler, square, pencil, appropriate saw, clamps, and sanding block suit many versions. A drill is only needed when called for by the plan. Use a representative stack of napkins as a fit reference during planning, away from any active cutting operation.
Follow tool instructions and use suitable eye, hearing, and dust protection. Narrow panels need secure workholding. Do not use excessive clamp pressure to force warped pieces into alignment; select straighter stock and appropriate joints.
Looking for More Tabletop Woodworking Plans?
The TedsWoodworking affiliate offer lets you review further plan options. Check current contents and tool requirements before purchasing; this exact napkin holder is not verified as included.
Browse the Woodworking Plans →Basic Build Overview
- Choose the napkin type and folding style, then compare the stack with the selected plan.
- Check the usable gap, panel height, and base footprint. Leave room for fingers to remove a napkin comfortably.
- Prepare the base and matching panels from sound stock according to the plan.
- Dry-fit the panels parallel to one another and square to the base. Check both full and small stacks.
- Assemble the joints and remove glue residue where it would interfere with paper or finishing.
- Apply and cure the finish, then check flatness, smooth edges, and easy removal of napkins.
Tips for a Cleaner Finish
Keep the upper edges consistent
The top edges are handled often and sit close together in view. Ease them evenly and check for fibers that might catch paper. A decorative curve is optional; a clean straight profile can look just as considered.
Check the inside surfaces
Prepare the inside faces before assembly makes them harder to reach, keeping glue surfaces suitable for bonding. Avoid thick finish buildup at the bottom corners.
If you choose paint, test for color transfer only after the full stated cure time. Check that the holder rests steadily and does not slide unnecessarily when a napkin is removed. Provide care guidance based on the finish rather than claiming dishwasher compatibility.
Ideas for Selling This Project
Offer natural wood, a muted painted version, or a coordinated holder-and-coaster set. A small family name or simple motif can suit a housewarming gift. Keep personalization away from the paper contact area if it introduces rough texture or raised details.
Photograph the actual holder with the napkin style it fits, plus an empty view showing the opening. List actual dimensions and whether napkins are supplied. Avoid calling it suitable for all napkins, since sizes and folded thickness vary.
Craft fairs, local kitchen-gift shops, and online marketplaces are places to investigate. A compact design may be easier to package than tall decorative panels, but calculate real shipping and packaging costs before pricing. Include your time and selling fees, and use real product images. A coordinated table setting is a presentation idea, not evidence of demand.
Related Scrap Wood Projects
- Easy Scrap Wood Coasters for Beginners
- Easy Scrap Wood Serving Tray
- DIY Scrap Wood Spice Rack
- DIY Scrap Wood Candle Holder
Explore the full collection: 21 Easy Scrap Wood Projects You Can Make and Sell.
Choose Another Project for the Table
Explore the TedsWoodworking affiliate offer if you want more plan choices. Review the seller’s current information and select a build suited to your materials and tools.
Explore the Plans Collection →