Affiliate Disclosure: This page contains affiliate links. If you purchase through one of these links, I may earn a commission at no additional cost to you.
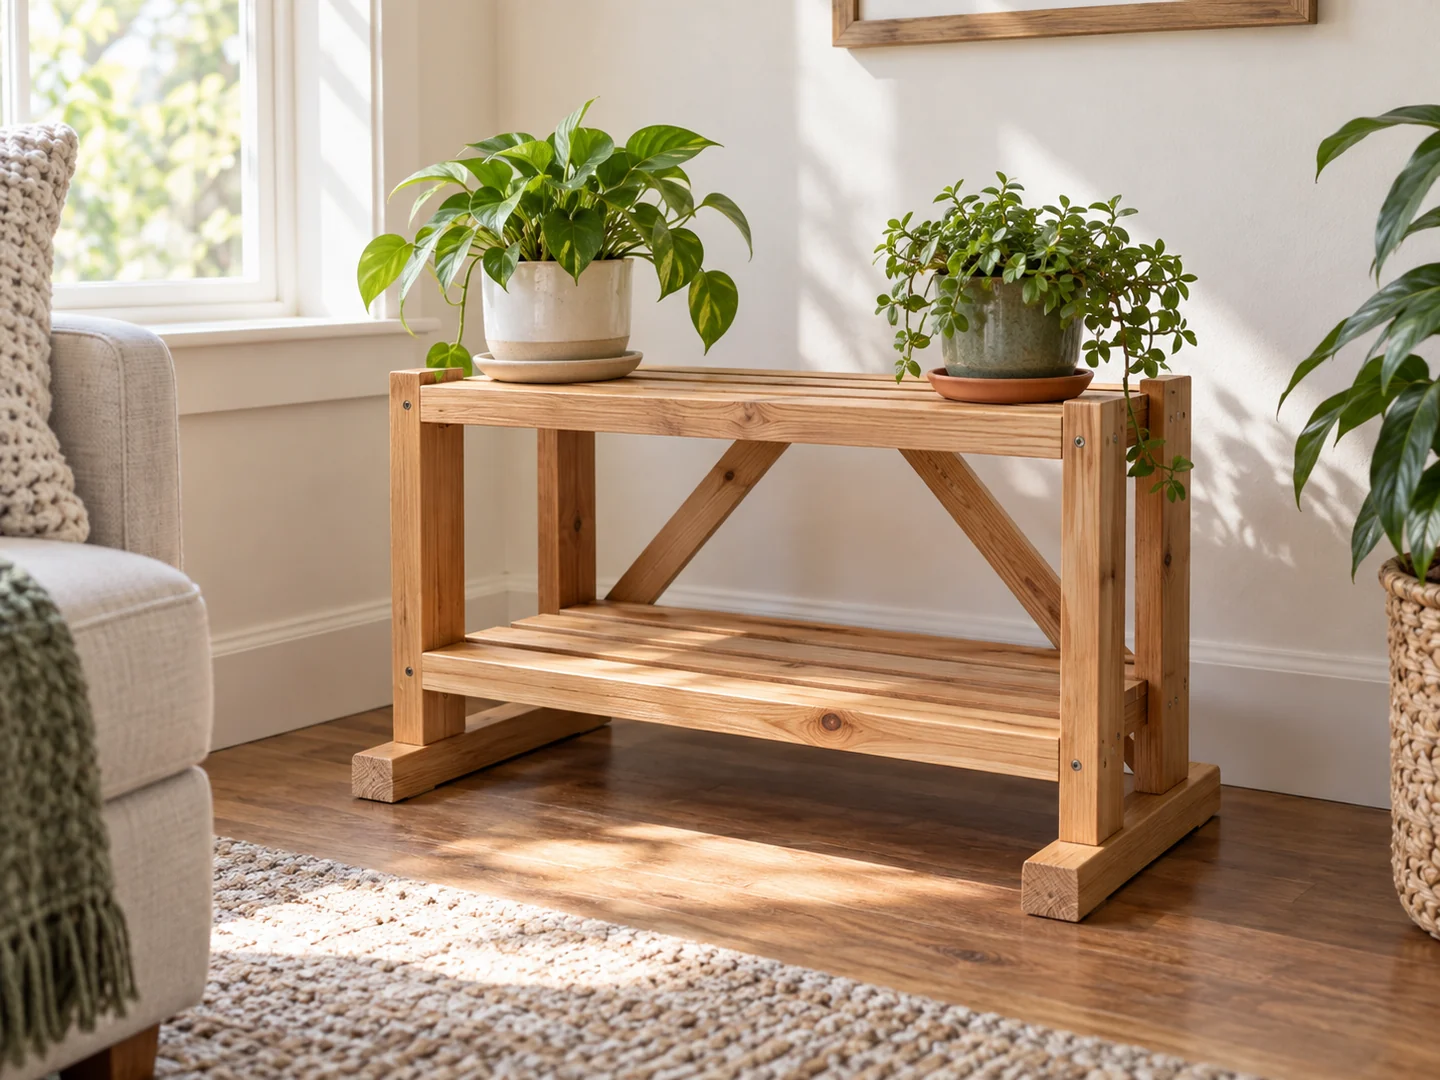
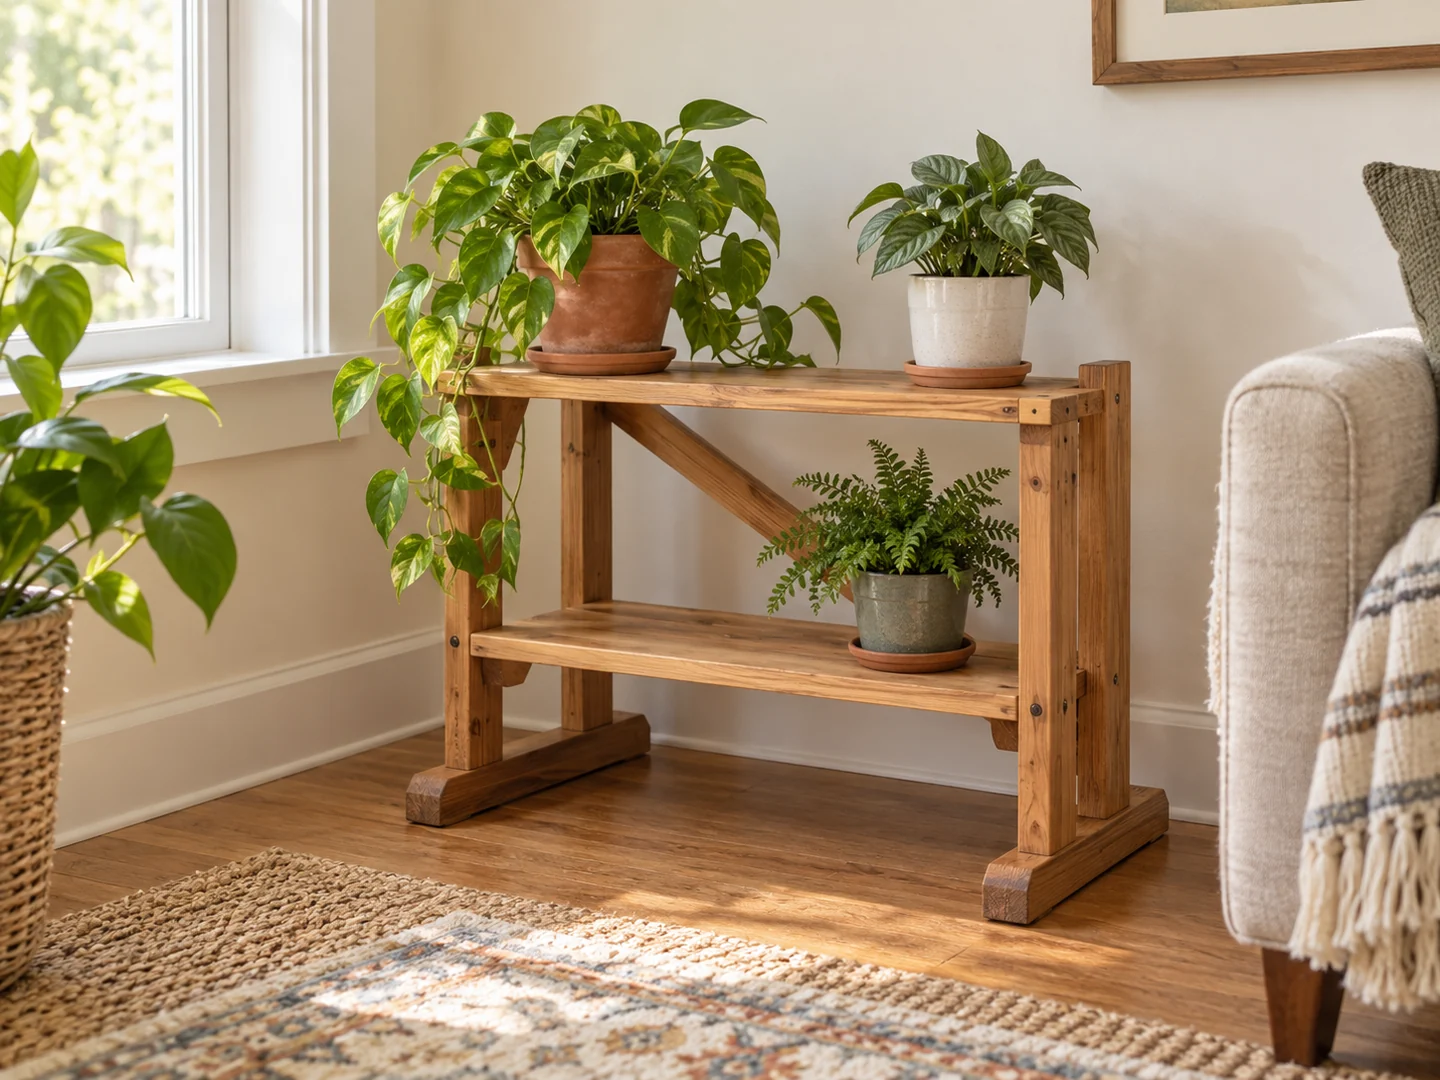
A wooden plant shelf groups pots at different levels and can make a small plant corner easier to organize. Suitable offcuts may provide individual shelves or shorter supports, but the structure needs to be chosen around real pots and their weight when watered.
This guide explores shelf spacing, stability, watering access, and finish choices. It is a planning overview, not a dimensioned or load-rated plan. Select a design intended for your indoor or outdoor setting rather than copying the proportions of the illustration.
Project Overview
| Difficulty | Beginner with a suitable shelf plan; size and mounting affect complexity |
|---|---|
| Estimated build time | Varies by design; finishing and curing add time |
| Typical materials | Sound boards, plan-specified supports and fasteners, suitable finish |
| Typical tools | Measuring tools, square, saw, drill, clamps, sanding tools |
| Best for | Arranging a modest collection of potted plants |
Why This Is a Good Beginner Project
A small plant shelf gives beginners a practical reason to think in three dimensions. A pot may fit on a shelf while its leaves collide with the shelf above. A pleasing empty structure may also be difficult to water once the plants are in place. Mocking up the arrangement helps reveal those issues early.
Repeated shelves offer practice making matching parts and keeping supports aligned. The more demanding part is stability, especially with taller plants or heavy containers. Start with a modest design backed by a suitable plan, and treat additional height or width as a structural change rather than a harmless styling variation.
Materials You May Need
Choose dry, sound lumber that meets the plan’s requirements. Reject rot, significant splits, loose knots near joints, hidden metal, and unknown treatments. Scrap wood can work for some components, but do not reduce shelf thickness or support size merely to use what is available.
Use the plan’s specified joinery, fasteners, bracing, and any anchoring method. A freestanding shelf and a wall-mounted shelf solve different problems and need different support details. For a tall freestanding design, follow the plan’s anti-tip provisions; do not assume placing heavier pots low resolves every stability issue.
Choose saucers or trays that fit the pots and catch normal drainage without hanging precariously over an edge. A finish should suit the actual exposure, but a coating does not make indoor lumber and joinery universally weatherproof. Keep plants in appropriate containers rather than using the shelf itself as a planting bed.
Tools You May Need
A tape measure, square, saw, drill, clamps, and sanding tools are common. The chosen design determines additional requirements. Use actual pots or measured mockups when evaluating shelf depth and clearance, and include foliage and the movement needed to remove a pot.
Follow tool manufacturers’ instructions and wear appropriate eye, hearing, and dust protection. Support stock securely. For wall mounting or anti-tip installation, identify the wall construction, use an appropriate fixing method, and check for concealed services before drilling. Get help if the installation is outside your experience.
Choose a Shelf Plan for the Whole Setup
Browse TedsWoodworking if you want to compare woodworking plans. Review the details before buying, including supports and intended use; we have not verified the illustrated plant shelf as a project in the collection.
Browse the Woodworking Plans →Basic Build Overview
- Choose the location and plants together. Check available light, access for watering, and the path people use around the shelf. Avoid creating an obstruction or placing pots where they can easily be knocked down.
- Measure the real containers and allow growth space. Include saucers, foliage, and the room needed to lift pots in and out. Consider the contents when watered rather than judging by an empty lightweight pot.
- Select a compatible structural plan. Confirm shelf spans, supports, joints, bracing, and any wall or anti-tip fixings. Match the available wood to those requirements without improvising a claimed load capacity.
- Prepare the parts and dry-fit the structure. Check matching supports, level shelf positions, and the clearance of the intended arrangement. Resolve rocking or racking before permanent assembly.
- Assemble and finish as specified. Follow adhesive and finish cure instructions. Keep drainage trays separate from structural joints and do not cover loose connections with decorative trim.
- Position or install, then inspect. Use the required fixing method, verify stability, and place only items appropriate to the design. Wipe spills promptly and check periodically for moisture damage, loose joints, or movement. Never use the shelf as a step or seat.
Tips for a Cleaner Finish
Pay attention to shelf ends
End grain and exposed edges can look rough beside smooth pots. Sand consistently while preserving the support geometry, and test the finish on a matching offcut. Remove glue residue before staining so it does not create pale patches near the joints.
Plan for ordinary watering mistakes
Use suitable saucers and move pots for watering when practical. Follow the finish’s care instructions and do not leave standing water on the wood. A water-resistant product still has limitations; repair damaged finishes and investigate darkened or softened wood rather than hiding it with another pot.
Let the plants remain the focus
A restrained natural or muted painted finish can work with changing foliage and containers. View a finish sample alongside the actual pots. Avoid heavy texture on horizontal surfaces where soil and water may collect.
Ideas for Selling This Project
Compact indoor plant shelves, single-row displays, and different finishes can serve different rooms, provided each design is suitable for its intended load and setting. A personalized plaque or coordinated plant riser may add a gift option without changing the main structure. Do not label an indoor shelf as outdoor furniture simply by changing the paint color.
Provide actual overall dimensions and usable shelf space, along with materials, required installation, and care guidance. State whether pots, saucers, or plants are included. Avoid unsupported weight ratings and claims of tip resistance. If a design requires anchoring, make that requirement clear in the listing and supplied instructions.
Photograph the empty structure, supports, and a realistic plant arrangement so buyers can assess both construction and scale. Local sales and craft fairs can reduce shipping complexity, while online marketplaces require protective packaging and clear assembly information where applicable. Calculate lumber, hardware, finish, labor, packing, and fees yourself; appealing plant styling does not guarantee demand.
Related Scrap Wood Projects
- Easy Scrap Wood Plant Riser
- Easy Scrap Wood Floating Shelf
- Easy Scrap Wood Birdhouse
- Easy Small Wooden Bench for Beginners
Explore the full collection: 21 Easy Scrap Wood Projects You Can Make and Sell.
Plan Another Project for Your Plant Corner
Explore the TedsWoodworking collection for more project ideas. Check the available plan details against your tools, space, and intended use before purchasing.
Explore the Plans Collection →