Affiliate Disclosure: This page contains affiliate links. If you purchase through one of these links, I may earn a commission at no additional cost to you.
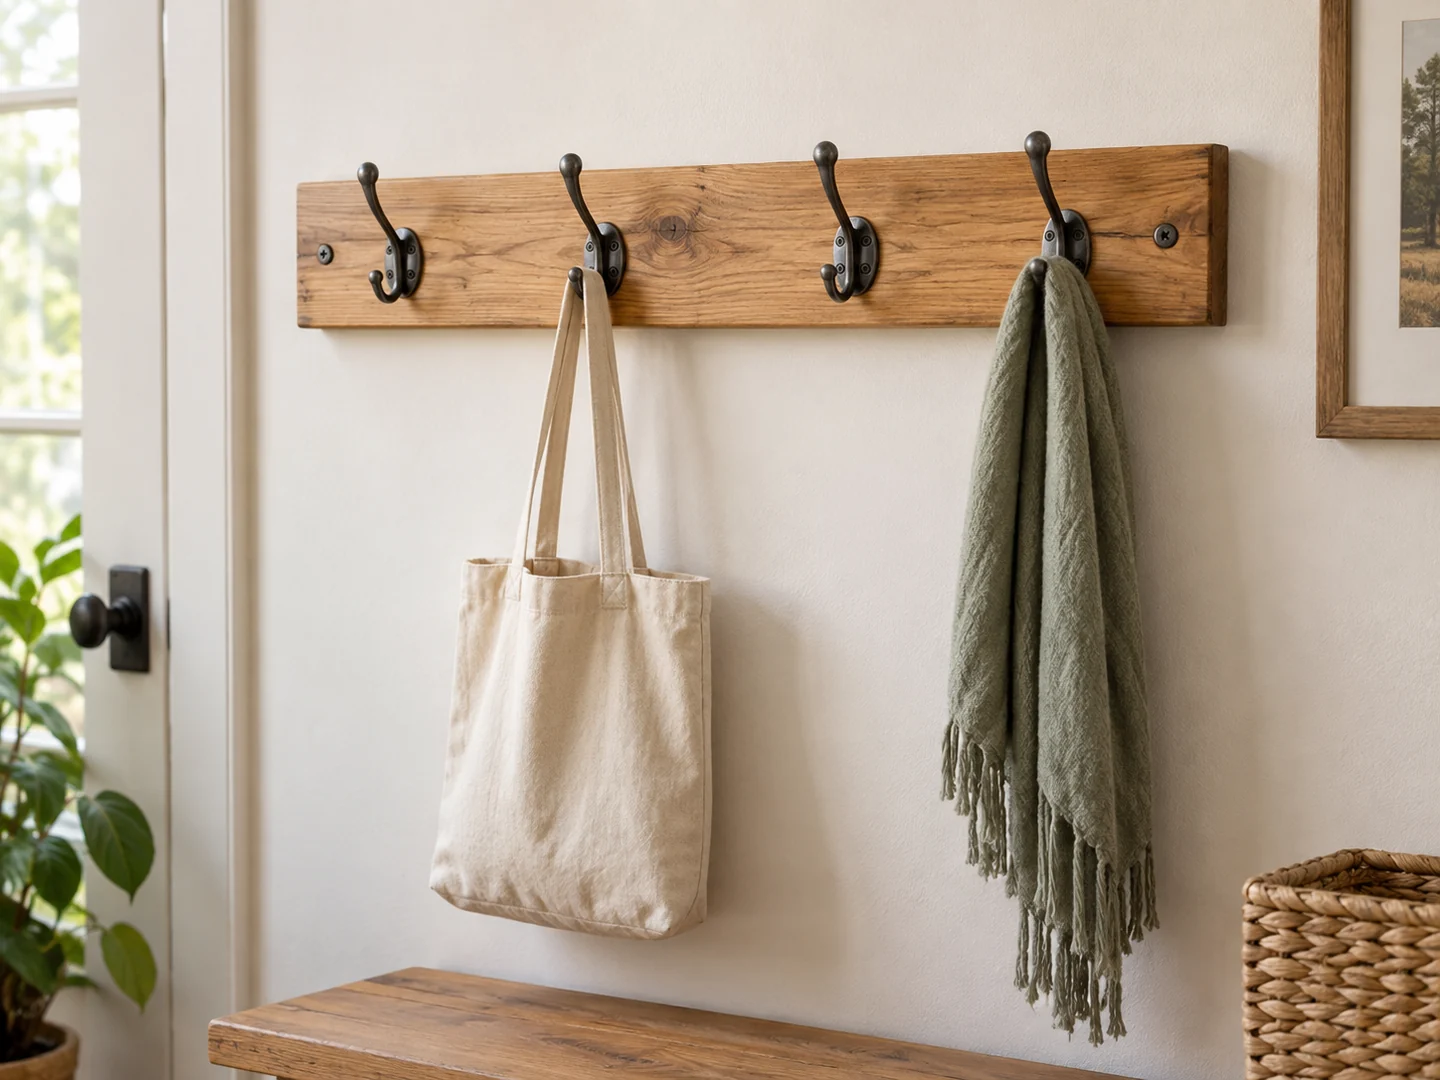
A wooden wall hook rack combines a simple backing board with useful hardware. A clean offcut can supply the visible wood, making this an approachable project when you want to practice layout and finishing without building a cabinet.
The rack’s performance depends on the whole connection: hook to board and board to wall. This guide explains spacing, hardware selection, and preparation without inventing a load rating. Choose hardware and a mounting design suited to your actual wall and intended items.
Project Overview
| Difficulty | Beginner; wall installation requires a suitable fixing method |
|---|---|
| Estimated build time | Varies by design; finishing and curing add time |
| Typical materials | Sound backing board, hooks, compatible fasteners, suitable finish |
| Typical tools | Tape measure, level, drill, sanding tools; saw if needed |
| Best for | Giving light everyday items a defined place in an entryway |
Why This Is a Good Beginner Project
This project makes careful marking immediately worthwhile. A level row of hooks and balanced end margins can make an ordinary board look considered. You can arrange the hardware on the wood before drilling, giving you a chance to correct the layout while changes are easy.
It also introduces a distinction that matters in many household projects: decorative size is not a measure of strength. A thick-looking board may have weak screw locations, and an attractive hook does not establish the capacity of the wall attachment. Learning to evaluate those connections is more valuable than simply copying the number of hooks in a photo.
Materials You May Need
Choose a sound, dry board with enough suitable material at both hook and wall-fixing locations. Avoid splits, loose knots, unknown coatings, and hidden metal. If the plan requires a particular thickness or support arrangement, an available scrap is usable only if it meets those needs.
Select hooks with clear installation guidance and compatible fasteners. A screw that fits the hook’s hole may still be wrong for the board. Confirm that hook fasteners will not protrude through the back or conflict with wall fixings. Keep the original hardware instructions for later reference.
The wall attachment must suit the substrate and complete intended load. Do not treat generic hollow-wall anchors as interchangeable with structural fixing points. If you cannot identify a suitable method, get installation guidance before building around an assumed screw pattern. Add a finish appropriate for regular handling and occasional contact with damp outerwear.
Tools You May Need
Measuring tools, a level, drill, suitable bits, and sanding tools are common. A saw is needed only if the board requires sizing. A paper layout helps compare hook spacing and mounting locations before holes are made.
Follow tool and hardware manufacturers’ instructions and use appropriate eye, hearing, and dust protection. Secure the board during drilling. Before wall work, establish the construction and check for concealed wiring or pipes using suitable methods. Do not rely on this general overview as a site-specific installation instruction.
Plan the Rack Behind the Styling
TedsWoodworking is one collection to explore for small home projects. Review the details before purchasing, and verify the mounting system independently for your wall; the pictured rack is not a confirmed included plan.
Browse the Woodworking Plans →Basic Build Overview
- Identify what the rack will hold. Compare the width of bags, hats, or light outerwear rather than spacing hooks only by appearance. Leave room to reach each item without pulling its neighbor off.
- Choose the board and mounting design together. Locate suitable wall attachment points and reconcile them with the board length, hook positions, and hardware requirements before finalizing the layout.
- Mark and test the arrangement. Place the hooks on the board, check end margins, and verify that screw locations avoid defects and other fasteners. Confirm orientation so curved hooks face the intended way.
- Prepare the wood and required holes. Follow the selected hardware guidance for hole preparation. Check the back for protruding points and keep the board flat against its intended mounting surface.
- Finish the board and fit the hooks. Allow the coating to cure as directed before tightening hardware against it. Follow the fastener instructions and avoid damaging the wood through inappropriate tightening.
- Install with the suitable fixing method. Check the rack is level, secure, and free from movement before use. The weakest part of the complete installation limits it; do not publish a capacity based only on an individual hook’s label.
Tips for a Cleaner Finish
Keep hardware seats flat
Sand around the future hook locations evenly so the hardware sits as designed. A thick decorative paint ridge under one edge can prevent a hook from seating neatly. Test the finish and hardware on scrap if the combination is unfamiliar.
Choose edges for everyday contact
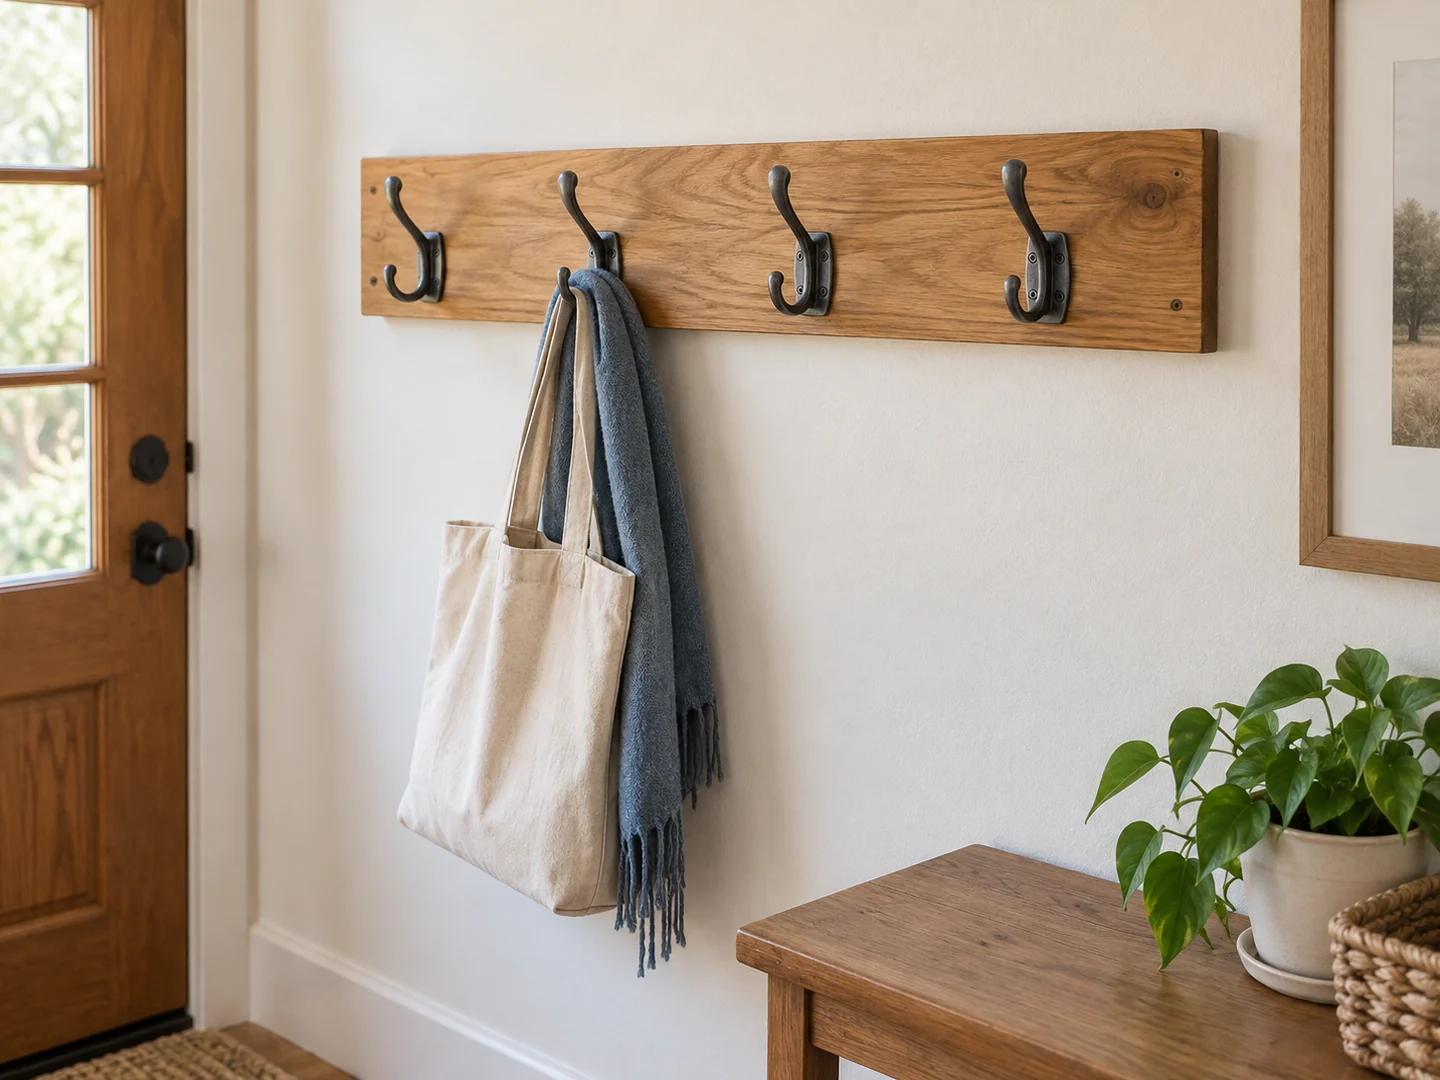
Ease exposed edges and remove splinters from the ends. A rack will be touched by hands and brushed by clothing, so rough rustic edges are less appealing in use than they may appear in a photo. Keep intentional texture away from frequent contact areas.
Think about wear
The area behind each hook may be rubbed by straps and garments. Follow the finish’s cure and cleaning instructions and inspect the rack periodically for loose hardware or damage. A decorative topcoat does not make the rack suitable for persistent dampness.
Ideas for Selling This Project
A short hat rack, a wider entryway arrangement, and different hook finishes can create a coherent product range when each version has a suitable design. Natural wood, painted color, or a personalized family name are possible options. Avoid placing engraving where it compromises fastening areas.
A coordinated set could pair the rack with a separate mail organizer or sign. Give the actual dimensions, hook spacing, material, included hardware, and installation requirements. Do not describe a rack as child-safe, heavy-duty, or suitable for every wall without evidence supporting those claims.
Show the front, back, mounting details, and real hardware in photographs. Styled garments should not conceal key joints or imply a load capacity. Craft fairs and local sales permit a close inspection of finish samples; online marketplaces require clear instructions and protective packing around hooks. Include hardware, labor, customization, packing, and fees in your own pricing calculation. There is no guaranteed demand for a particular style.
Related Scrap Wood Projects
- DIY Scrap Wood Key Holder for Beginners
- DIY Scrap Wood Mail Organizer
- Easy Small Wooden Bench for Beginners
- Easy Scrap Wood Sign
Explore the full collection: 21 Easy Scrap Wood Projects You Can Make and Sell.
Explore Another Entryway Project
Browse TedsWoodworking for additional home project plans. Check the construction details and tool requirements before deciding whether the collection is appropriate for your next build.
Explore the Plans Collection →