Affiliate Disclosure: This page contains affiliate links. If you purchase through one of these links, I may earn a commission at no additional cost to you.
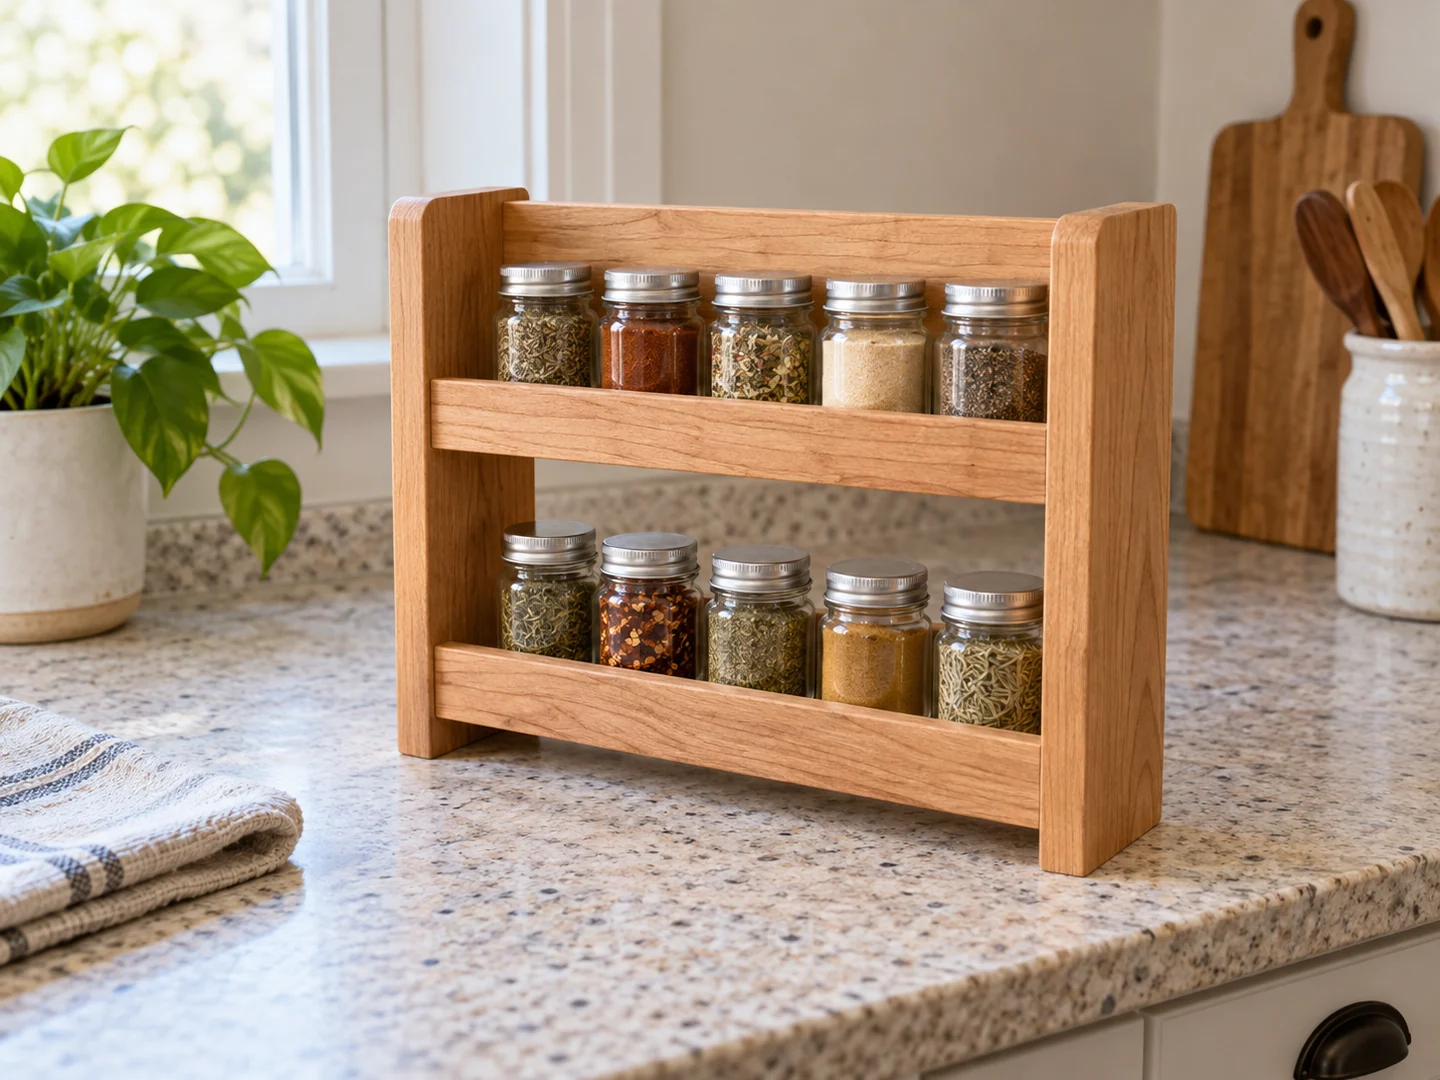
A wooden spice rack gives frequently used jars a defined place without requiring a full cabinet project. Short boards can suit the shelves and sides, while a simple open design keeps labels visible. The best starting point is the collection of jars you actually own.
This guide covers jar clearance, shelf layout, retaining rails, and the choice between countertop and wall display. It provides a general build overview rather than fixed dimensions. Use a compatible plan and adapt only within its design requirements.
Project Overview
| Difficulty | Beginner with a suitable rack plan |
|---|---|
| Estimated build time | Varies by design; finishing and curing add time |
| Typical materials | Sound boards, plan-specified fasteners and adhesive, suitable finish |
| Typical tools | Tape measure, square, saw, drill, clamps, sanding tools |
| Best for | Organizing sealed spice jars in a small kitchen |
Why This Is a Good Beginner Project
A small rack combines useful layout practice with straightforward parts. You can arrange the jars before cutting and see whether the proposed spacing makes sense. Unlike a closed box, an open rack also lets you check access from the front throughout the planning process.
The distinctive challenge is leaving room for your hand, not merely fitting a jar into an empty rectangle. A front rail that is too tall may hide labels or make jars awkward to remove. A shelf placed too close to the one above can create the same problem. Planning around real objects gives a beginner concrete feedback before assembly.
Materials You May Need
Choose dry, clean, sound wood that can provide flat shelves and matching side pieces. Avoid scraps with unknown coatings or treatments, especially for an object used around kitchen supplies. The rack is intended to hold sealed containers, not loose spices or food directly against the wood.
Your chosen plan may call for a back panel, retaining rails, adhesive, and specific fasteners. Keep rail and shelf details consistent with that design. A countertop rack needs a stable base and an appropriate means of preventing tipping if the design calls for it. A wall rack needs a mounting system suitable for both the loaded rack and the actual wall construction.
Select a finish whose care instructions suit occasional kitchen splashes and cleaning. Do not describe a surface as waterproof simply because it has a clear coating. Keep the rack away from locations where heat, steam, or repeated wetting will affect the contents or construction.
Tools You May Need
A tape measure, square, saw, drill, clamps, and sanding tools are common for this project. Use the actual jars and a simple paper or cardboard layout to check access before committing to lumber. The plan determines whether additional joinery tools are needed.
Follow tool manufacturers’ instructions and use appropriate eye, hearing, and dust protection. Secure small rails and sides with a suitable workholding method. If the rack will be wall mounted, establish the correct fixing method before drilling and check for concealed services using appropriate procedures.
Prefer a Plan with Shelf Details?
TedsWoodworking is a plans collection you can explore for small storage projects. Review the available information before buying; we have not confirmed that it includes the spice rack pictured here.
Browse the Woodworking Plans →Basic Build Overview
- Choose the location first. Check usable counter or wall space, nearby doors, and how you reach for jars while cooking. Do not choose a spot simply because the empty rack fits there.
- Arrange the jars by actual size. Include the tallest lid and widest container you intend to store. Test the room needed to grip, lift, and return a jar, including behind any front rail.
- Select the plan and lay out the parts. Confirm shelf depth, vertical clearance, joinery, and mounting or base details together. Label paired sides so shelf positions remain aligned.
- Prepare and dry-fit the components. Check the rack for square, fit sample jars into each level, and verify that rails do not block useful label information. Correct awkward access before permanent assembly.
- Assemble and finish according to the plan. Keep shelves level relative to one another and avoid glue or finish buildup in corners where crumbs and dust may collect. Allow the finish to cure fully.
- Install or position the rack and check its behavior. Use the specified wall fixings where applicable. Check stability while removing and returning jars, and do not load beyond what the verified design and installation support.
Tips for a Cleaner Finish
Make cleaning practical
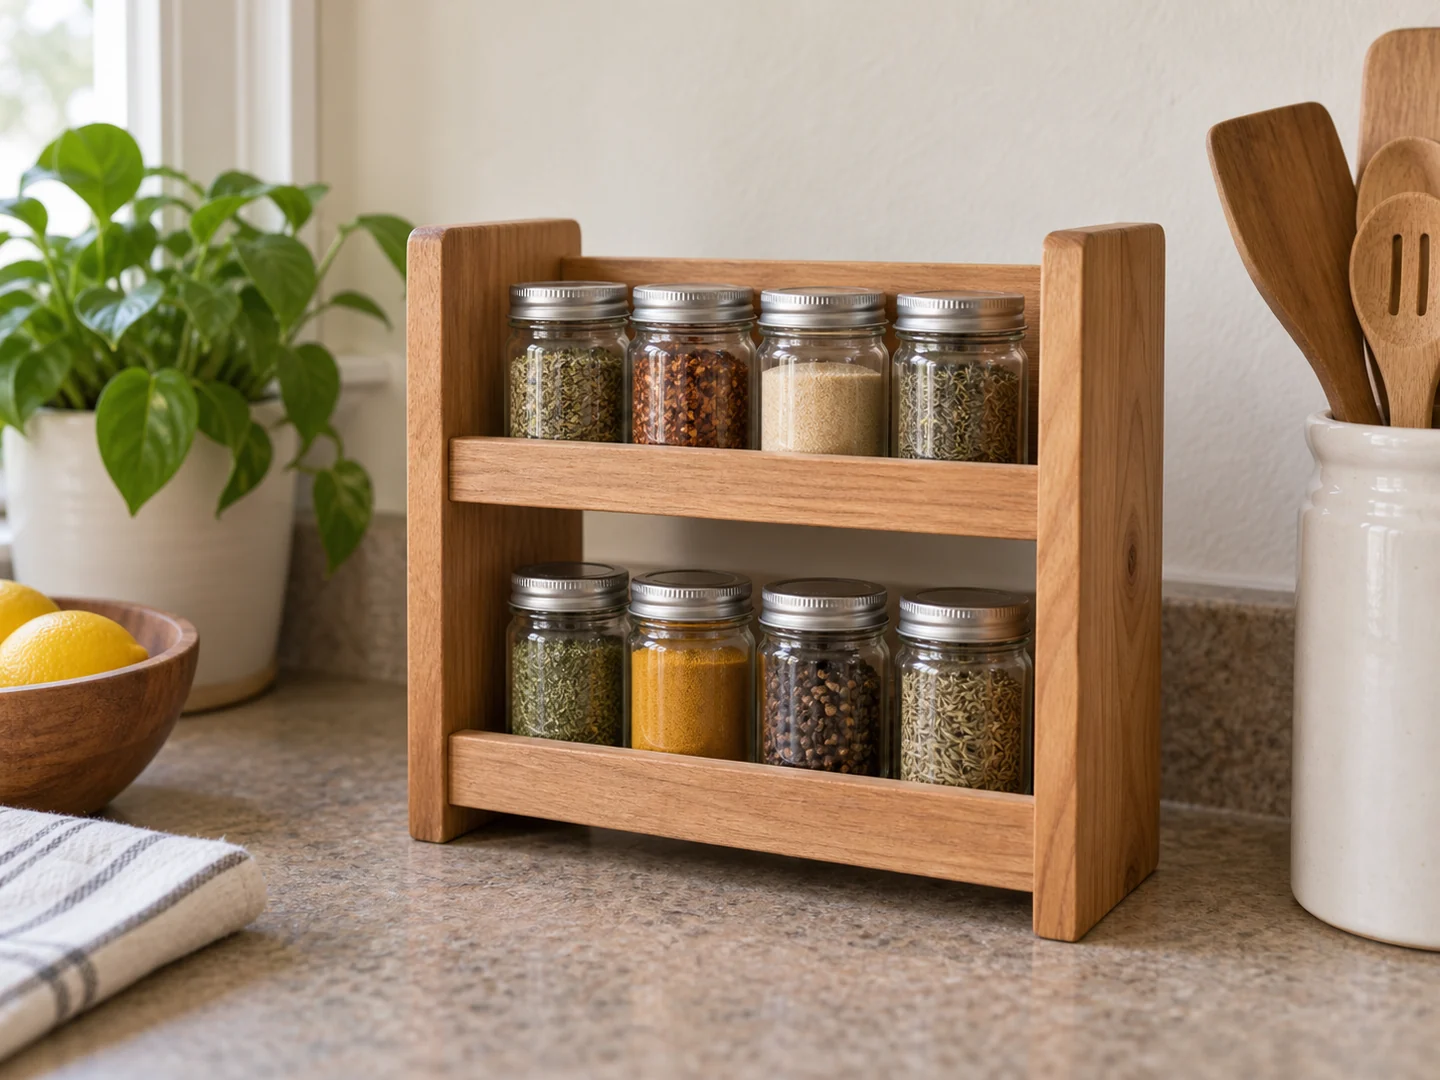
Smooth the shelf-to-side intersections before they become difficult to reach. A tidy joint is easier to wipe than a ridge of dried glue. Avoid decorative recesses that are hard to clean unless they are an intentional part of the design.
Keep labels readable
Consider a quiet finish behind colorful spice labels. If you want painted rails or contrasting sides, test the combination with your jars in place. A rack can look good empty yet feel visually crowded when filled.
Protect the bottom appropriately
For countertop use, inspect the underside for rough fasteners and abrasive edges. Any pads should suit the surface and preserve stability. Follow finish care instructions; wipe accidental moisture promptly and allow the rack to dry rather than leaving it in standing water.
Ideas for Selling This Project
A single-level compact rack and a taller model can serve different kitchens, but each variation needs a suitable design. Natural wood, a light painted finish, or contrasting rails provide cosmetic options. Personalization can be added to a side or back where it does not interfere with jar access.
If offering a gift set with jars or labels, identify exactly what is included and provide the actual jar compatibility and dimensions. Do not imply universal fit. Photograph the rack empty and filled, show a hand-access view without hiding the structure, and include mounting details for wall models.
Craft fairs and local home-goods sales offer a chance to display sample jars. Online marketplaces need equally precise descriptions and careful packaging for projecting rails. Use real product photographs for a physical listing, and account for hardware, finishing, labor, packing, and fees. Interest in kitchen organization is not evidence that a particular rack will sell.
Related Scrap Wood Projects
- DIY Scrap Wood Napkin Holder
- Easy Scrap Wood Serving Tray
- Easy Scrap Wood Storage Caddy
- Easy Scrap Wood Floating Shelf
Explore the full collection: 21 Easy Scrap Wood Projects You Can Make and Sell.
Plan Your Next Kitchen Organizer
Explore TedsWoodworking for further project options. Check the plan requirements and available details against the storage problem you want to solve before purchasing.
Explore the Plans Collection →