Affiliate Disclosure: This page contains affiliate links. If you purchase through one of these links, I may earn a commission at no additional cost to you.
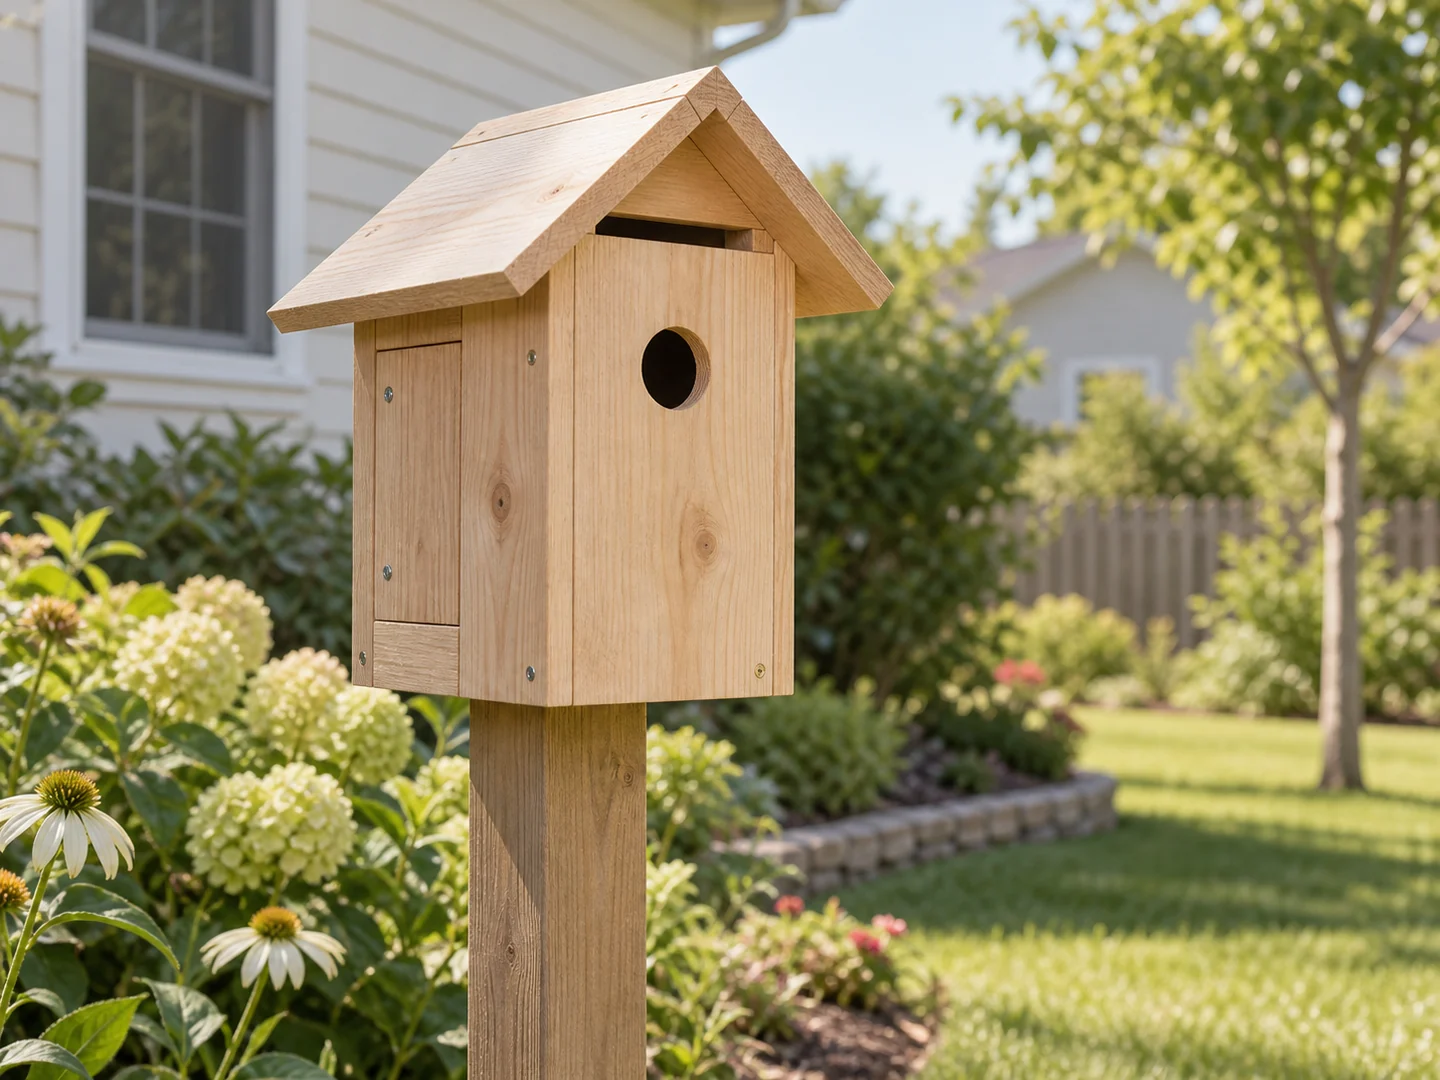
A scrap wood birdhouse can be a satisfying outdoor project, but a useful nest box starts with a bird’s needs rather than a decorative silhouette. Short untreated boards may be suitable for the sides, floor, and roof when they match a species-specific plan.
This guide helps you distinguish a decorative birdhouse from a functional nesting box, choose sound materials, and plan for cleaning and placement. It does not supply invented entrance dimensions or promise that birds will occupy your box. Use a plan for a cavity-nesting species in your region before making cuts.
Project Overview
| Difficulty | Beginner with a species-specific nest box plan |
|---|---|
| Estimated build time | Varies by design; finishing and curing add time |
| Typical materials | Suitable untreated lumber, exterior fasteners, cleanout hardware |
| Typical tools | Measuring tools, saw, drill, clamps, sanding block |
| Best for | Learning outdoor joinery while following a bird-focused design |
Why This Is a Good Beginner Project
The box shape gives beginners practice fitting simple panels and keeping an assembly square. A hinged or removable cleanout panel adds a useful lesson: outdoor objects need maintenance, not just a neat appearance on the day they are built.
Birdhouses are also a good introduction to designing around a user. The entrance, interior space, drainage, and mounting arrangement have purposes. Decorative features that look charming to people may not help birds. Cornell Lab’s NestWatch birdhouse resources include a species-focused plan finder, which is a better starting point than copying proportions from an image.
Materials You May Need
Choose untreated wood that is sound and suitable for the selected outdoor plan. Avoid scraps of unknown origin, painted salvage with uncertain coatings, and wood with hidden metal or decay. Do not combine whatever thin pieces happen to be available if they fall outside the plan’s requirements.
Use fasteners and any hinges or closures appropriate for outdoor exposure. A functional design needs a secure cleanout opening that can be accessed without dismantling the whole box. Follow the plan for drainage, ventilation, and mounting hardware rather than adding holes wherever they fit visually.
Keep the interior untreated. If you want an exterior finish, first check the guidance for your chosen nest box and setting. A painted decorative house intended only for display should be labeled that way rather than presented as wildlife housing.
Tools You May Need
Typical tools include a tape measure, square, saw, drill, clamps, and a sanding block. Select drill bits and other tools after choosing the species plan, since the entrance is a functional feature rather than a freehand decorative opening. You may be able to select a plan with cuts that suit the equipment you already use confidently.
Follow manufacturers’ instructions and wear appropriate eye, hearing, and dust protection. Clamp and support pieces securely. Do not hold a small loose panel in your hand while drilling it. Avoid climbing or mounting work beyond your skills; the eventual location deserves as much planning as the box itself.
Compare Plans Before Cutting
TedsWoodworking offers a collection of woodworking plans to browse. For a functional nest box, independently check any selected design against species-specific wildlife guidance; we have not verified the illustrated birdhouse as a plan in that collection.
Browse the Woodworking Plans →Basic Build Overview
- Choose a local cavity-nesting species and a matching plan. Check the entrance, internal space, material requirements, and recommended setting together. A box that is suitable for one species is not automatically suitable for another.
- Inspect and label the lumber. Map out the roof, walls, floor, and access panel before cutting. Keep the intended inside and outside faces clear so hardware and cleanout details end up in the correct places.
- Prepare the components from the actual plan. Make the specified entrance, ventilation, and drainage features with the parts securely supported. Remove dangerous splinters without polishing away surfaces the plan intentionally leaves rough.
- Dry-fit the box and roof. Confirm that water-shedding details, panel overlaps, and the access mechanism match the design. Check that the cleanout can open after the box is mounted.
- Assemble and inspect. Look for exposed sharp fasteners, gaps caused by poor fit, and a closure that could open unexpectedly. Omit an exterior entrance perch: it is not needed for the intended nesting function and can assist predators.
- Plan placement and care before installation. Follow the species guidance for location and mounting, and consult local wildlife guidance before inspecting or cleaning an occupied box. Keep a record of the plan and materials for future maintenance.
Tips for a Cleaner Finish
Prioritize the inside
Leave the interior unpainted and untreated. A glossy decorative finish inside is not an upgrade. Check for sharp edges and protruding hardware, and preserve any internal climbing texture the selected plan calls for.
Let water escape
Do not fill planned drainage or ventilation openings with glue, caulk, or finish for the sake of a seamless look. Review the roof and cleanout details after assembly. An attractive exterior can hide a maintenance problem if the access panel has been glued shut.
Keep decoration secondary
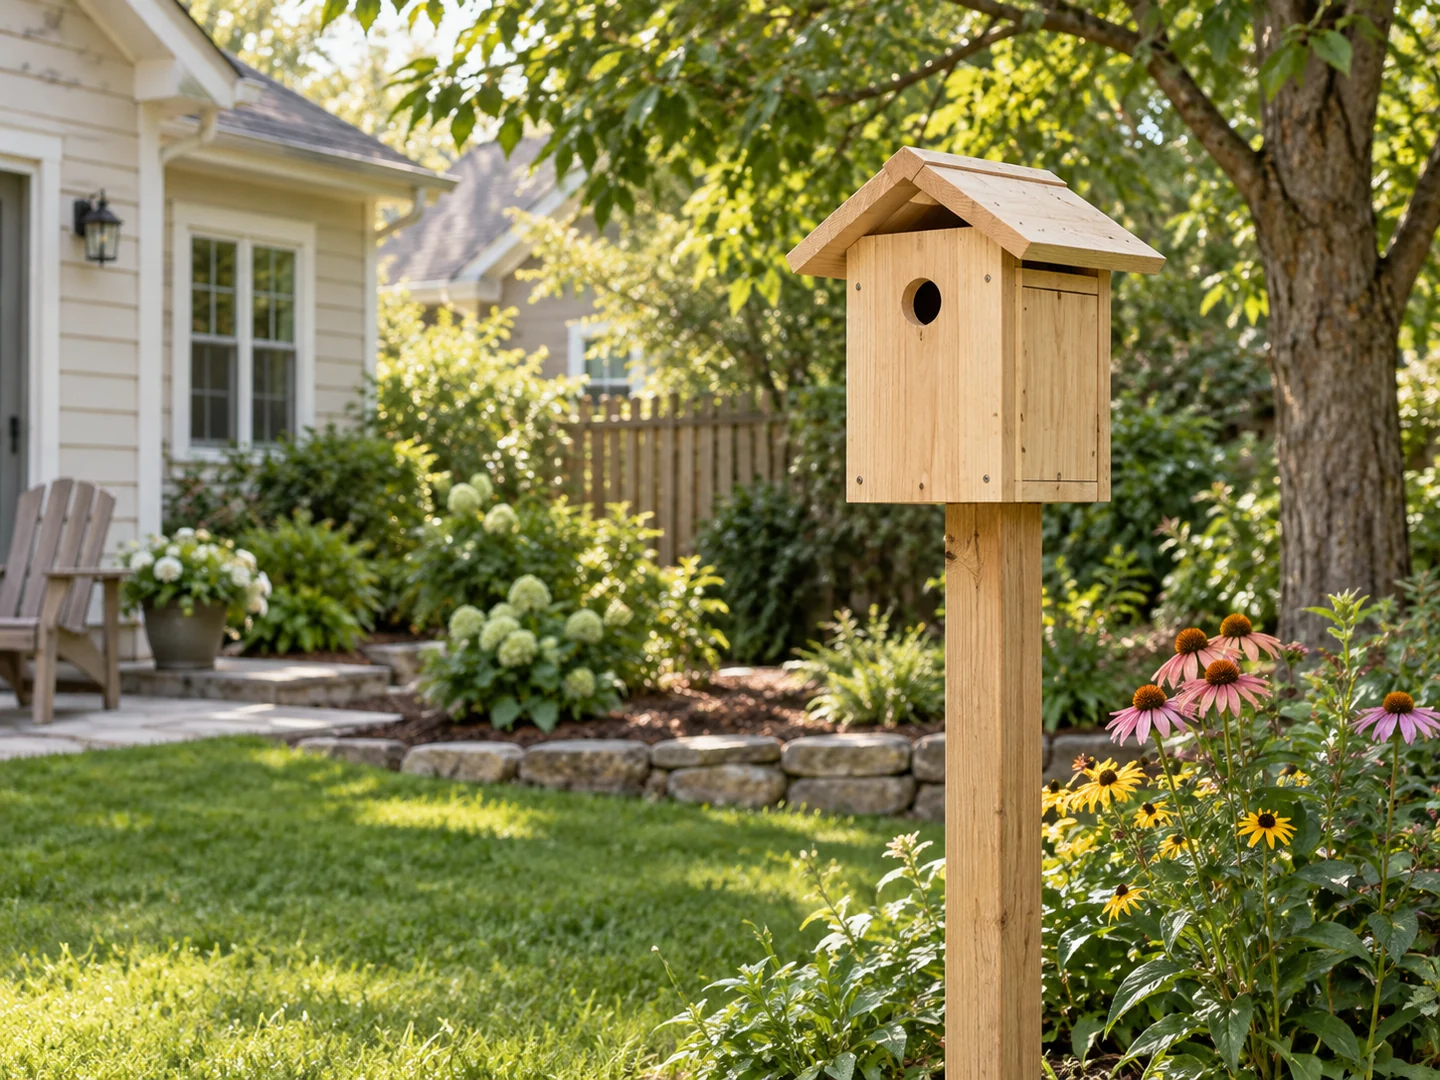
If the design permits exterior color, keep ornament away from entrances, closures, and mounting points. For guidance on these features, see NestWatch’s features of a good birdhouse. The generated images here are illustrative concepts, not species-certified construction drawings.
Ideas for Selling This Project
Offer a clear distinction between a decorative garden ornament and a functional nest box. For a functional box, describe the actual plan, intended species, materials, access method, and mounting requirements. Do not promise nesting success or describe a generic box as suitable for all birds.
Exterior color options, a simple personalized plaque, or a gift package with care instructions may create variety where the underlying design permits them. A pair of boxes is not automatically appropriate for one yard; buyers still need species-specific placement guidance. Keep names and embellishments away from functional openings.
Show the interior, drainage, cleanout, and mounting arrangement in listing photos, alongside an overall outdoor view. Craft fairs and local garden markets allow those features to be demonstrated; online marketplaces need equally clear descriptions. Use photographs of the real product when selling a physical box. Calculate your materials, time, packaging, and fees without making assumptions about demand or profit.
Related Scrap Wood Projects
Explore the full collection: 21 Easy Scrap Wood Projects You Can Make and Sell.
Find Another Outdoor Woodworking Idea
You can explore TedsWoodworking for further project ideas. Review each plan for the intended setting and use, and keep wildlife guidance as the reference for any functional nest box.
Explore the Plans Collection →