Affiliate Disclosure: This page contains affiliate links. If you purchase through one of these links, I may earn a commission at no additional cost to you.
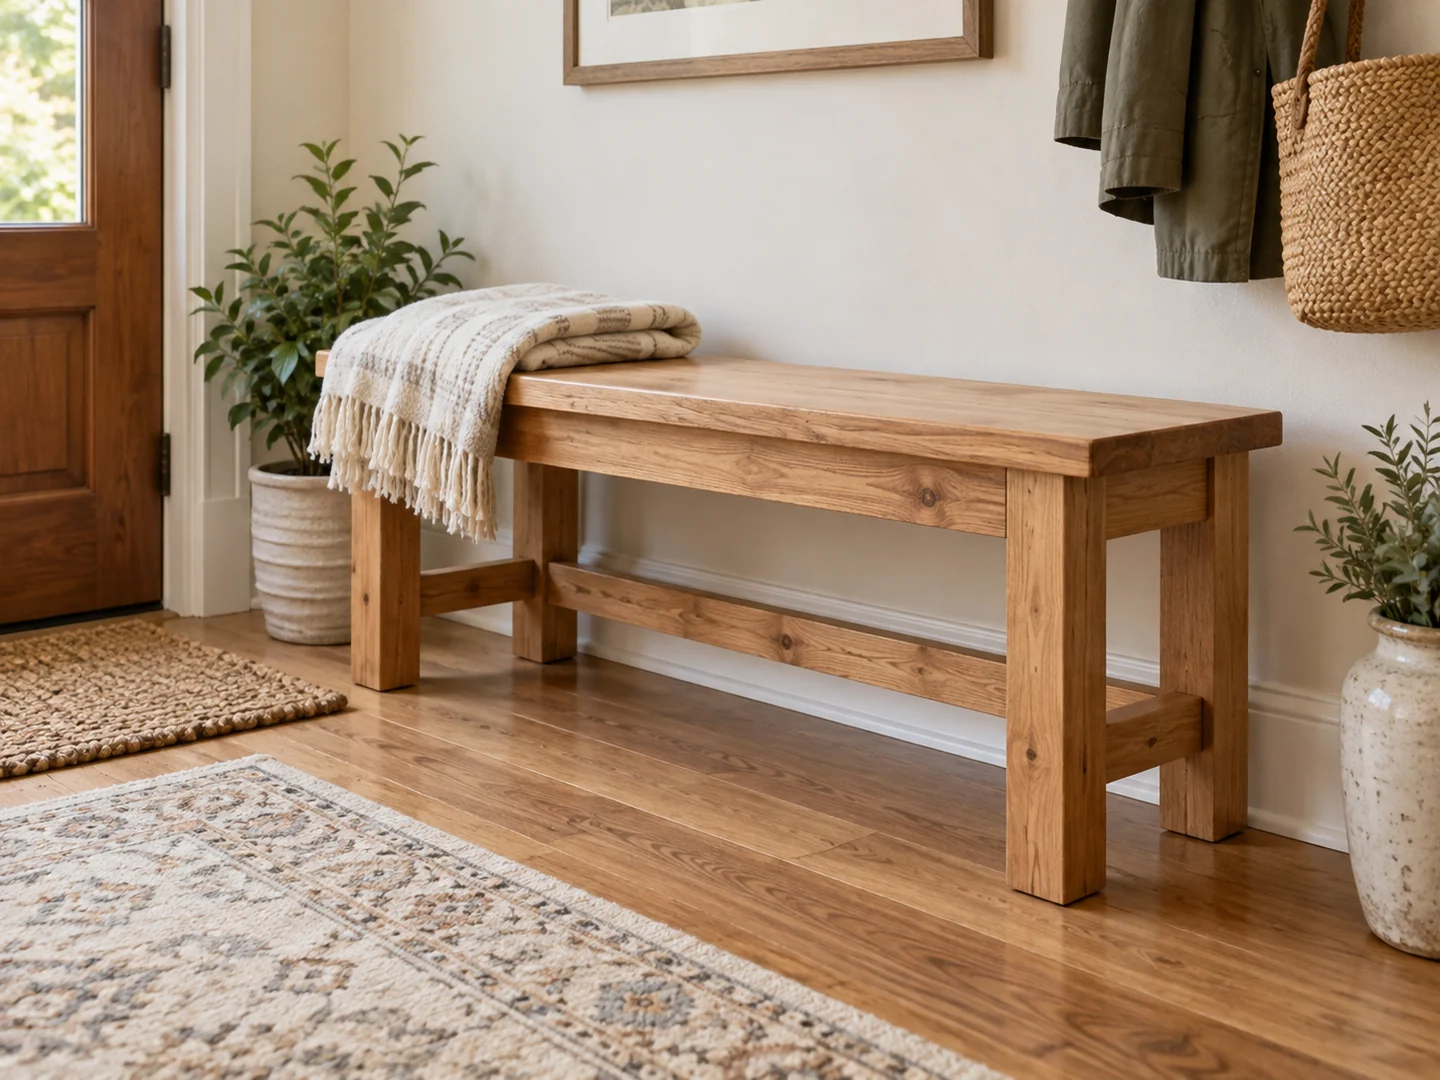
A small wooden bench can add a useful landing spot to an entryway or a compact seating option beside a dining table. Short leftover boards may suit parts of the build, but a bench asks more of its materials and joints than a decorative shelf does. Choose a real furniture plan before choosing which scraps to use.
This guide explains how to evaluate the design, arrange suitable lumber, and think through assembly and finishing. It is a planning overview, not a dimensioned or load-tested seating plan. The illustration is a concept, not evidence that the pictured structure can support a person.
Project Overview
| Difficulty | Beginner with a suitable furniture plan and guidance |
|---|---|
| Estimated build time | Varies by design; finishing and curing add time |
| Typical materials | Sound boards, plan-specified joinery and fasteners, suitable finish |
| Typical tools | Measuring tools, square, saw, drill, clamps, sanding tools |
| Best for | Learning furniture layout with a verified seating design |
Why This Is a Good Beginner Project
A simple bench introduces several furniture skills in one fairly legible shape: a flat seat, matching legs, and a frame that resists movement. You can see how the parts relate without having to manage drawers or doors. A rectangular design also makes checking diagonals and comparing leg assemblies easier.
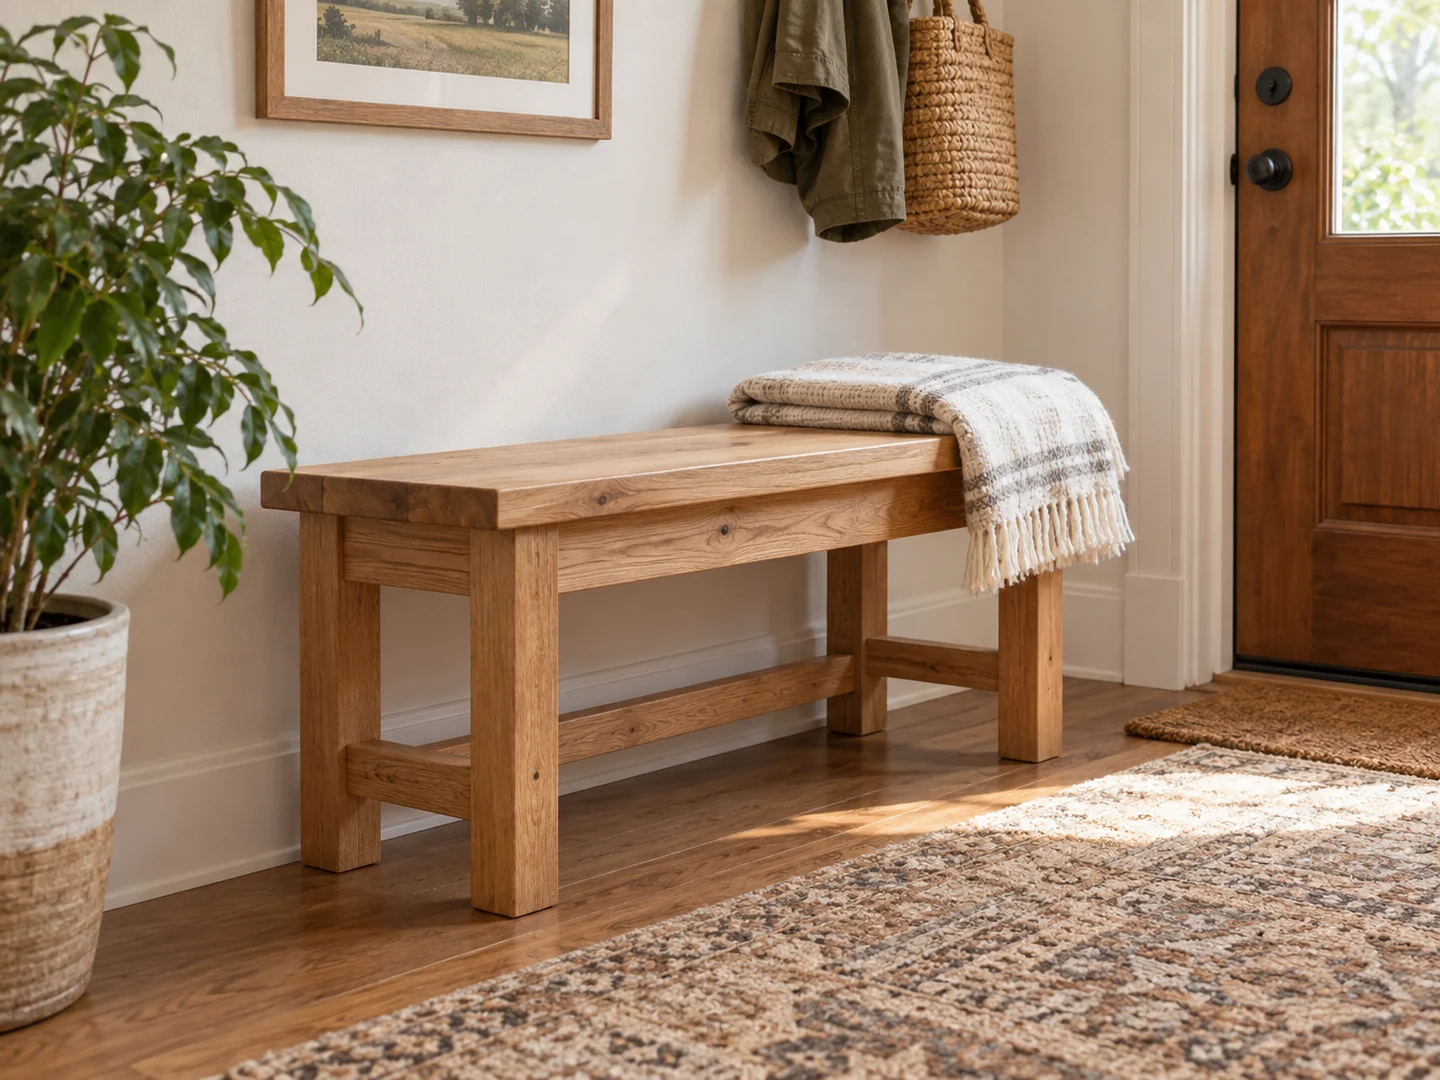
The important lesson is that an attractive outline is only the beginning. Aprons, stretchers, and joints work together, and substituting a thinner board can change the design substantially. For a first attempt, follow a seating plan from a reliable woodworking source and get help evaluating the finished assembly. If you want a lower-stakes introduction to similar shapes, start with a plant riser for a suitably small pot.
Materials You May Need
Sort scraps by condition before color. Reject pieces with rot, deep splits, loose knots near joints, unknown treatments, or hidden metal. Sound offcuts may provide stretchers or other shorter members, while the seat and legs may require new lumber that matches the chosen plan. Using new stock where needed is more sensible than forcing every component to come from the scrap pile.
The plan should specify board sizes, joint details, adhesive, and any mechanical fasteners. Do not replace specified joinery with a few convenient screws. Match the finish to indoor or outdoor use; an indoor design does not become outdoor furniture simply because it receives an exterior coating. Add protective feet only if they suit the design and do not introduce movement.
Tools You May Need
A tape measure, reliable square, marking tools, saw suitable for the stock, drill with appropriate bits, and clamps are common starting tools. The selected joinery may require additional equipment or a different design. Choose a plan within your current tool skills rather than improvising unfamiliar cuts.
Follow tool manufacturers’ instructions and use appropriate eye, hearing, and dust protection. Support workpieces securely. Have enough clear assembly space to check the entire frame on a flat surface; checking a bench on a cluttered or uneven floor can conceal problems.
Start with a Seating Plan
A bench needs more than an appealing photo. TedsWoodworking is one plans collection you can browse; review the available project details and instructions before buying. We have not verified that it includes the bench illustrated here.
Browse the Woodworking Plans →Basic Build Overview
- Define the intended use. Decide whether you need adult seating, a decorative display, or another function, then select a plan designed for that use. Do not describe a decorative bench as seating or use a bench as a step stool.
- Map the plan onto the available lumber. Keep structural members at the specified dimensions and inspect the grain and defects around every planned joint. Label matching pieces and their visible faces.
- Prepare parts according to the plan. Check paired legs and frame members together so small differences do not accumulate. Sand surfaces that will become difficult to access while keeping joint faces true.
- Dry-fit the frame on a flat reference surface. Confirm orientation, diagonals, joint contact, and the location of aprons or stretchers. Resolve gaps and rocking before glue or permanent fasteners make correction harder.
- Assemble in the plan’s sequence. Use the specified joinery, fasteners, and clamping method. Follow the adhesive’s cure instructions and the plan’s method for attaching a solid-wood seat while allowing for its movement.
- Inspect before use. Look for rocking, loose joints, cracks, sharp edges, and protruding hardware. Have a knowledgeable woodworker assess uncertain construction; sitting on it once does not establish a safe capacity. Do not claim a load rating without proper evidence.
Tips for a Cleaner Finish
Keep the seat comfortable
Ease exposed edges as the plan allows and feel for rough end grain under the seat as well as on top. Avoid rounding joint shoulders while sanding. A smooth top will not compensate for a splinter-prone edge where someone’s hand naturally grips.
Make the boards look intentional
If the seat uses multiple boards, arrange color and grain before assembly. Test finish on a matching offcut, including end grain, which can absorb color differently. Remove glue residue before staining; dried glue can leave conspicuous pale patches.
Finish for the actual setting
Apply the chosen coating according to its instructions and allow full cure before use or packaging. Coating all recommended surfaces helps create a consistent result, but it does not repair weak joints or unsuitable lumber. Inspect furniture periodically as use and seasonal conditions change.
Ideas for Selling This Project
A compact entryway bench, a painted farmhouse version, or a natural-grain indoor bench could appeal to different spaces. Treat changes in length or leg layout as design changes that need review, not simple cosmetic options. Names or dates can be placed where they do not weaken a structural part.
Photograph the whole bench, the underside, and the joints, and provide the actual dimensions and materials of the item being sold. A housewarming bundle might pair it with a separate key holder; make clear what is included. Never imply a tested weight capacity that you cannot substantiate.
Local sales or craft fairs let buyers see furniture in person, while online marketplaces require careful planning for packaging and transport. Include lumber, hardware, finish, labor, delivery, and selling fees in your own cost calculation. An attractive design does not establish demand, and a safe, well-described finished product matters more than rushing to list it.
Related Scrap Wood Projects
- Easy Scrap Wood Plant Riser
- DIY Scrap Wood Wall Hook Rack
- Easy Scrap Wood Storage Box
- Easy Scrap Wood Plant Shelf
Explore the full collection: 21 Easy Scrap Wood Projects You Can Make and Sell.
Choose Your Next Furniture Project Carefully
If you want to compare more project plans, explore TedsWoodworking and evaluate the instructions against your tools and experience. Confirm the details you need before purchasing a collection.
Explore the Plans Collection →