Affiliate Disclosure: This page contains affiliate links. If you purchase through one of these links, I may earn a commission at no additional cost to you.
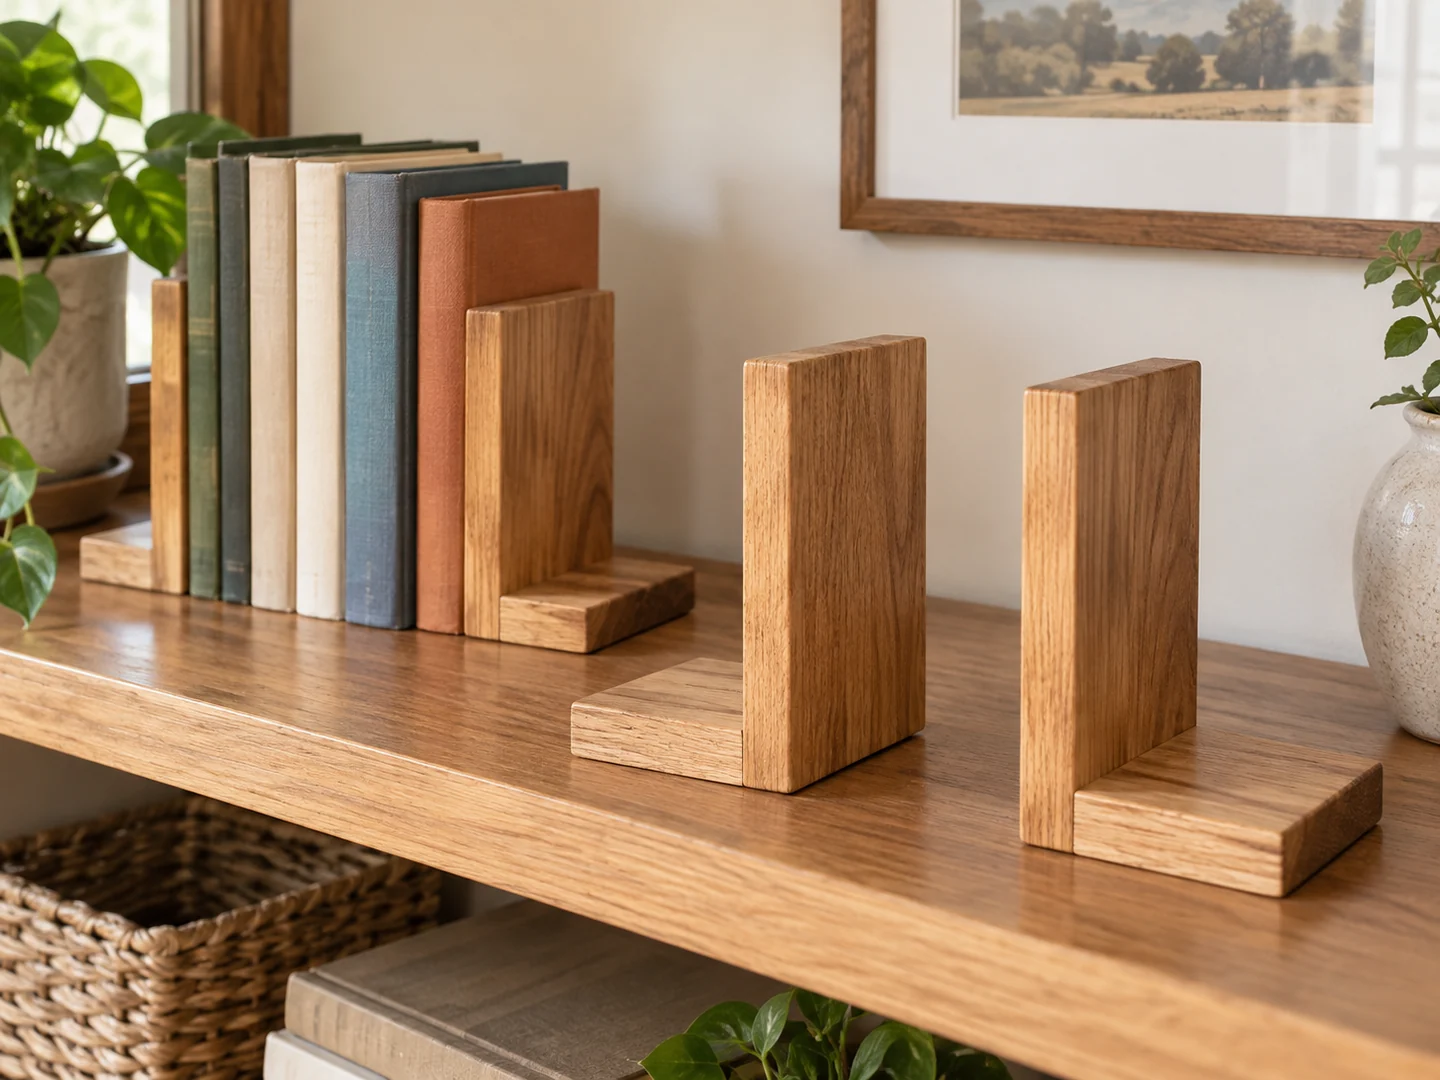
Wooden bookends can turn short offcuts into a useful pair for a reading nook. An L-shaped version places a horizontal foot under the books and an upright beside them. The shape matters as much as the wood: a decorative block is not automatically heavy or stable enough to restrain leaning books.
This overview explains the design decisions and general build sequence. Use a suitable verified plan for dimensions and joints, and assess the finished pair with the books and shelf where it will be used.
Project Overview
| Difficulty | Beginner-friendly with a verified L-shaped assembly |
|---|---|
| Estimated build time | Varies by design; finishing and curing add time |
| Typical materials | Sound base and upright pieces, suitable joints, optional nonmarking pads |
| Typical tools | Square, ruler, saw, clamps, sanding supplies, drill if specified |
| Best for | Small groups of light books on a stable shelf |
Why This Is a Good Beginner Project
Bookends let you practice making a right-angle connection and repeating it as a pair. A small misalignment becomes visible when the uprights stand next to each other. That makes dry-fitting with a square a useful exercise rather than a formality.
They also introduce the relationship between an object and its surface. Book weight, leaning angle, shelf finish, and the base design affect performance. Learning to check those conditions is more valuable than assuming that heavier-looking wood will solve every slipping or tipping problem.
Materials You May Need
Choose sound stock for both feet and uprights, matching the selected plan. Avoid splits where the parts connect. The foot must fit beneath the intended books without creating a large uneven step, while the upright needs an appropriate connection to resist ordinary sideways pressure.
Use the specified glue and mechanical fasteners if the plan calls for them. Hidden reinforcement can be appropriate in some designs, but it must come from a suitable plan rather than an improvised addition. Do not leave metal edges or screw tips exposed.
Optional nonmarking pads should be compatible with the shelf surface and applied evenly. Test a suitable finish on scrap and let it fully cure before contact with book covers. Avoid soft, sticky coatings that can transfer to paper or bind against a cover.
Tools You May Need
A ruler, pencil, square, suitable saw, clamps, and sanding block are typical. The chosen joint may require a drill or driver. Keep a flat reference surface available so you can check the pair without relying on a warped workbench.
Follow manufacturer instructions and use appropriate eye, hearing, and dust protection. Secure small parts for cutting or drilling. Do not use the finished bookend as a makeshift clamp or tool support during the build.
Want a Plan for a Reliable Right-Angle Joint?
Review the TedsWoodworking affiliate offer if you would like additional plan options. Check the current contents and requirements; this bookend design and its performance are not verified as included.
Browse the Woodworking Plans →Basic Build Overview
- Choose a modest group of books and the intended shelf. Consider their height and tendency to lean.
- Select a suitable plan and check how its feet fit beneath the books. Do not infer stability from a photograph.
- Prepare matching base and upright parts from sound stock according to the plan.
- Dry-fit both assemblies squarely on a flat surface. Compare them as a pair.
- Assemble the specified joints, refine contact edges, and apply the chosen finish. Allow full curing.
- Check cautiously with the intended books. Stop if the pair slides, tips, or the joints move; do not use an unstable pair on a high shelf.
Tips for a Cleaner Finish
Protect the books as well as the shelf
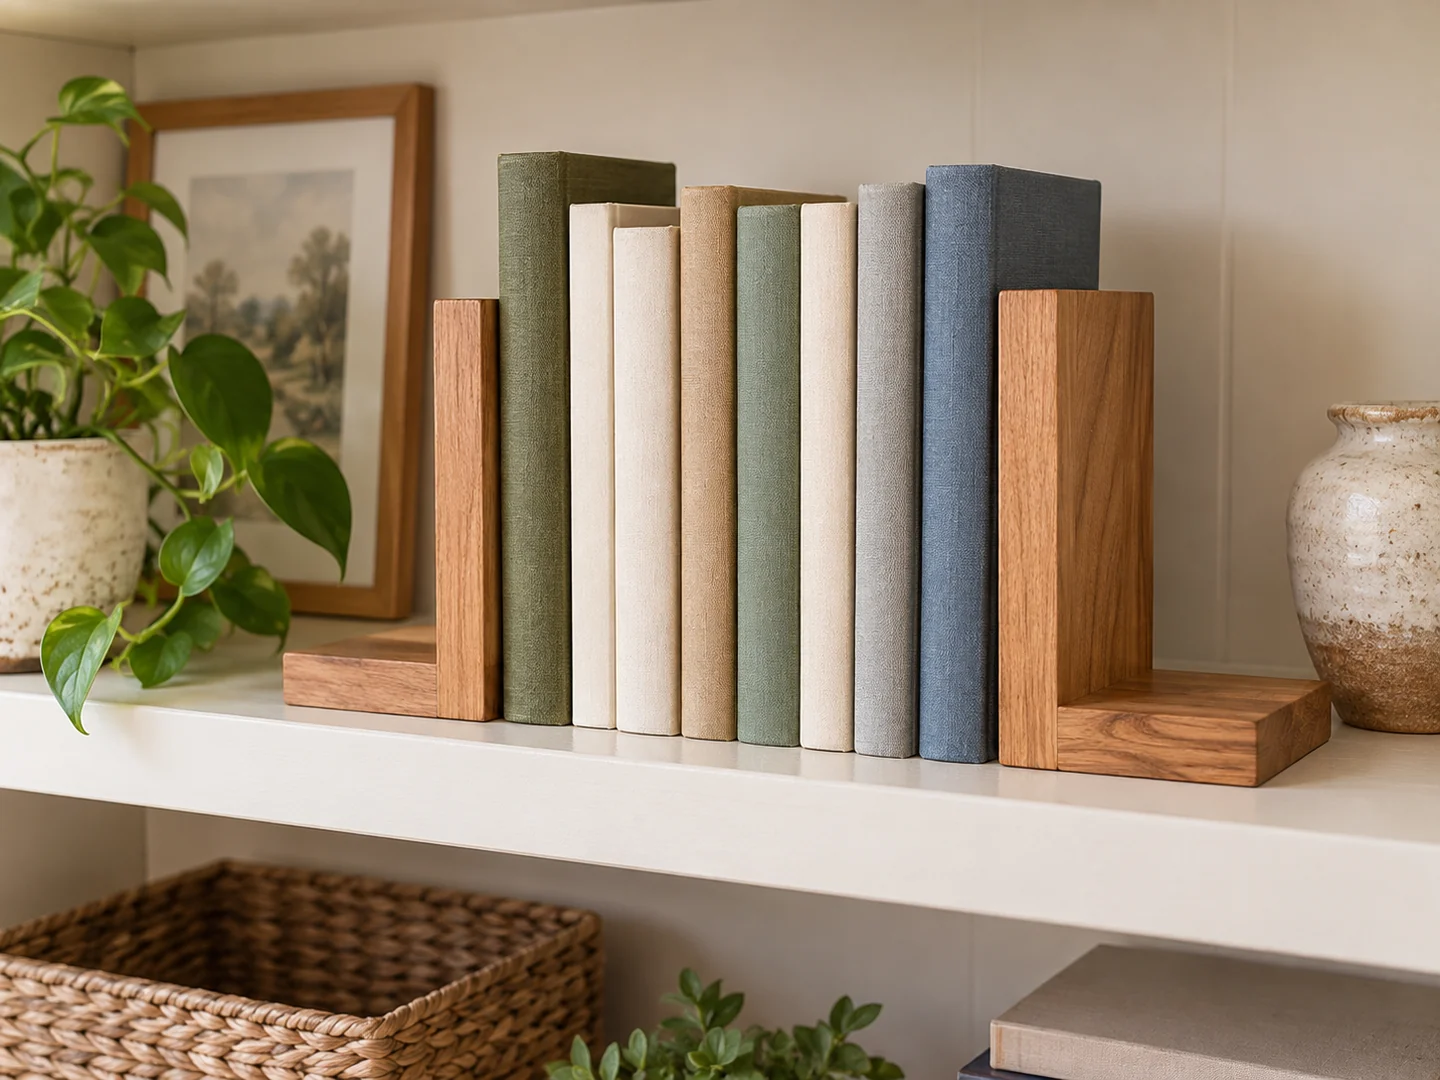
The inner upright face touches covers, and the base sits beneath them. Inspect both for rough fibers, raised glue, and projecting fasteners. A smooth outer face does not compensate for a snagging inside corner.
Match the pair without hiding the grain
Use the same edge treatment and finish schedule on both pieces. Natural grain differences can look attractive when the shape and color family are consistent. Do not over-sand one base until its thickness differs significantly.
A few light books make a more honest test than a carefully balanced display that only stands for a photograph. Reconsider the design if it needs hidden props to remain upright.
Ideas for Selling This Project
Reading-nook gifts, personalized initials, and coordinated natural or painted pairs are possibilities. A small decorative silhouette can add character if it does not weaken the upright or interfere with book contact. Avoid unlicensed characters or logos.
Photograph the real pair empty, with the base arrangement visible, and with the type of books it is intended to hold. State dimensions and included pieces. Do not describe the pair as suitable for heavy reference books without appropriate evidence.
Local bookstores, craft fairs, and online marketplaces may be worth exploring. A matching picture frame can make a coordinated gift. Count the time needed to make two consistent units, along with packaging, fees, and delivery costs. Decorative appeal and a familiar gift theme do not guarantee demand or profit.
Related Scrap Wood Projects
- DIY Scrap Wood Picture Frame
- DIY Scrap Wood Desk Organizer
- Easy Scrap Wood Floating Shelf
- Easy Scrap Wood Phone Stand for Beginners
Explore the full collection: 21 Easy Scrap Wood Projects You Can Make and Sell.
Keep Building Your Small-Project Skills
Browse the TedsWoodworking affiliate offer for further plans if you want a next step after bookends. Review the current details and choose a design you can evaluate in its intended setting.
Explore the Plans Collection →