Affiliate Disclosure: This page contains affiliate links. If you purchase through one of these links, I may earn a commission at no additional cost to you.
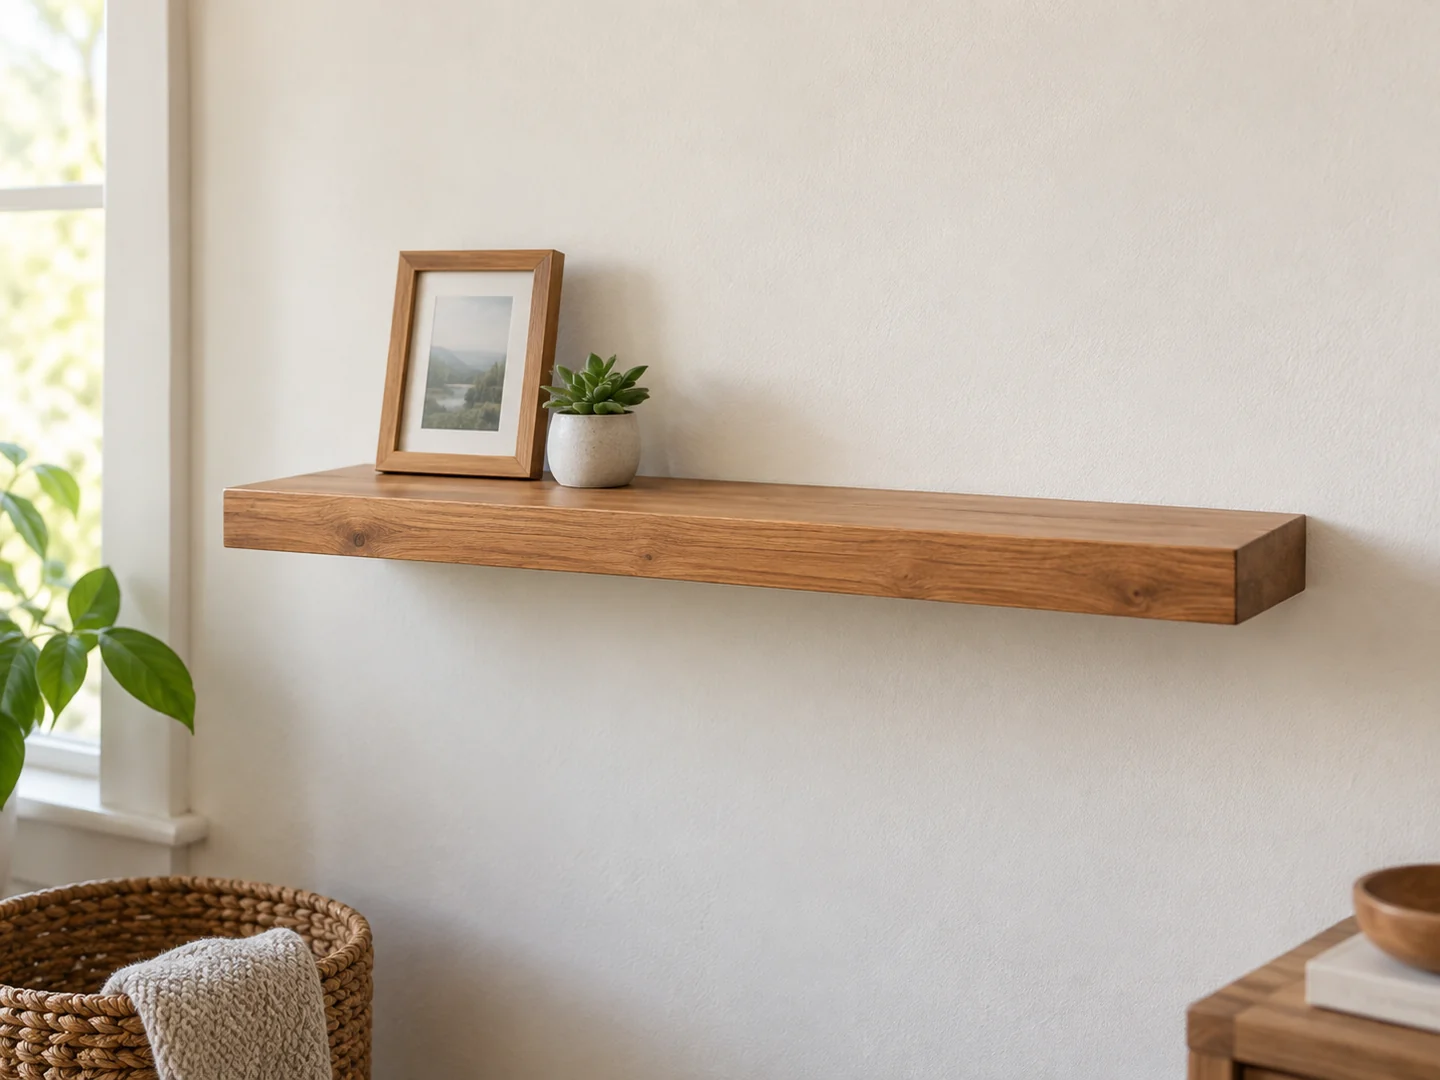
A short floating shelf can turn a sound offcut into a clean display ledge with the support hidden from view. The uncluttered appearance is appealing, but the concealed hardware does important work. Choose the support system before deciding which scrap to use.
This guide explains the decisions behind a simple shelf, not a structural plan. Shelf depth, stock thickness, attachment, and supported weight depend on the selected hardware, material, and wall. Do not build or install a load-bearing shelf from an image alone.
Project Overview
| Difficulty | Simple shelf preparation; installation needs suitable hardware and wall knowledge |
|---|---|
| Estimated build time | Varies by design; finishing and curing add time |
| Typical materials | Sound shelf stock, compatible concealed shelf support, specified wall fasteners |
| Typical tools | Measuring tools, level, suitable saw, drill, sanding supplies |
| Best for | Small decorative displays with a verified mounting system |
Why This Is a Good Beginner Project
Preparing a plain shelf face can be approachable: you are refining a board rather than constructing a cabinet. A small display also encourages restraint, giving you a reason to focus on straight edges and a finish that works with the room.
The installation is a separate skill. Concealed hardware often needs accurate alignment and stock of a particular size. If that requirement exceeds your tools or confidence, choose a supported shelf plan or seek installation help. A beginner-friendly appearance does not make every floating-shelf system beginner-friendly.
Materials You May Need
Start with a shelf support system and read its requirements for wood dimensions, wall construction, fixings, and intended load. Then find sound stock that meets those requirements. Reject boards with cracks or major defects where the support will engage.
Solid wood and a hollow box-style shelf are different constructions. Hardware suitable for one may not suit the other. Avoid joining random thin scraps into a thick-looking shell unless you are following a plan for that exact arrangement.
You will also need the appropriate wall fixings and a finish suited to the location. A dry living-room display has different demands from a bathroom. Do not assume packaged screws are suitable for every wall, and do not transfer a bracket’s maximum rating to the finished shelf without meeting all of its stated conditions.
Tools You May Need
Expect measuring tools, a square, level, suitable saw, sanding supplies, and the tools required by the mounting system. Some concealed supports require drilling that must be accurately aligned; confirm that your equipment can do that safely before selecting them.
Follow tool and hardware instructions, use appropriate protective equipment, and check for concealed pipes or wiring before drilling into a wall. If the wall type, fixing location, or support capacity is uncertain, get qualified help. Avoid placing the shelf over a bed or another vulnerable area while experimenting with a first installation.
Want to Compare Shelf Plans First?
Browse the TedsWoodworking affiliate offer if you would like to explore plan options. Check the current contents before buying and use mounting instructions specific to your hardware; this shelf design is not verified as included.
Browse the Woodworking Plans →Basic Build Overview
- Decide what the shelf will display and where it will go. Include the items and shelf itself when evaluating an appropriate support system.
- Choose a compatible plan, shelf stock, and mounting system before cutting. Confirm all required dimensions and fixing conditions.
- Prepare the board or plan-specified shelf assembly. Keep support engagement areas sound and accurate.
- Dry-fit the shelf and hardware as the instructions allow. Check that the visible front edge and wall-facing edge align correctly.
- Finish the shelf without obstructing hardware interfaces, and allow the coating to cure fully.
- Install and inspect according to the hardware instructions. Stop if the shelf moves, tilts, or cannot be attached as specified. Do not improvise a weight rating.
Tips for a Cleaner Finish
Make the front edge your reference
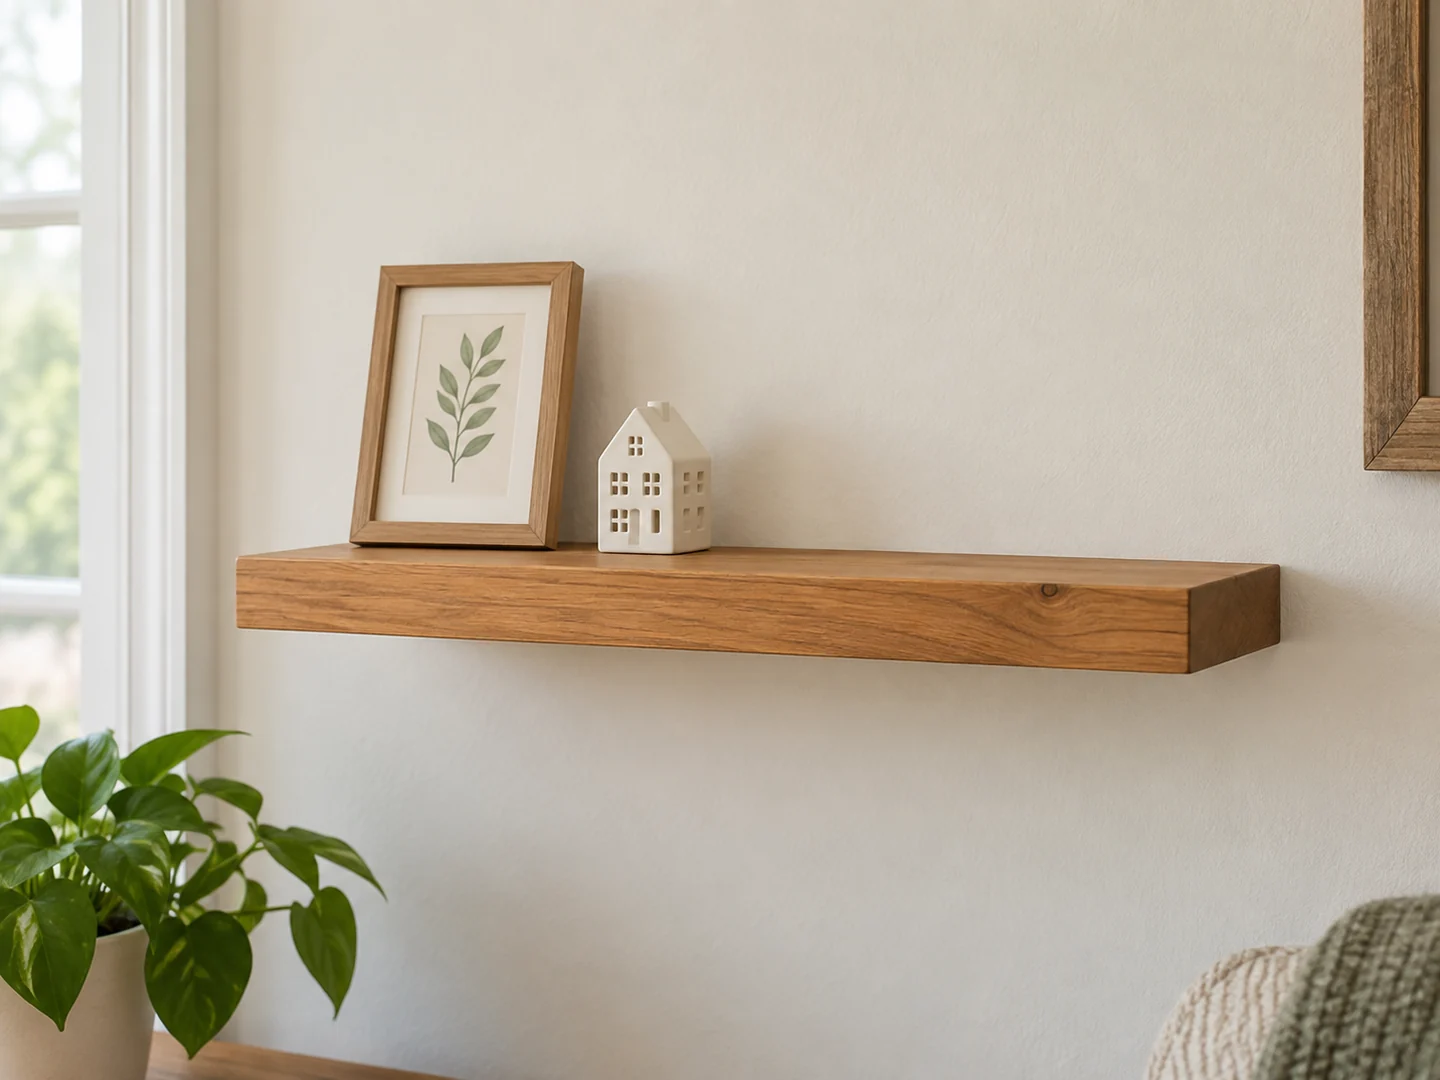
The front edge is usually the most noticeable part of a floating shelf. Choose its grain and edge treatment deliberately. Keep sanding even so you do not create a wavy silhouette or change an area that must fit the support.
Inspect the wall-facing fit
A wall may not be perfectly flat. A small visible gap is a fit issue to assess, not a reason to force the hardware into alignment. Follow the mounting system’s guidance and avoid hiding an insecure fit with caulk or paint.
Finish undersides and visible end grain consistently. On a small shelf, uneven color at the ends can be more distracting than a natural difference between boards. Photograph a test finish in the actual room light before choosing the final appearance.
Ideas for Selling This Project
Natural wood, a painted finish, and a few clearly defined size options can suit different rooms. A coordinated pair might be useful for small decorative displays. Personalization can be offered on a visible edge only if it does not interfere with the support or weaken the shelf.
For local sales, discuss the intended wall and use without promising universal compatibility. Online listings need actual dimensions, material details, included hardware, and installation requirements. If you sell the shelf alone, say so clearly. A hardware rating should not become a blanket rating for every installation.
Craft fairs, local home-goods shops, and online marketplaces are possible channels. Use real photos showing the underside and mounting arrangement as well as the styled front. Include hardware, packaging, shipping, and your labor when considering price; attractive styling does not guarantee demand.
Related Scrap Wood Projects
- Easy Scrap Wood Plant Shelf
- DIY Scrap Wood Wall Hook Rack
- DIY Scrap Wood Picture Frame
- Easy Scrap Wood Bookends
Explore the full collection: 21 Easy Scrap Wood Projects You Can Make and Sell.
Explore Another Small Home Project
Review the TedsWoodworking affiliate offer for additional project directions. Choose a plan whose construction and installation requirements you can meet safely.
Explore the Plans Collection →