Affiliate Disclosure: This page contains affiliate links. If you purchase through one of these links, I may earn a commission at no additional cost to you.
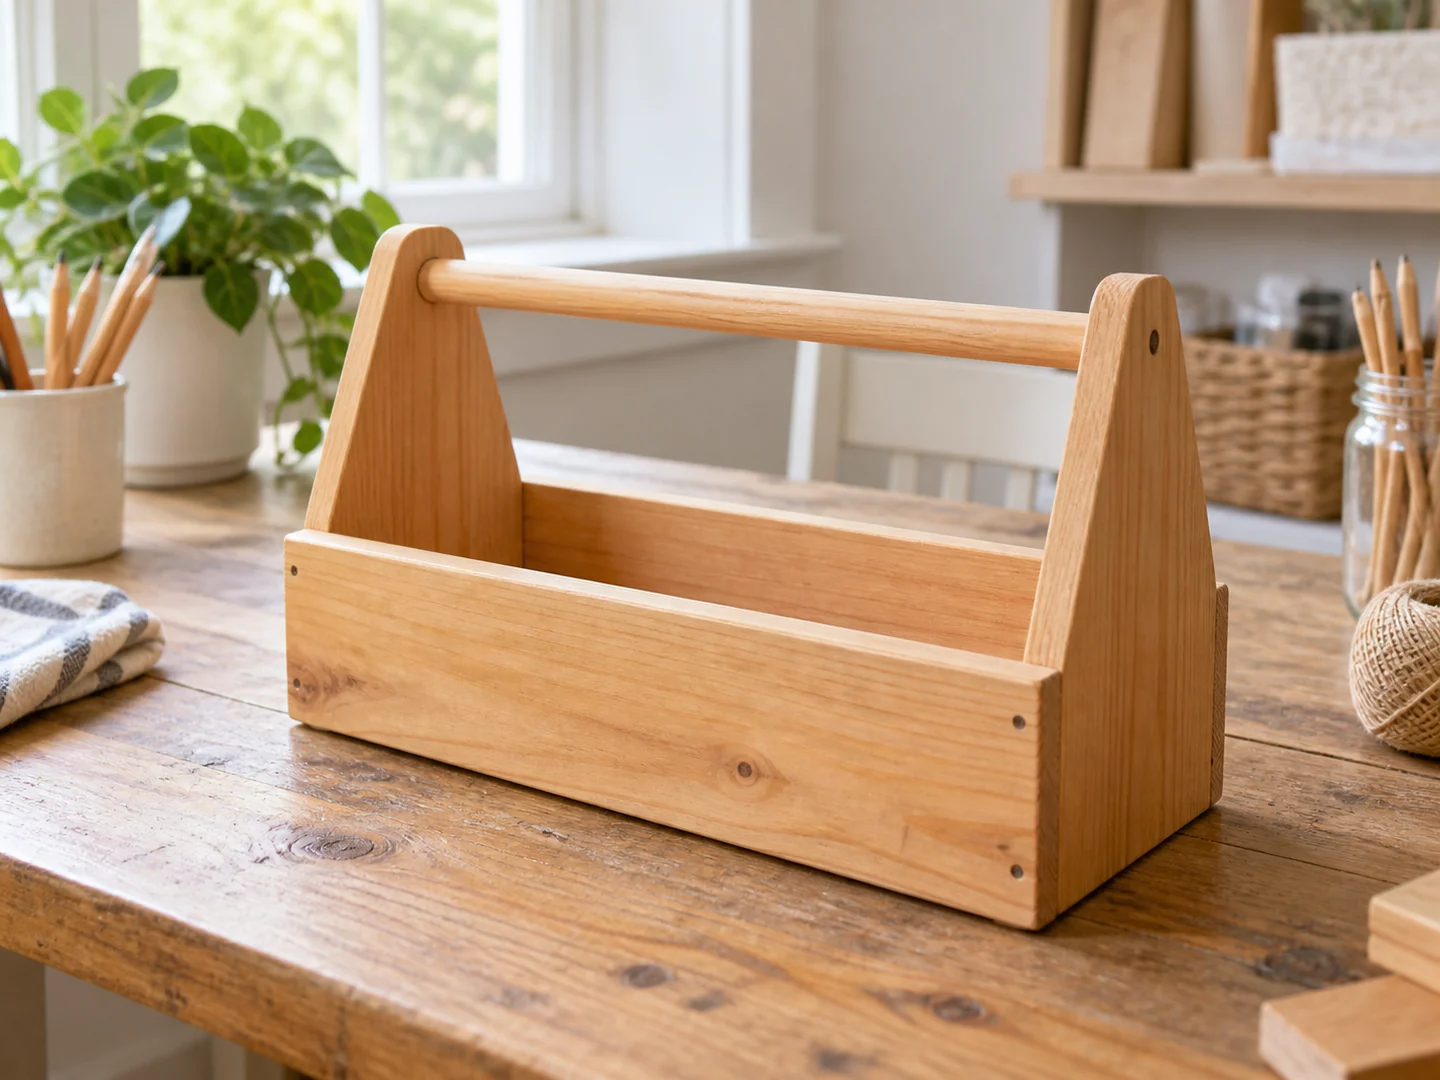
A wooden storage caddy keeps a small group of supplies together and adds a handle for moving them when the design supports that use. Short scraps can become sides or dividers, while the handle and bottom need material appropriate to their role.
This overview helps you think through balance, hand clearance, and compartment access before cutting. Choose a plan intended for a handled caddy and the items you want to carry. An ordinary open box with a handle added is not automatically a dependable carrying container.
Project Overview
| Difficulty | Beginner with a suitable handled-caddy plan |
|---|---|
| Estimated build time | Varies by design; finishing and curing add time |
| Typical materials | Sound wood, plan-specified handle and bottom, adhesive and fasteners |
| Typical tools | Measuring tools, square, saw, drill, clamps, sanding tools |
| Best for | Organizing a modest set of everyday supplies |
Why This Is a Good Beginner Project
A caddy takes the familiar box shape one useful step further. Beginners can learn how a handle affects both construction and access: it must attach securely, leave room for fingers, and avoid blocking the tallest contents. Those requirements make layout more interesting than simply dividing a rectangle into equal spaces.
The project is still compact enough to mock up with the intended contents on a table. You can compare where heavier items will sit and whether the caddy feels balanced in concept before making the wooden parts. A simple design with fewer compartments often makes a better first build than a complex organizer full of narrow pockets.
Materials You May Need
Use sound wood for the ends, sides, and any dividers. Reject cracks or loose knots around handle attachments and other joints. Avoid unknown reclaimed finishes and hidden metal. Short offcuts may suit some parts, but the handle and end pieces must meet the selected plan’s requirements rather than merely match in color.
The bottom, its support, and the handle attachment form a connected design. Use the specified material, joinery, adhesive, and fasteners. A decorative handle attached to thin end grain may look convincing without being suitable for carrying. Do not substitute hardware solely because it fits the available space.
A removable divider or lining may be useful if the plan accommodates it. Decide whether you want to clean out craft debris, keep stationery upright, or organize sealed household supplies. Do not turn a general caddy into a carrier for hazardous liquids or hot items without a design appropriate to those uses.
Tools You May Need
Typical tools include a tape measure, square, saw, drill, clamps, and sanding tools. A handle profile or special joint may need additional tools; choose a plan within your current skills. A paper or cardboard mockup can help assess clearance without making risky trial cuts in small stock.
Follow manufacturers’ instructions and use appropriate eye, hearing, and dust protection. Support and secure the work. Plan how each part will be held while drilling or shaping, especially the handle and narrow dividers. Tool choice should follow the design and safe workholding, not the desire to use every scrap.
Choose a Plan with a Proper Handle Connection
TedsWoodworking is a woodworking plans collection you can browse. Examine the available project information before buying, especially the handle and bottom details; this pictured caddy is not a verified included design.
Browse the Woodworking Plans →Basic Build Overview
- Gather the intended contents and arrange them. Allow space to remove each item, and keep the tallest objects in mind when deciding handle clearance. Consider whether the caddy will actually be carried or mainly sit on a surface.
- Choose a compatible caddy plan. Confirm the complete load path from bottom through sides and ends to handle. Keep material and joint requirements together when assessing which offcuts are suitable.
- Lay out parts and compartment openings. Account for divider thickness and the usable space remaining after assembly. Mark matching end pieces and the handle position consistently.
- Prepare and dry-fit the assembly. Check the bottom fit, handle alignment, and hand clearance. Put the intended items into the dry layout without using an unassembled caddy as a carrier.
- Assemble in the plan’s sequence. Use the specified joints and fasteners, keep the body square, and follow adhesive cure instructions. Inspect the interior and underside for sharp points or loose pieces.
- Finish and evaluate before routine use. Confirm the handle is comfortable, all connections are secure, and the contents sit as intended. Do not advertise a carrying capacity without an appropriate basis, and stop using the caddy if joints loosen or cracks appear.
Tips for a Cleaner Finish
Give the handle extra attention
Feel the entire gripping surface and the areas where fingers approach the ends. Remove roughness consistently without thinning structural sections beyond the plan. A smooth top with an unfinished underside is still uncomfortable to carry.
Prepare hidden corners before assembly
Sand inner faces and dividers while accessible, keeping glue surfaces clean and properly fitted. Remove squeeze-out with a method compatible with the adhesive and finish. Narrow compartments make later cleanup much harder.
Make color serve organization
A quiet natural finish lets the contents remain visible, while a contrasting divider can help define compartments. Test paint and clear-coat compatibility on scrap. Allow the full finish system to cure before filling or wrapping the caddy.
Ideas for Selling This Project
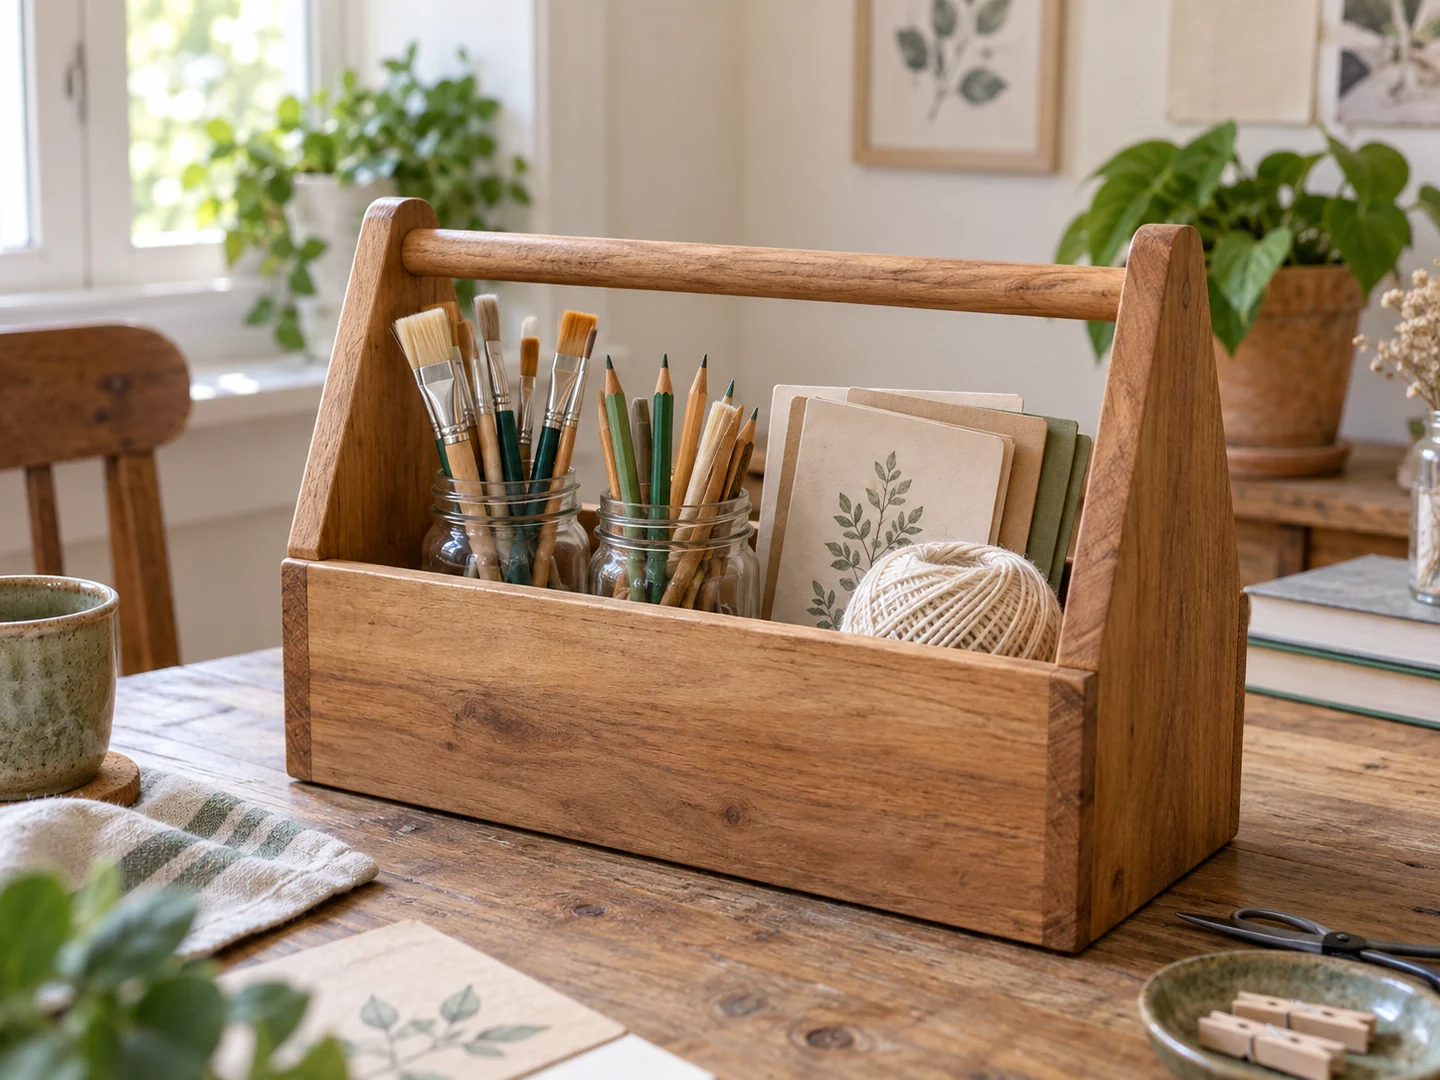
A desk-supply caddy, craft organizer, or tabletop condiment holder for sealed containers may call for different internal layouts. Treat those as functional design choices, not just new product names. Natural wood, muted paint, and simple personalization can create cosmetic variety without obscuring the structure.
A gift set could include stationery or other appropriate supplies, with the listing clearly separating included items from styling props. State actual overall and compartment dimensions, materials, and intended use. Do not imply that a handle establishes a tested carrying capacity.
Photograph the interior, handle attachment, bottom, and loaded arrangement using the real product. Craft fairs and local gift sales allow buyers to try the grip on a suitable display sample; online marketplaces need clear views and packaging that protects the handle. Include hardware, labor, finish, packaging, and selling fees in your own cost calculation. Customization can add work as well as appeal, and no design guarantees sales.
Related Scrap Wood Projects
- Easy Scrap Wood Storage Box
- DIY Scrap Wood Desk Organizer
- Easy Scrap Wood Serving Tray
- DIY Scrap Wood Spice Rack
Explore the full collection: 21 Easy Scrap Wood Projects You Can Make and Sell.
Find a Plan for Your Next Organizer
Explore TedsWoodworking for other small storage projects. Confirm the plan details and intended use before buying, and choose a build that matches your tools and experience.
Explore the Plans Collection →