Affiliate Disclosure: This page contains affiliate links. If you purchase through one of these links, I may earn a commission at no additional cost to you.
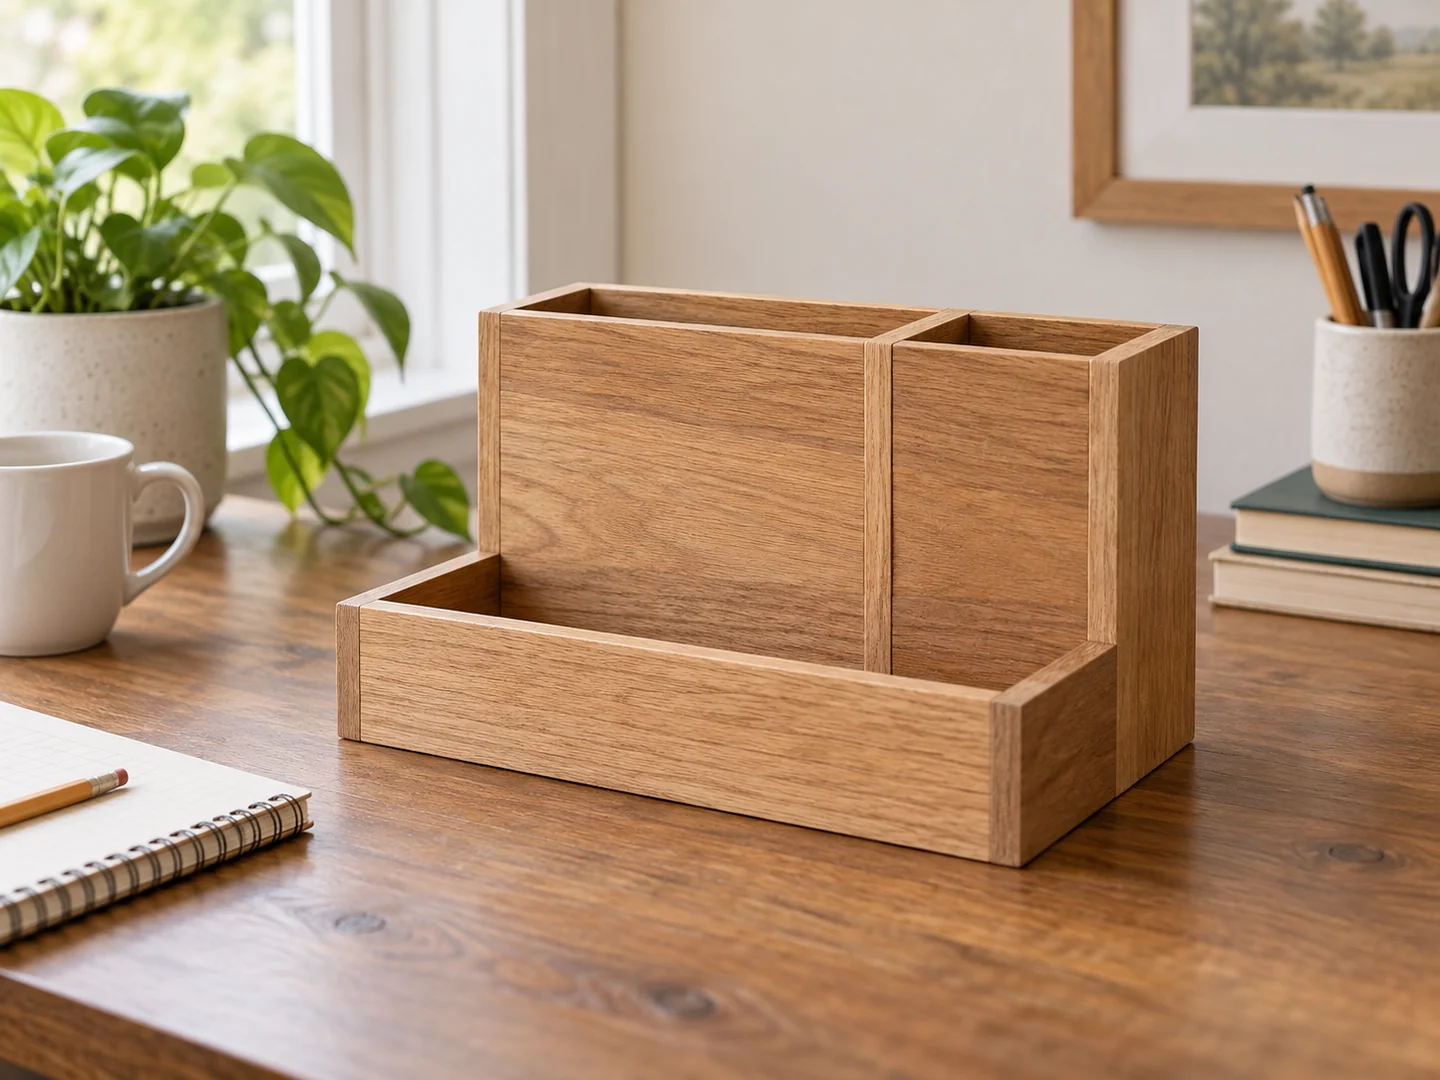
A scrap wood desk organizer works best when it has a job for every compartment. A shallow front tray can hold small stationery while taller open sections keep pencils visible. Offcuts suit the smaller panels, provided you choose a plan that matches their usable size and condition.
Before cutting, gather the supplies you actually want to store. This guide helps you plan the layout and understand assembly order; it is not a dimensioned cutting list. Use a verified plan for the final parts and joints.
Project Overview
| Difficulty | Beginner-friendly with a small open-compartment plan |
|---|---|
| Estimated build time | Varies by design; finishing and curing add time |
| Typical materials | Flat base and divider stock, plan-specified joints, suitable finish |
| Typical tools | Ruler, square, saw, clamps, sanding supplies; drill if required |
| Best for | Pencils, small stationery, compact home-work desks |
Why This Is a Good Beginner Project
A small organizer introduces dividers and usable interior space without drawers or moving hardware. You can see how the thickness of each panel reduces the opening. That is a valuable lesson before building larger cabinets or storage boxes.
It also encourages thoughtful sequencing. Interior faces become harder to sand once the dividers are fixed. Planning how you will assemble and finish the parts teaches you to look ahead instead of solving every problem after the glue has set.
Materials You May Need
Select flat, sound material for the base, outer walls, and dividers specified by the plan. A taller pencil compartment needs enough support to avoid tipping the whole unit. Do not keep adding height to compensate for a base that is too narrow.
Use compatible glue and any required fasteners. Check that their placement leaves no sharp points inside compartments. If the plan uses removable dividers, their fit needs to allow removal without making them loose enough to fall out during normal handling.
Choose a finish for frequent hand contact and occasional wiping. Let it fully cure before loading paper, erasers, or pens against it. Known untreated stock is preferable to scraps with unidentified paint or chemical exposure. Optional lining should be removable or easy to clean and must not hide rough construction.
Tools You May Need
Measuring tools, a square, pencil, suitable saw, clamps, and sanding supplies are typical. Your chosen joints may need a drill or driver. A paper layout helps compare the compartment openings with actual stationery before wood is cut.
Follow tool instructions and use appropriate eye, hearing, and dust protection. Secure narrow divider pieces and keep small accessories away from active tools. Clamps should hold the intended alignment without forcing warped panels into a strained assembly.
Want a Compartment Layout You Can Build From?
Explore the TedsWoodworking affiliate offer for additional plan choices. Review current contents and tool requirements before purchasing; this desk organizer is not confirmed as included.
Browse the Woodworking Plans →Basic Build Overview
- Sort the intended supplies and decide which need shallow storage and which need upright support.
- Choose a suitable plan and check usable compartment dimensions after allowing for panel thickness.
- Mark and prepare the base, walls, and dividers from sound stock. Label parts where the plan requires different sizes.
- Dry-fit the layout with representative supplies. Check access to short items and stability of the taller sections.
- Prepare interior surfaces, then assemble in the sequence specified by the plan. Remove glue squeeze-out while accessible.
- Finish and cure, then check the organizer on the intended desk. Keep it clear of cables and make sure it rests steadily.
Tips for a Cleaner Finish
Do not lose small items in deep compartments
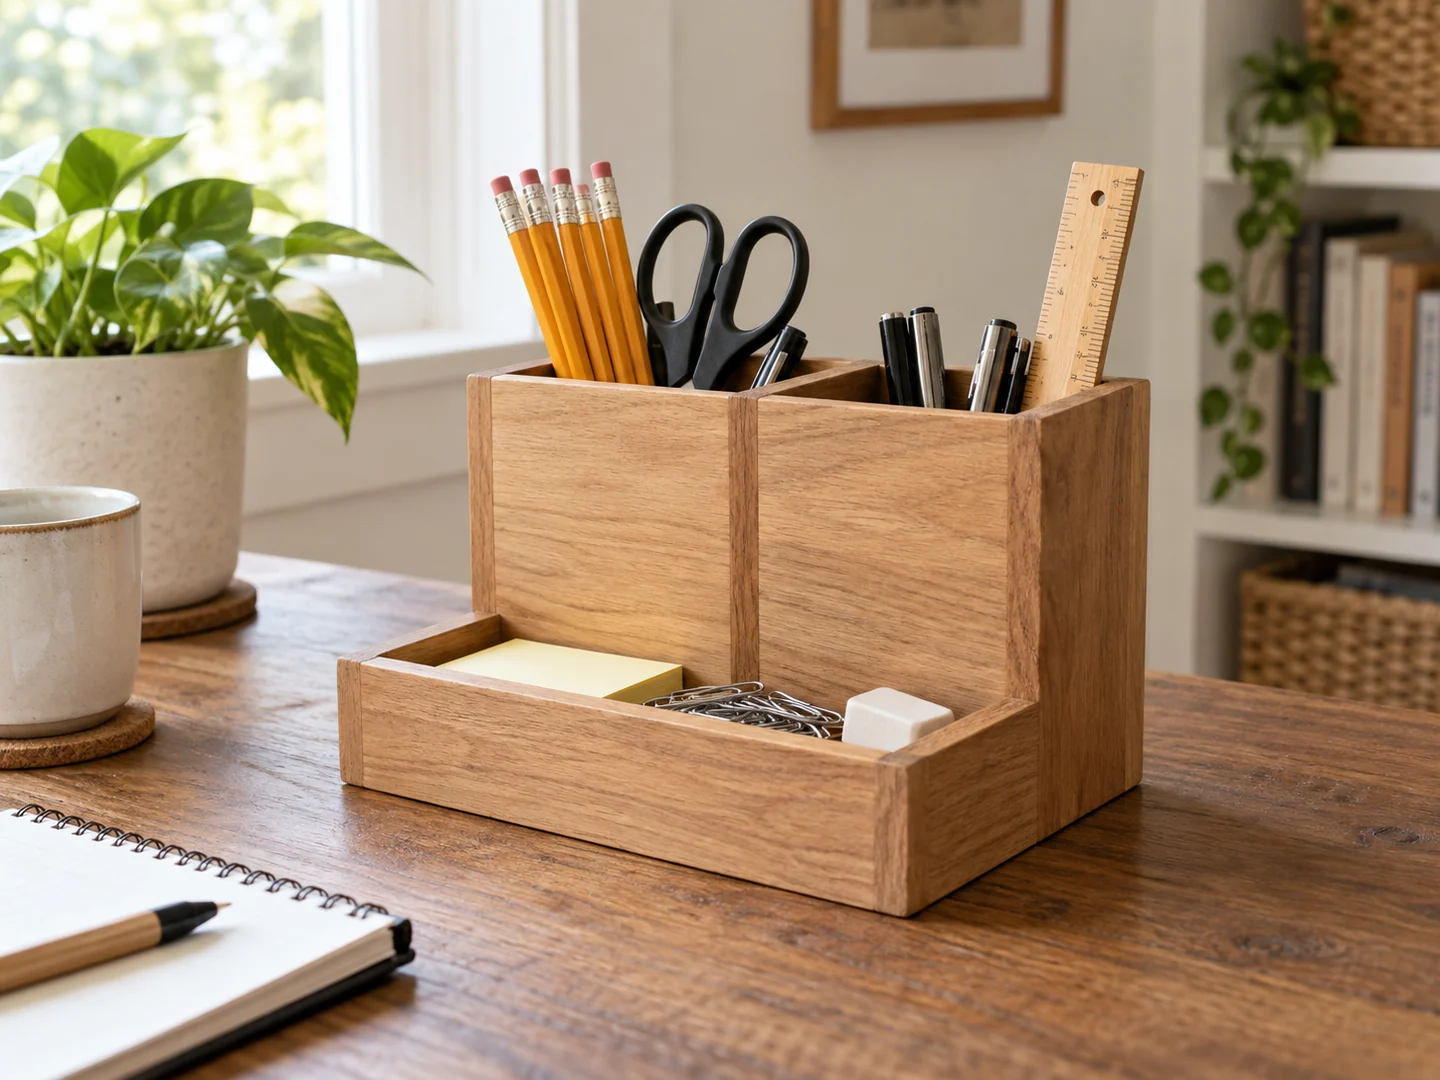
A pencil needs a different opening from a paper clip or eraser. If your mockup hides short items, revise the layout before assembly. A shallower front tray often makes daily use easier than filling the whole unit with tall dividers.
Keep inside corners clean
Sand and inspect internal faces while you can still reach them. Follow adhesive instructions about keeping joining surfaces suitable for bonding. A heavy finish ridge at the bottom of a compartment can trap dust and make cleanup harder.
Check exposed divider tops as a group. Consistent edge treatment makes the organizer feel finished when seen from above, which is how it will usually be used.
Ideas for Selling This Project
Consider a pencil-and-notepad version, a compact stationery tray, or a coordinated set with a phone stand. A name on the front can suit a home-office gift. Offer natural grain and a few restrained color options rather than adding arbitrary compartments to every order.
Use actual product photos from above, from the front, and empty. List interior openings as well as the overall dimensions, and state whether stationery is included. Do not claim that a slot fits every phone, notebook, or pen collection.
Craft fairs, local office gifts, and online marketplaces can be explored. Protect thin dividers during packaging and include assembly, sanding, customization, fees, and delivery in your cost estimate. A tidy photo demonstrates the intended use; it does not establish sales results.
Related Scrap Wood Projects
- Easy Scrap Wood Phone Stand for Beginners
- DIY Scrap Wood Mail Organizer
- Easy Scrap Wood Storage Caddy
- Easy Scrap Wood Bookends
Explore the full collection: 21 Easy Scrap Wood Projects You Can Make and Sell.
Find Another Project for Your Workspace
If more woodworking plans would help you choose what to build next, review the TedsWoodworking affiliate offer. Compare the current details with your tools and the space you have.
Explore the Plans Collection →