Affiliate Disclosure: This page contains affiliate links. If you purchase through one of these links, we may earn a commission at no additional cost to you. Learn more.
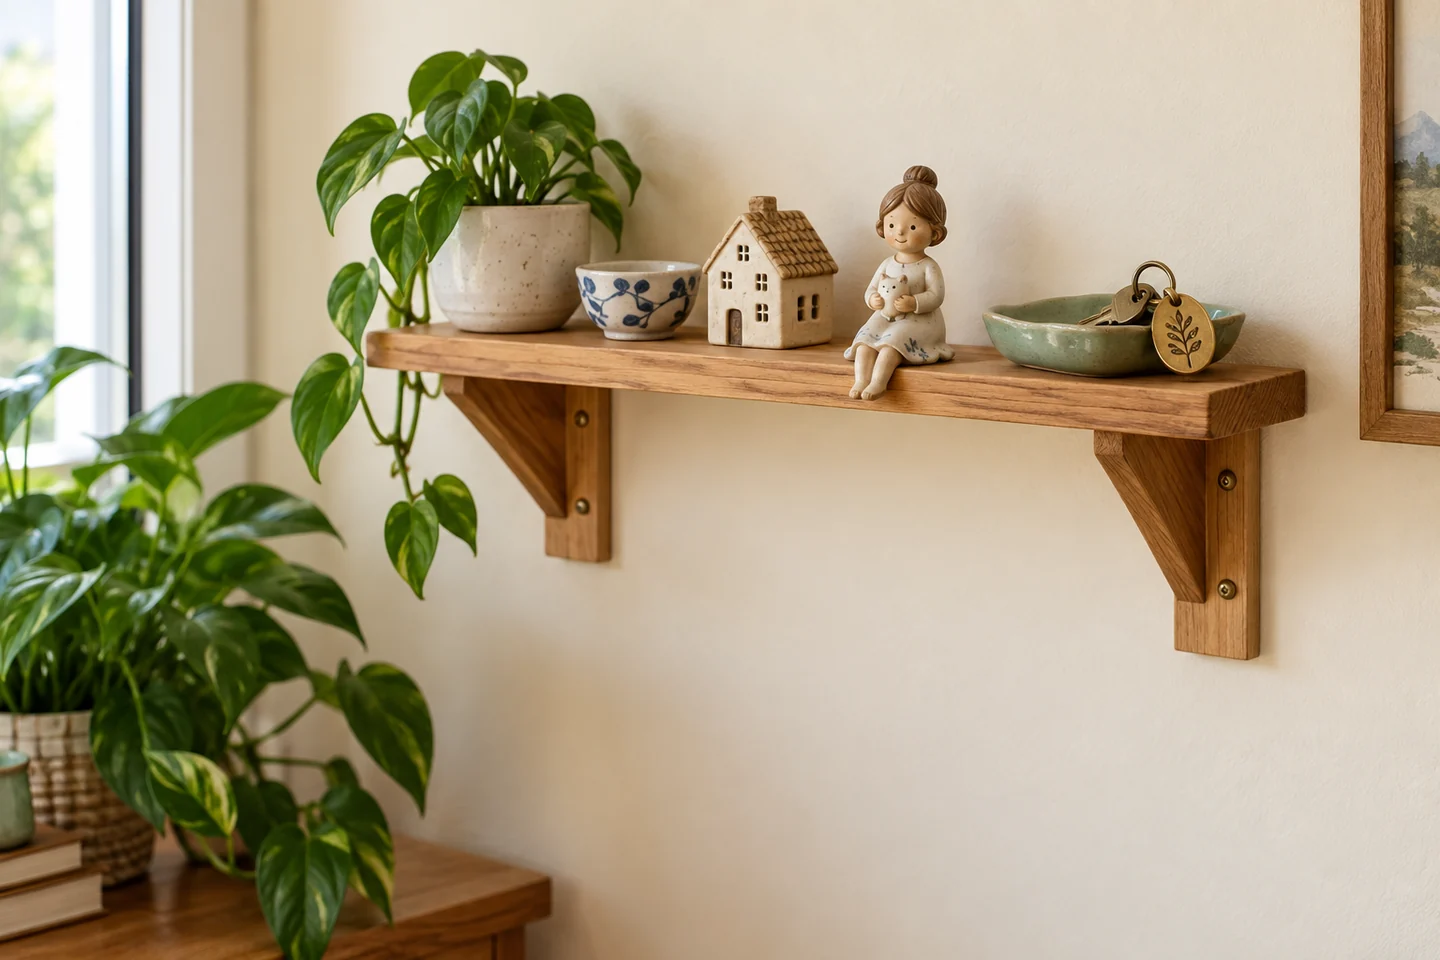
A trinket shelf is a small display designed around the things you actually want to see. Start by gathering the miniatures, figurines, keepsakes, or keychains you want to show. Their height, depth, and weight will tell you more than a generic shelf dimension.
Unlike a general storage shelf, a display shelf should offer a clear view and easy access without looking crowded. The ideas below are ways to choose a layout; they are not dimensioned or load-rated building plans.
What Is a Trinket Shelf?
It is a compact shelf or group of compartments for small objects worth keeping in sight. A narrow ledge might hold framed mini prints or small pottery, while a divided cubby can give each miniature a defined place. Wall-hung, freestanding, corner, and tiered layouts all solve different room problems.
Good display design begins with the collection. Small, light objects need enough depth not to fall. Taller figurines need headroom. Items with delicate or sentimental value may be better inside a protected cabinet if children, pets, or vibrations could knock them down.
Why Wood Works Well for Small Displays
Wood brings a warm, quiet backdrop that can let a colorful collection remain the focus. You can repeat the wood tone of an existing frame or piece of furniture, or choose a muted painted finish. A simple outline also leaves room to change the collection over time. Sound lumber, square assembly, and appropriate supports matter more than decorative edging.
Five Easy Trinket Shelf Ideas
1. A small wall ledge
A single shallow shelf suits a few favorite pieces and keeps a tabletop clear. Lay out the actual objects first and leave a little room to move them. The wall and fasteners must support the shelf and its contents; follow a plan for your wall construction.
2. A tiered tabletop stand
Graduated levels can give rear objects visibility without wall mounting. Check from the height at which you will normally view the display. A wider, stable base and sensible object placement matter more than squeezing in another level.
3. A mini cubby shelf
Small compartments can organize miniatures into groups. Before choosing a grid, test the largest object and the room needed to lift it out. Too many tiny openings make an attractive drawing but a frustrating display.
4. A floating-looking shelf
A concealed-support look can feel calm and minimal. Treat the hidden mounting system as a structural part of the design, not an optional styling detail. The existing floating shelf guide discusses planning questions, but it does not provide a verified load-rated design.
5. A corner display
A small corner can become a place for a few pieces, though access and sight lines may be tighter than on a straight wall. Mock up the proposed outline with paper before deciding whether the corner is actually easy to reach and clean.
Choosing Size and Layout
Measure the tallest, deepest, and heaviest objects you expect to display. Then look at the available wall or tabletop area, nearby doors and furniture, and normal traffic through the room. Leave room to remove and dust each object. Consider whether the display will be seen straight on or mostly from one side.
A cardboard mockup can answer whether a tier blocks a favorite piece. Group objects by visual weight rather than filling every inch. If a collection changes often, a simple ledge or adjustable display arrangement may work better than fixed tiny cubbies.
Materials and Tools You May Need
Depending on the design, you may need sound boards, appropriate joinery and fasteners, sanding supplies, and a finish suited to the location. For a wall-mounted version, use fixings suited to the wall and load. Common tools may include a measuring tape, square, saw, drill, clamps, and sanding tools. Follow the selected plan and product instructions.
Basic Build Overview
- Choose the display location and the objects it should hold.
- Compare layout ideas with a paper or cardboard mockup.
- Select a suitable plan and materials, including wall support if applicable.
- Prepare parts and dry-fit the arrangement; check access and clearances.
- Assemble, finish, and let products cure according to their instructions.
- Install or position the shelf, then load only what its design is intended to support.
Do not infer a weight rating from the photograph. If you are uncertain about wall structure or fixing choice, get qualified help before installation.
Styling and Display Ideas
Try one taller object as a focal point, then balance it with a few smaller pieces. Repeating one color or material can tie unlike objects together. Leave open space so each item is visible. Soft daylight may flatter natural grain, but protect sensitive collections from direct sun and moisture where appropriate.
For keychains, consider a dedicated hook or tray rather than balancing them on a narrow ledge. For very small figures, a shallow lip or protected display may reduce accidental falls. Photograph the actual shelf and collection before claiming it holds a certain number of objects.
Related Woodworking Projects
For a plant-focused version, compare the wooden plant riser. To organize small belongings rather than display them, see the storage box and desk organizer. Browse more small woodworking projects for other compact ideas.
Compare Plans Before You Build
Explore the TedsWoodworking collection if you want a detailed shelf plan. Check the current plan contents and mounting guidance before purchasing; we have not verified this illustrated shelf as an included design.
Browse the Woodworking Plans →